28
Changing the Input Channel
You can access the data for other input channels by using the spe-
cial function keys. Press F1 to increase the input number, F2 to de-
crease the input number. These keys will auto-repeat if you continue
to hold them down.
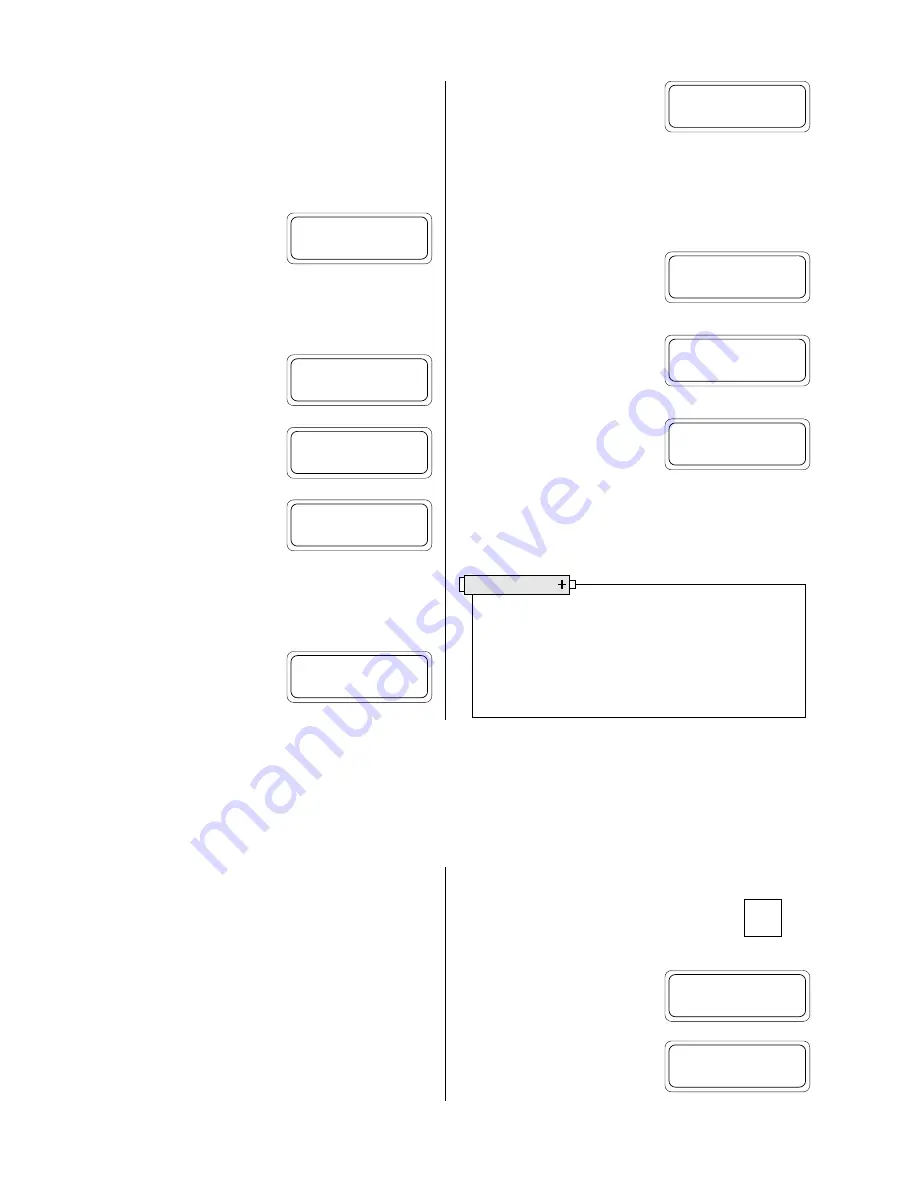
As you scan through the input chan-
nels, the display will remain at the
same elapsed time value, allowing
you to review the data for all inputs at any given elapsed time.
Viewing the Start Time
SCAN
down to an elapsed time of
zero. It does not matter which input
channel you are currently viewing.
Press
SCAN DOWN
. The display will
show the start date and time of the
test or selected step . . .
. . . then return to the view data dis-
play.
Viewing the Reference Level
If the test uses Level type inputs, you can display the reference level
in PSI while viewing the test data.
While a data point is displayed, press
the
VIEW DATA
key.
Battery Life Tip
It can be very time consuming to use the view display to
retrieve stored data from long tests. If done often, it can
be tough on battery life as well. Use external power if pos-
sible, or consider dumping the data to a printer or com-
puter using the RS232 port.
Input 2: Level (F)
-
¯
0.0000
15.890
The Reference Level for that chan-
nel will appear. This is the PSI head
value at the moment the Reference
was entered. The HERMIT 2000 will show the Reference Level for a
few seconds and then return to the data display.
Changing the View Percentage
You can move quickly to another seg-
ment of data without scanning by
changing the view percentage. Press
CLEAR
to exit the view display.
The default view percentage shows
the point at which you stopped view-
ing. Key in a new value for the view
percentage and press
ENTER
.
You will be returned to the view dis-
play at the new percentage.
Input 1: Level (F)
-
¯
0.0000
-2.899
View % [10.1013]?
20_
Input 1: Level (F)
-
¯
1400.0000
5.750
Input 1: Level (F)
-
¯
10/03 08:15:16
Input 2: Level (F)
-
¯
0.0000
27.632
Input 1: Level (F)
-
¯
0.0000
15.890
The RS232 port on the HERMIT 2000 allows you to print or plot
stored data on a field printer, or dump data to most personal or por-
table computers that are also equipped with an RS232 port. This
section will explain how to program the RS232 port to match the
requirements of your printer or computer. If you are not familiar
with making the cable connections between the instrument and the
printer or computer, be certain to read the information contained in
Appendix B of this manual.
9 Using the RS232 Port
Input 1: Level (F)
-
¯
4.5000
34.518
Reference Level PSI:
5.049853
RS232 Parameters
Start at the READY display. You can change RS232
parameters while in any test mode. Press the
SETUP
I/O
key.
The HERMIT 2000 will display the
input/output setup menu. Press
F2
to select the RS232 option.
The current settings of the param-
eters are displayed as a menu. Use
SETUP
I/O
I/O setup menu:
UNIT RS232 PRNT PLOT
RS232 parameters:
5200 8 NONE CR
Section 9: Using the RS232 Port


