background image

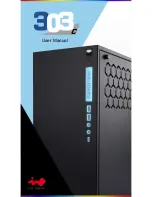
User Manual

Summary of Contents for 303C

Page 1: ...User Manual...

Page 2: ...from steel and tempered glass The distinctively cleanfront panel is complemented with a bright LED design to balance theoverall appearance While the 303C is a stunning visual display it sbecause of th...

Page 3: ...sion with screw handle height HxWxD Package Dimension HxWxD Net Weight Gross Weight 303C Black White Mid Tower Tempered Glass SECC 12 x 10 7 ATX Micro ATX Mini ITX PCI E X 7 VGA Card Length 350mm CPU...

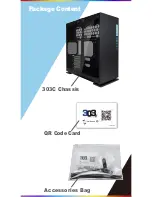
Page 4: ...Package Content 303C Chassis QR Code Card Accessories Bag...

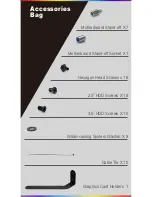
Page 5: ...ories Bag Motherboard Stand off X 7 Motherboard Stand off Socket X 1 Hexagon Head Screws x 18 2 5 HDD Screws X 18 Cable Tie X 10 Water cooling System Washer X 8 Graphics Card Holder x 1 3 5 HDD Screws...

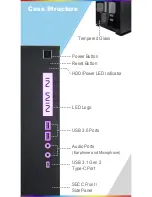
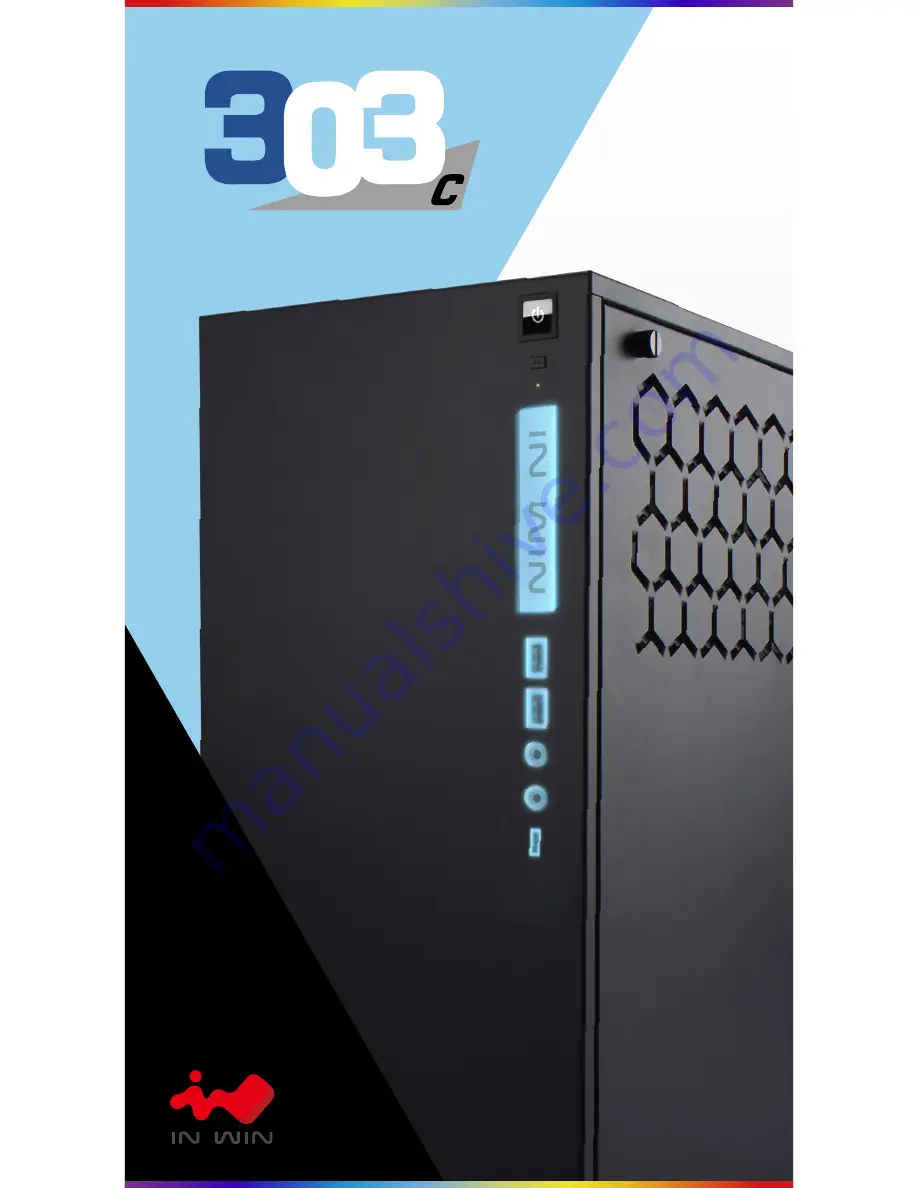
Page 6: ...Case Structure SECC Front Side Panel Tempered Glass Power Button Reset Button HDD Power LED Indicator LED Logo Audio Ports Earphone and Microphone USB 3 1 Gen 2 Type C Port USB 3 0 Ports...

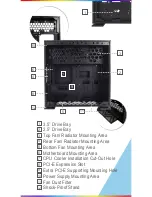
Page 7: ...ting Area Rear Fan Radiator Mounting Area Bottom Fan Mounting Area Motherboard Mounting Area CPU Cooler Installation Cut Out Hole PCI E Expansion Slot Extra PCI E Supporting Mounting Hole Power Supply...

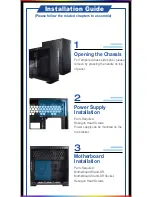
Page 8: ...ed Glass side panel please remove by pressing the handle on top of panel 1 3 Motherboard Installation Parts Required Motherboard Stand Off Motherboard Stand Off Socket Hexagon Head Screws 2 Power Supp...

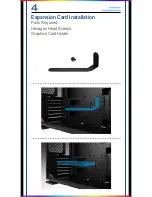
Page 9: ...4 Expansion Card Installation Parts Required Hexagon Head Screws Graphics Card Holder...

Page 10: ...5 1 I O Wires Installation POWER LED POWER SW RESET SW POWER LED RESET SW POWER SW H D D LED Depend On Motherboard POWER LED RESET SW POWER SW H D D LED Depend On Motherboard HD Audio Header...

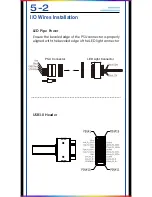
Page 11: ...D Pipe Power USB3 0 Header Ensure the beveled edge of the PSU connector is properly aligned with the beveled edge of the LED light connector 5 2 I O Wires Installation PSU Connector LED Light Connecto...

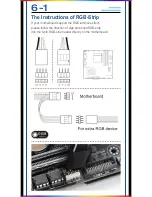
Page 12: ...1 The Instructions of RGB Strip If your motherboard support the RGB luminous effect please follow the direction of sign and insert RGB strip into the 4 pin RGB strip header directly on the motherboar...

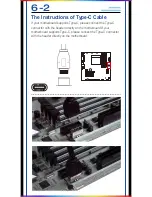
Page 13: ...le If your motherboard supports Type C please connect the Type C connector with the header directly on the motherboard If your motherboard supports Type C please connect the Type C connector with the...

Page 14: ...ive Bays Installation Parts Required 2 5 HDD Screws 7 2 3 5 Drive Bays Installation Parts Required 3 5 HDD Screws 8 Fan Liquid Cooling Radiator Installation Parts Required Fan Screws Water cooling Sys...

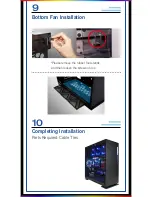
Page 15: ...9 Bottom Fan Installation 10 Completing Installation Parts Required Cable Ties Please remove the rubber foot stands and then loosen the screws on top...

Page 16: ...her system components 3 To avoid any damages please do not use this product for any other purpose than its intended use 4 Any modifications may damage the product 5 Please remove all internal devices...

Page 17: ...Copyright 2017 In Win Development Inc All Rights Reserved...

Reviews: