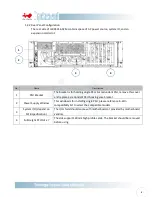

-
13
-
2.4
Removing and Installing a PSU
In Win IW-RS316-02M supports single and redundant power supply unit. Users can select power
supply according to the environment’s requirements.
Note: The different PSU needs different rear and side bracket. The accessory box includes the
bracket sets for supporting models.
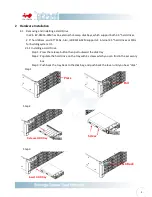
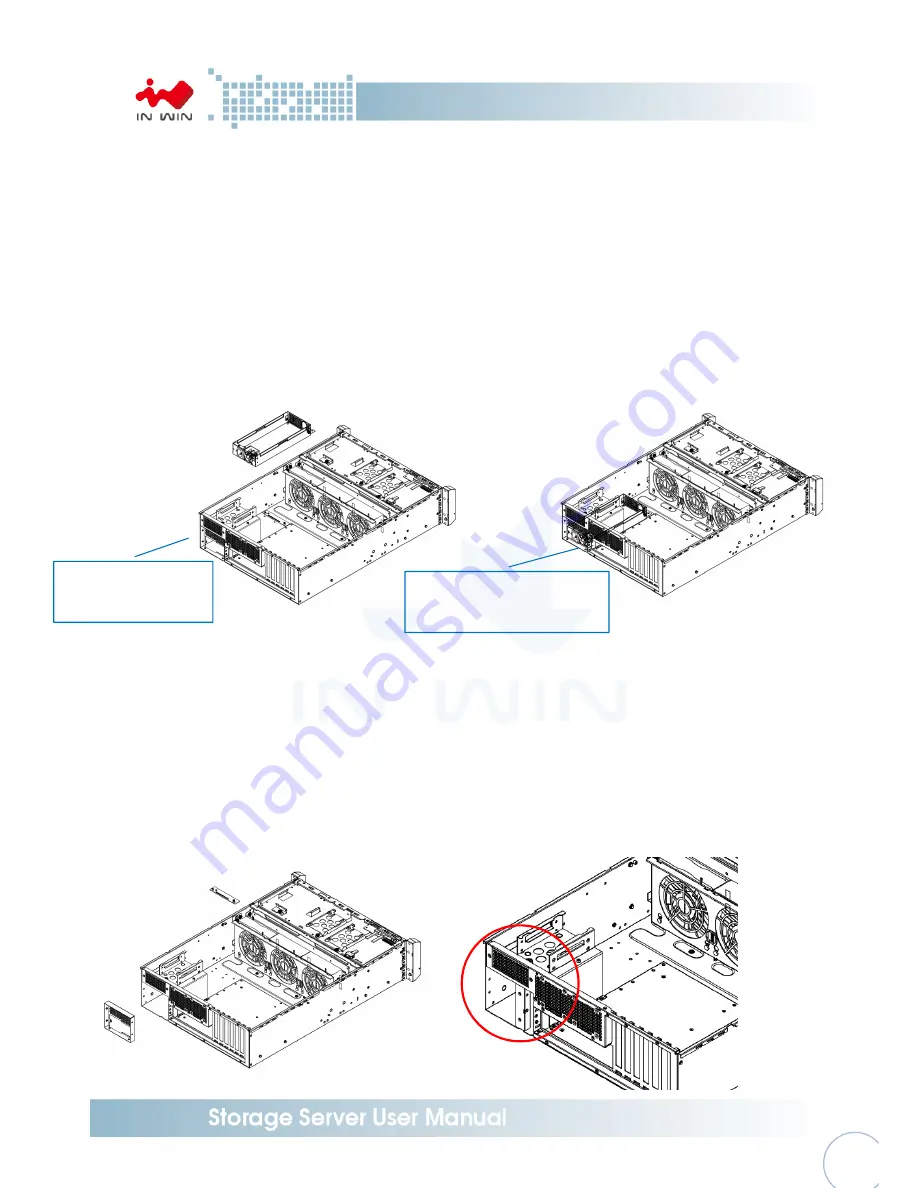
2.4.1
Installing Single PSU
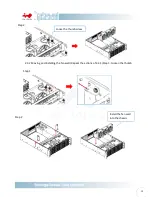
Step 1: Post the rear bracket to the chassis
Step 2: Place the PSU to the rear right corner of the chassis and make sure the screw holes
meet the chassis frame and bracket.
Step 1 Step 2
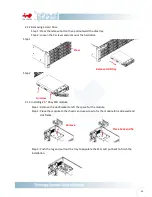
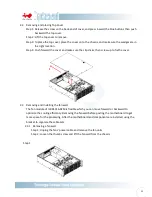
2.4.2
Installing Redundant PSU
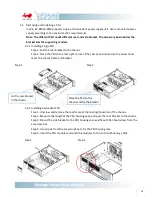
Step 1: Unscrew and remove the rear frame at the rear right position of the chassis.
Step 2: Measure the length of the PSU housing case, and post the rear bracket to the chassis.
Step 3: Mount the side bracket to the PSU housing case and fix with flat-head screw from the
accessory box.
Step 4: Use screws from the accessory box to fix the PSU housing case.
Step 5: Insert the PSU modules and push the modules to the end until hearing a click.
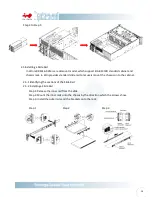
Step 1 Step 2
Put the rear bracket
to the chassis
Place the PSU to the
chassis and fix the bracket
Summary of Contents for IW-RS316-02M
Page 1: ...IW RS316 02M User s Manual...


