•
It is necessary to enter physical information each time. The entered data is not recorded.
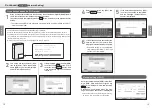
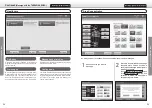
Enter <NickName>. After entry, touch
the Enter button.
Enter <Birthday>. After entry, touch
the Enter button.
2
3
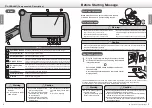
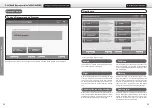
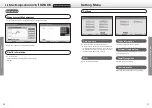
Manual personal registration setting
Touch the button displayed as
Sign Up on the Login screen.
1
Set personal settings manually. Touch the button displayed as Settings before enter personal
information
Select <Gender>.
Enter <Height>. After entry, touch the
Enter button.
4
5
Enter <Weight>. After entry, touch the
Enter button.
Enter <Foot size>. After entry, touch
the Enter button.
6
7
Check the entered contents.
If the contents are correct, touch the
Register button. Registration will be
completed.
8
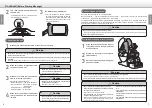
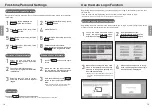
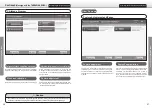
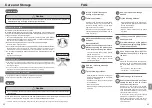
Touch the Guest button on the Login screen.
1
2
3
Guest Login
Move the active measure to be used
close to the tablet. When the active
measure is recognized, settings will
be made automatically.
When the active measure is recog-
nized, the message “Automatic login
was successful” is displayed.
3
4
*
Make sure to check that the active measure
has been charged before performing the
above.
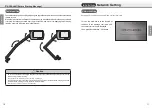
Auto login setting for the active measure
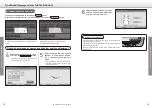
Touch the user’s nickname under
Login , and move to the main menu.
After that, touch the Settings button.
From the settings screen,
select Bluetooth, and touch the
Automatic login setting button.
1
2
Registering the active measure in the tablet enables you to log in by simply bringing the active
measure close to the tablet from the next time onward.
Registering the active measure or your face enables you to log in automatically from the next
time onward.
If you do not make this registration, touch your name on the Login screen to log in.
•
Registration of the active measure or facial recognition can be omitted.
1
2
3
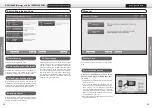
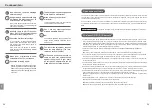
Touch the Delete button on the Login
screen.
Select the user you want to erase.
The registration information erasure
confirmation screen is displayed.
After confirmation, press the
Delete
button so that the information is de-
leted.
•
Note that once erased, the previously regis
-
tered information cannot be restored.
Erasure of user information
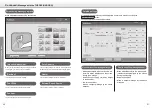
Select the user you want to cor-
rect on the Login screen. And touch
Settings button.
Touch User Information button.
The currently registered information
is displayed.
Select an item you want to correct,
and make a correction and register
it again.
Correction of user information
Initial Settings
Initial Settings
Use the Auto Login Function
First-time Personal Settings
14
15


