background image

PAGE 6

ELECTRICAL SAFETY

Voltage:

•  Before connecting and turning on the 

appliance, ensure the electrical voltage and 

circuit frequency correspond to that indicated 

on the appliance rating label.

Earthing:

•  This appliance should be properly earthed for 

your safety. The power cord of this appliance 

is equipped with a three-prong plug for use in 

standard wall outlets to minimise the possibility 

of electrical shock. Do not modify the cord  

and/or plug provided with the appliance. 

Improper use of the earthed plug can result in 

the risk of electric shock. 

Connection:

•  This appliance requires a standard  

220-240 V AC 50Hz electrical outlet. 

•  Do not overload the electrical circuit. 

Power cord:

•  Do not pull the power cord when removing the 

power plug of the appliance. Please firmly grasp 

the plug and pull it out from the socket directly.

•  To ensure safe use, do not damage the power 

cord or use the power cord if it is damaged  

or worn.

•  Do not kink or damage the power cord; do not 

leave it exposed or dangling. Secure it at the 

back of the appliance so no one steps on or 

places anything on the cord or against it. 

•  Keep the cord out of reach of children. 

•  When moving the appliance, make sure not to 

damage the power cord. 

Auxiliary Items:

•  Do not use an inverter, adaptor or extension 

cord with this appliance. If the cord is too 

short, have a qualified electrician install an 

outlet near the appliance. Use of an extension 

cord and an inverter can negatively affect the 

performance of the unit. 

Protect from moisture:

•  To protect against the risk of electric shock, do 

not immerse the unit, cord or plug in water or 

spray it with any other liquid. 

•  Do not connect or disconnect the electric plug 

when your hands are wet. Turn the power switch 

off before removing the plug from the socket.

  WARNING:


When disconnecting:

•  To reduce the risk of fire, electric shock or 

personal injury, always unplug the appliance 

from the socket when not in use, when moving 

and before cleaning or servicing. 

•  Never unplug the unit by pulling the power cord. 

Always grip the plug firmly and pull straight out 

from the power point. 

Electrical work:

•  Any electrical work required for the installation 

of this appliance should be carried out by 

a qualified electrician. Please contact our 

Customer Service Team to arrange one for you.

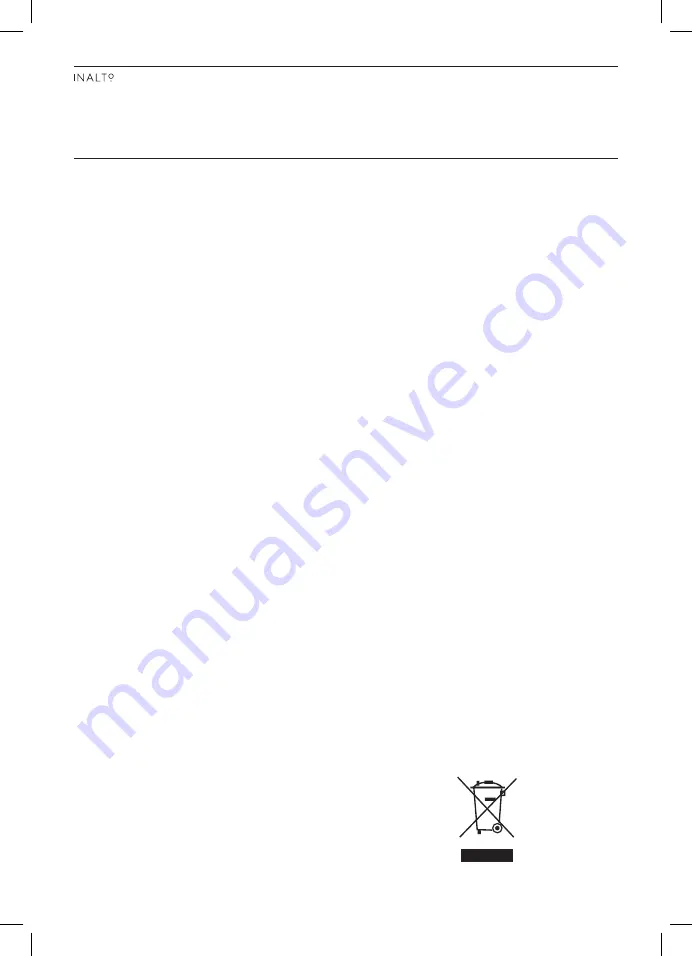
CORRECT DISPOSAL OF THIS PRODUCT

•  This marking indicates that this product 

should not be disposed of with other household 

wastes throughout the EU. To prevent possible 

harm to the environment or human health 

from uncontrolled waste disposal, recycle it 

responsibly to promote the sustainable reuse of 

material resources. To return your used device, 

please use the return and collection systems 

or contact the retailer where the product was 

purchased. They can take this product for 

environmentally safe recycling.

•  For more information, please contact the local 

authority or your retailer where you purchased 

the product.

General Safety Instructions Continued

5

Summary of Contents for IBM529X

Page 1: ...M O D E L C O D E S I B M 5 2 9 X 529L Bottom Mount Refrigerator U S E R M A N U A L I N A LTO H O U S E A H I G H E R L E V E L O F R E F R I G E R AT I O N ...

Page 2: ... you want to learn more about recommended usage the various features of your appliance and importantly taking care of the unit when cleaning our Support Teams are here to help Telephone Contacts AU 1300 11 4357 NZ 0800 763 448 It is important that you read through the following use and care manual thoroughly to familiarise yourself with the installation and operation requirements of your appliance...

Page 3: ...re that you have the following information at hand which can be found on your appliances rating plate Model Number Serial Number AU 1300 11 4357 NZ 0800 763 448 General Safety Instructions 4 Installation Instructions 8 Product Overview 16 Care and Maintenance 20 Troubleshooting 22 Technical Information 23 Warranty Information 24 Contents ...

Page 4: ...ep ventilation openings in the appliance enclosure or in the built in structure clear of obstruction Do not use mechanical devices or other means to accelerate the defrosting process other than those recommended by the manufacturer Do not damage the refrigerant circuit Do not use electrical appliances inside the food storage compartments of the appliance unless they are of the type recommended by ...

Page 5: ...o ensure they do not play with the appliance Never allow children to operate play with or crawl inside the appliance Explosive or flammable substances Do not store explosive substances such as aerosol cans with a flammable propellant in this appliance Do not store or use petrol or any other flammable vapours and liquids in the vicinity of this or any other appliance Do not use such substances for ...

Page 6: ...near the appliance Use of an extension cord and an inverter can negatively affect the performance of the unit Protect from moisture To protect against the risk of electric shock do not immerse the unit cord or plug in water or spray it with any other liquid Do not connect or disconnect the electric plug when your hands are wet Turn the power switch off before removing the plug from the socket WARN...

Page 7: ...INALTO HOUSE PAGE 7 THIS PAGE IS INTENTIONALLY LEFT BLANK ...

Page 8: ... with the appliance Pay particular attention to the safety instructions on the previous pages Clean To remove any dust from transit and storage wipe the interior and exterior surfaces of the appliance with lukewarm water and a soft cloth Dry thoroughly Do not spray or heavily wash the appliance as it may affect the electrical insulation properties LOCATION Precautions before installation Before in...

Page 9: ...seal alignments will not be covered properly Make sure that the foot touches the ground before use Turn the feet clockwise to raise the unit Turn the feet counterclockwise to lower the unit Adjust both feet using the procedures above to level the unit All images in this instruction manual are for indication only your unit may appear differently LOWER RAISE ...

Page 10: ...r door up and away from the unit STEP 4 Unscrew the screws from the middle hinge Remove the hinge Lift the freezer door up and away from the unit Keep screws in a safe place for reuse STEP 5 Unscrew the screws from the bottom hinge Remove the bottom hinge from the bottom right side of the unit STEP 6 Unscrew the hinge shaft from the right side of the bottom hinge and move it to the left side Secur...

Page 11: ...topper and install it on the other side of the door Remove the freezer door self locking block and stopper save them to reuse Take out the left self locking block and stopper from the accessory bag in the refrigerator and install on the left of the door SELF LOCKING STOPPER HOLE CAP SLEEVES STOPPER SLEEVES All images in this instruction manual are for indication only your unit may appear different...

Page 12: ...igerator door bottom hinge vertically Take out the middle hinge of the other side from the accessory bag and then assemble the middle hinge on ATTACH THE LEFT CENTER HINGE All images in this instruction manual are for indication only your unit may appear differently ...

Page 13: ...iddle hinge vertically Take out the top hinge and cover of the opposite side from the accessory bag Assemble the top hinge hinge cover and hole cover TOP HINGE HOLE COVER All images in this instruction manual are for indication only your unit may appear differently ...

Page 14: ...ood drugs or biological products Do not place items such as bottled or sealed container of fluid such as bottled beers and beverages in the freezer to prevent bursts and other losses Before turning the refrigerator on make sure that it has been still for at least half an hour before connecting it to a power supply Before placing any food in your unit turn it on and wait between 2 3 hours or more t...

Page 15: ...INALTO HOUSE PAGE 15 THIS PAGE IS INTENTIONALLY LEFT BLANK ...

Page 16: ...PAGE 16 ...

Page 17: ...INALTO HOUSE PAGE 17 ...

Page 18: ... is adjusted to the far right quick freezing mode closed the freezer tray can store vegetables fruits and other items in it When the freezer frozen food humidification padding is adjusted to the far left quick freezing mode opened the freezer tray should not store vegetables fruits drinks and other easy to freeze items ...

Page 19: ...INALTO HOUSE PAGE 19 THIS PAGE IS INTENTIONALLY LEFT BLANK ...

Page 20: ... etc as these may cause odours in the interior of the refrigerator or contaminated food Clean the bottle frame shelves and drawers with a soft cloth dampened with soapy water or diluted detergent Dry with a soft cloth or dry naturally Wipe the outer surface of the refrigerator with a soft cloth dampened with soapy water detergent etc and then wipe dry Do not use hard brushes clean steel balls wire...

Page 21: ...e In case of a power failure foods may still be cooled inside the appliance for several hours It is advised to reduce opening the doors during this time to keep the inside of the unit cool A long period of nonuse Unplug the appliance and then clean it Store the appliance with the doors left open to prevent odours and bacteria forming Moving Before moving the unit remove all objects inside fix the ...

Page 22: ...r heating Water pan overflows There is too much food in the refrigerator or food stored contains too much water resulting in heavy defrosting Doors may not be closed properly resulting in frost due to entry of air increasing water due to defrosting Heat Housing The refrigerator enclosure may emit heat during operation especially in summer this is caused by the heat dissipation of the built in cond...

Page 23: ...INALTO HOUSE PAGE 23 RATING LABEL Technical Information ...

Page 24: ...g the date of original purchase of the Appliance h you means the purchaser of the Appliance not having purchased the Appliance for re sale and your has a corresponding meaning 2 This warranty only applies to Appliances purchased and used in Australia and is in addition to and does not exclude restrict or modify in any way any non excludable statutory warranties in Australia 3 During the Warranty P...

Page 25: ...ajor failure and for compensation for any other reasonably foreseeable loss or damage You are also entitled to have the Appliance repaired or replaced if the Appliance fails to be of acceptable quality and the failure does not amount to a major failure The benefits to you given by this warranty are in addition to your other rights and remedies under a law in relation to the Appliances or services ...

Page 26: ... codes 3 That the purchaser carefully follows instructions provided in the owner s handbook relating to the proper use and care of the product and does not use the product for any purpose other than the domestic use for which it has been designed 4 Commercial use of the product for professional or industrial purposes will void this warranty 5 That the product was purchased and installed in New Zea...

Page 27: ...y further conditions that may apply to your specific model Nothing herein contained shall be construed in any way as excluding or limiting your rights under the Consumer Guarantees Acts 1993 For Service please visit www applico co nz service or contact the dealer retailer from whom you purchased the product from or call the 0800 number listed below If you are unable to establish the date of purcha...

Page 28: ...A RESIDENTIA GROUP INITIATIVE VERSION 1 0 A H I G H E R L E V E L O F R E F R I G E R AT I O N ...

Reviews: