


40
QUICK START GUIDE
INCOTEX 500F
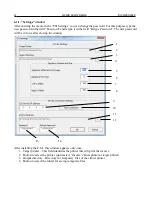
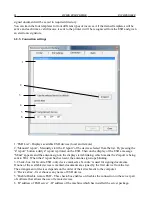
Signature format, position and size:
depend on the model of the certain printer.
Use buttons 5 to 8 to select the position and the size of signature.
5. Signature offset at end of page – shows offset from the bottom of page
6. Signature font size.
7. Offset from the left border of the page
8. Offset from the right border of the page
9. IP address of the device that runs server-side software from the ESD.
Although correct address entered, communicating with the server is not allowed at this time.
10. Pressing this button tests the connection
11. This field shows the path to the archive directory of ESI with structure described below in this
document (the default is C:\Incotex\ESIx64-Client\Archive).
12. Button to select the folder to archive the documents
13. Enter the password (the default password is: 2104204134)
14.
Retype the password
When you have entered all the settings in the “ESI Settings” window, press the “OK” button.
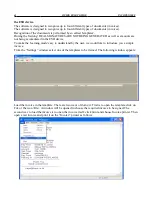
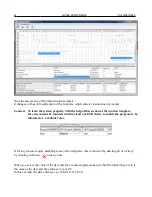
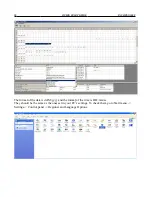
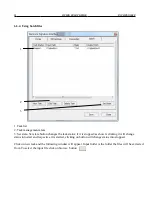
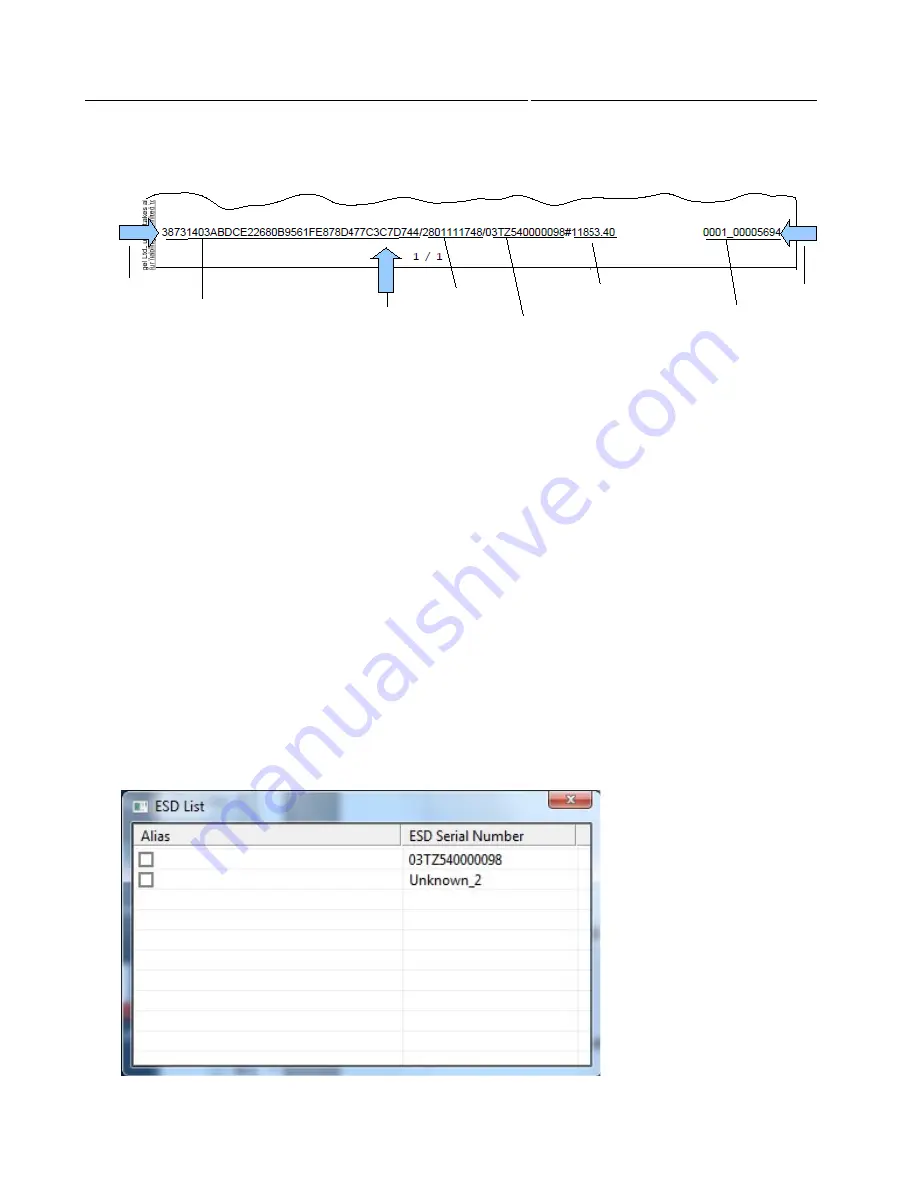
6.2. ESD list
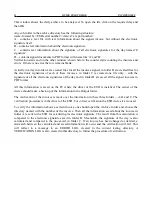
7
signature
5
timestamp
ESD serial
number
amount
number
active
filename
8
Summary of Contents for 500F
Page 1: ...INCOTEX GROUP ELECTRONIC SIGNATURE DEVICE ESD INCOTEX 500F QUICK START GUIDE 2011 ...
Page 2: ...2 QUICK START GUIDE INCOTEX 500F ...
Page 18: ...18 QUICK START GUIDE INCOTEX 500F In Control Panel find and select Printers and Faxes ...
Page 56: ...56 QUICK START GUIDE INCOTEX 500F This is a view of Archive folder and its content ...


