background image

7

CIS

Òåõíè÷åñêèå õàðàêòåðèñòèêè

Ðåêîìåíäàöèè ïî ýêîíîìèè
ýëåêòðîýíåðãèè


Ïðàâèëüíî óñòàíàâëèâàéòå õîëîäèëüíèê

  Íà ðàññòîÿíèè îò èñòî÷íèêîâ òåïëà, â õîðîøî 
ïðîâåòðèâàåìîì ïîìåùåíèè, â ñîîòâåòñòâèè ñ 
ð å ê î ì å í ä à ö è ÿ ì è   ï à ð à ã ð à ô à   « Ó ñ ò à í î â ê à »  
(Âåíòèëÿöèÿ).


 Ïðàâèëüíî óñòàíîâèòå òåìïåðàòóðó

  Óñòàíîâèòå òåðìîðåãóëÿòîð â ñðåäíåå ïîëîæåíèå. 
Óñòàíîâêà èçëèøíå íèçêîé òåìïåðàòóðû ñêàæåòñÿ 
òîëüêî íà ïîâûøåíèè ðàñõîäà ýëåêòðîýíåðãèè, íî íå 
óëó÷øèò ñîõðàííîñòü ïðîäóêòîâ. Ñëèøêîì íèçêàÿ 
òåìïåðàòóðà ìîæåò ïîâðåäèòü ñîõðàííîñòè îâîùåé, 
ãîòîâîãî ìÿñà è ñûðà.

       Íå ïåðåïîëíÿéòå

  Äëÿ ñ îõðàííîñòè ïðîäóêòîâ âàæíà äîñòàòî÷íàÿ 
öèðêóëÿöèÿ âîçäóõà. Ïåðåïîëíåíèå ïðîäóêòàìè 
ìåøàåò ñâîáîäíîé öèðêóëÿöèè âîçäóõà, ïðàâèëüíîé 
ðàáîòå õîëîäèëüíèêà è âûçûâàåò äîïîëíèòåëüíûé 
ðàñõîä ýëåêòðîýíåðãèè.

    
     Äåðæèòå äâåðè çàêðûòûìè

  Îò êðûâàéòå äâåðè òîëüêî ïðè íåîáõîäèìîñòè, 
ïîìíèòå, ÷òî êàæäîå îòêðûâàíèå äâåðè íåñêîëüêî 
ïîâûøàåò òåìïåðàòóðó âíóòðè õîëîäèëüíèêà è íà 
âîññòàíîâëåíèå ïðåæíåé òåìïåðàòóðû çàòðà÷èâàåòñÿ 
ýëåêòðîýíåðãèÿ.

     Çàêðûâàéòå ïëîòíî

    Ñëåäèòå çà òåì, ÷òîáû óïëîòíèòåëüíàÿ ðåçèíà íà 
äâåðÿõ õîëîäèëüíèêà îñòàâàëàñü ÷èñòîé è ïëîòíî 
ïðèëåãàëà ê êîðïóñó ïðè çàêðûòèè, ýòî ïîçâîëèò 
èçáåæàòü óòå÷êè õîëîäíîãî âîçäóõà.


Íå ïîìåùàéòå ãîðÿ÷óþ ïèùó

    Ãîðÿ÷èå ïðîäóêòû, ïîìåùåííûå â õîëîäèëüíèê, 
íåìåäëåííî ïîâûøàþò òåìïåðàòóðó íà íåñêîëüêî 
ãðàäóñîâ. Äàéòå îñòûòü ïðîäóêòàì è ïîñóäå äî 
êîìíàòíîé òåìïåðàòóðû ïåðåä òåì, êàê ïîìåùàòü èõ â 
õîëîäèëüíèê.

14

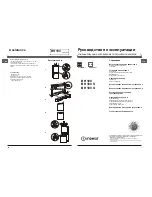
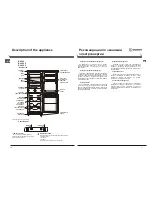
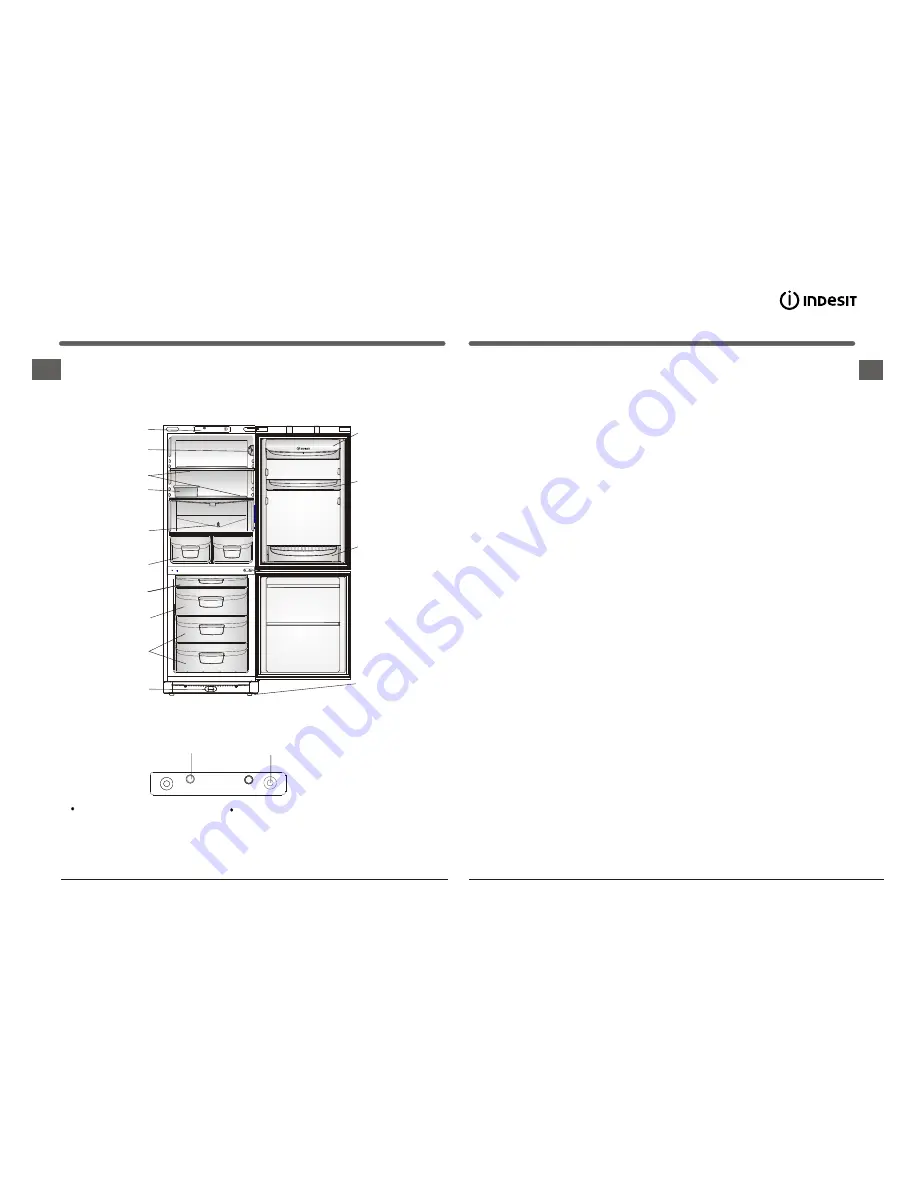
Description of the appliance

GB

Lidded SHELF
with BUTTER DISH

Removable
multipurpose
SHELVES

 *


with EGG TRAY

BOTTLE
SHELF

ADJUSTABLE
FEETS

STORAGE

compartment with

ICE SCREPER 

 FREEZER and

STORAGE

compartment

with ICE TRAY

 FRUIT and

VEGETABLE BIN

 DRAINAGE

SYSTEM

 MEAT

BOX

 SHELVES

 *

 LAMP

BOX

CONTROL

PANEL


Varies by number and/or position

Overall view

Control panel

INDICATOR

LIGHT

THERMOSTAT

KNOB


   INDICATOR LIGHT


When this green indicator light is on, 

it indicates that the appliance is connected
to the electricity network.


   THERMOSTAT KNOB


 This knob allows you to adjust the fridge temperature to

      different position:

     1 - 

warmest

     5 - 

coldest


We recommend, however, a medium position.


DISCHARGE

condensate

BH 180 
BH 180 S
BH 180 X

 FREEZER 

compartment

Summary of Contents for BH 180

Page 1: ...f after all the checks the appliance still does not operate or the problem persist call the nearest Service centre Communicating appliance model serial number this information can be found on the data...

Page 2: ...rature is too high The thermostat knob is not on the proper setting The appliance makes too much noise The gas refrigerant produces a slight noise even when the compressor is not running this is not a...

Page 3: ...ear stoppers installation by owner Defrosting WARNING do not damage the refrigeration circuit Do not use mechanical devices or other tools to speed up the defrosting process unless they have been reco...

Page 4: ...o not overfill Remember that proper storage of food requires good air circulation Overfilling your appliance will prevent this circulation and overwork the compressor Shut the doors Open your applianc...

Page 5: ...date it was frozen In the case of power failure or breakdown do not open the freezer door This will help maintain the temperature inside the freezer ensuring that foods are conserved for at least 17 h...

Page 6: ...y extended amount of time Do not place liquids in containers without covering them because this will lead to an increase in the level of moisture within the refrigerator causing the formation of frost...

Page 7: ...T BOX SHELVES LAMP BOX CONTROL PANEL Varies by number and or position Overall view Control panel INDICATOR LIGHT THERMOSTAT KNOB INDICATOR LIGHT When this green indicator light is on it indicates that...

Page 8: ...feet at the front of the appliance Before placing foodstuffs in the refrigerator or freezer clean the interior well with warm water and baking soda After having plugged the appliance in make sure tha...

Page 9: ...sing of your old appliance remember to break or remove the lock as a safety measure to protect children who might lock themselves inside the appliance when playing In addition if the appliance is a ne...

Page 10: ...habit to get into 12 Installation and Setting up 13 Positioning and connection Description of the appliance 14 Overall view Control panel Using the refrigerator to its full potential 15 Using the fre...

Reviews: