1
4
G
B
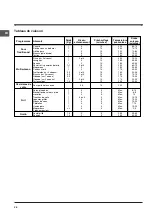
D A T A P L A T E
D im e n s io n s
w id th c m 4 3 .5
h e ig h t c m 3 2
d e p th c m 4 0
V o lu m e
lt. 5 6
E le c tric a l
c o n n e c tio n s
v o lta g e : 2 2 0 -2 3 0 V ~ 5 0 /6 0 H z o r
5 0 H z (s e e d a ta p la te )
m a xim u m p o w e r a b s o rb e d 2 2 5 0W
D ir e c tiv e 2 0 02 /4 0 /E C o n th e la b e l
o f e le c tric o v e n s .
S ta n d a rd E N 5 0 3 0 4
E N E R G Y L A B E L
M o d e ls w ith c o o lin g v e n tila t io n :
E n e rg y c o n s u m p tio n fo r N a tu ra l
c o n v e c tio n h e a tin g m o d e :
C o n v e c tio n
D e c la re d e n e rg y c o n s u m p tio n fo r
F o rc e d c o n v e c tio n C la s s h e a tin g
m o d e : M u lti-c o o k in g
M o d e ls w ith o u t c oo lin g
v e n tila t io n :
E n e rg y c o n s u m p tio n fo r F o rc ed
c o n v e c tio n h e a tin g m o d e :
M u lti-c o o k in g
D e c la re d e n e rg y c o n s u m p tio n fo r
N a tu ra l c o n v e c tio n C la s s h e atin g
m o d e : C o n v e c tio n
T h is a p p lia n c e c o n fo rm s to th e
fo llo w in g E u r o p e a n E c o n o m ic
C o m m u n ity dire c tive s :
2 0 0 6 /9 5 /E E C o f 1 2 /1 2 /0 6 (L ow
V o lta g e ) a n d s u b se q u e n t
a m e n d m e n ts ;
-8 9 /3 3 6 /E E C o f 0 3 /0 5 /8 9
(E le c tro m a g n e tic C o m p a tib ility ) a n d
s u b s e q u e n t a m e n d m e n ts ;
9 3 /6 8 /E E C o f 2 2 /0 7 /9 3 a n d
s u b s e q u e n t a m e n d m e n ts .
2 0 0 2 /9 6 /E C
E
lectrical
connections
!
Ovens equipped with a three-pole power supply
cable are designed to operate with alternating current
at the voltage and frequency indicated on the data
plate located on the appliance (
see below
).
F
ittin
g
t
h
e
po
w
er
suppl
y
ca
b
le
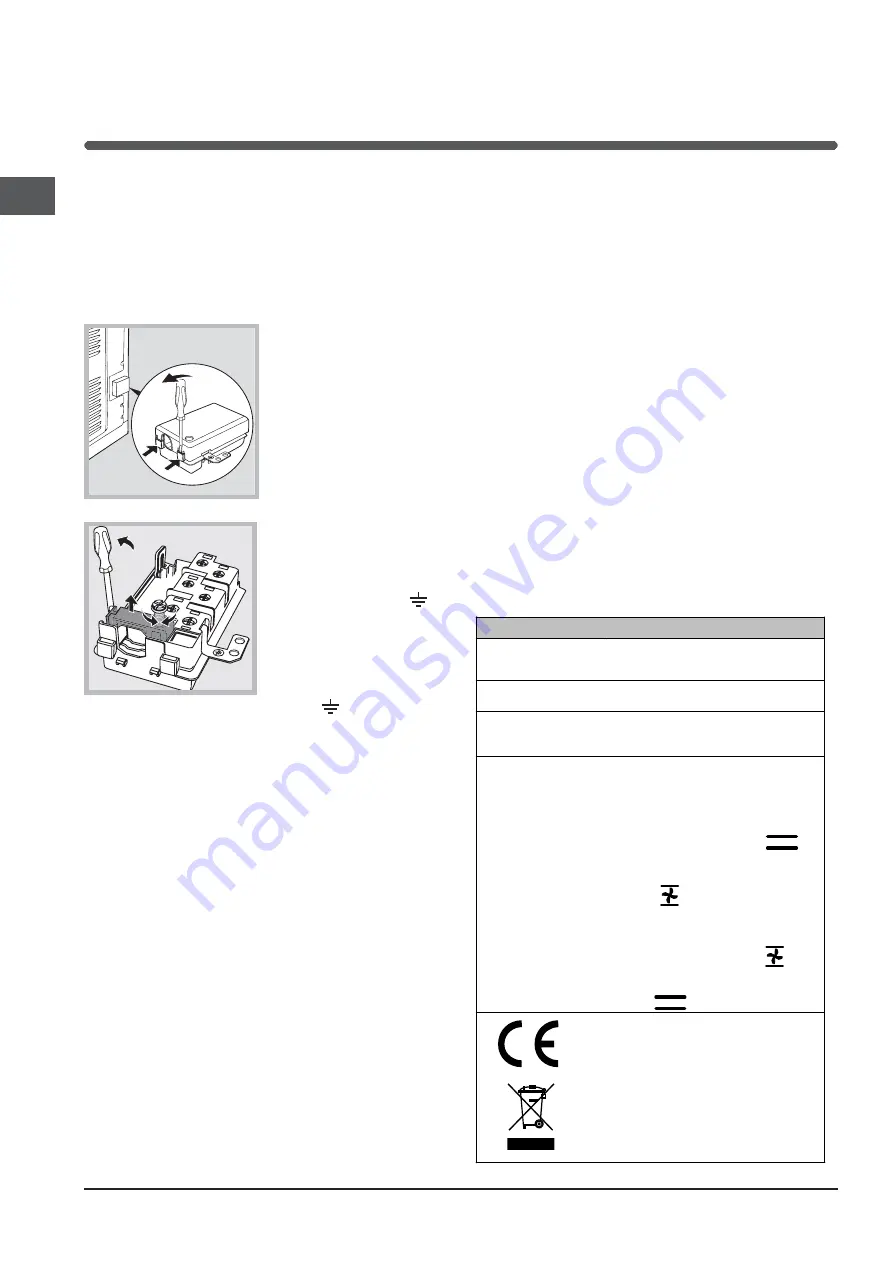
1. Open the terminal
board by inserting a
screwdriver into the
side tabs of the cover.
Use the screwdriver as
a lever by pushing it
down to open the cover
(
see diagram
).
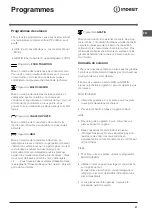
2. Loosen the cable
clamp screw and
remove it, using a
screwdriver as a lever
(see figure).
3. Remove the wire
contact screws L-N-
, then fasten the wires
under the screw heads,
respecting the colour
code: Blue (N), Brown
(L) and Yellow-Green
Verde (
).
C
onnectin
g
t
h
e
suppl
y
ca
b
le
to
t
h
e
mains
Install a standardised plug corresponding to the load
indicated on the data plate (
see side
).
The appliance must be directly connected to the
mains using an omnipolar circuit-brea
k
er with a
minimum contact opening of 3 mm installed between
the appliance and the mains, suitable for the load
indicated and complying with current electrical
regulations (the earthing wire must not be interrupted
by the circuit-brea
k
er). The supply cable must not
come into contact with surfaces with temperatures
higher than 50°C.
!
The installer must ensure that the correct electrical
connection has been made and that it is compliant
with safety regulations.
Before connecting to the power supply, ma
k
e sure
that:
The appliance is earthed and the plug is compliant
with the law.
The soc
k
et can withstand the maximum power of
the appliance, which is indicated on the data plate
(
see below
).
The voltage must be in the range between the
values indicated on the data plate (
see below
).
The soc
k
et is compatible with the plug of the
appliance. If the soc
k
et is incompatible with the
plug, as
k
an authorised technician to replace it. Do
not use extension cords or multiple soc
k
ets.
!
Once the appliance has been installed, the power
supply cable and the electrical soc
k
et must be easily
accessible.
!
The cable must not be bent or compressed.
!
The cable must be chec
k
ed regularly and replaced
by authorised technicians only (
see Assistance
).
!
T
h
e
manu
f
acturer
declines
an
y
lia
b
ilit
y
s
h
ould
t
h
ese
sa
f
et
y
measures
not
b
e
o
b
ser
v
ed
.


