background image

17

Caring for your Dryer

Your Tumble Dryer needs very little attention. The following simple
steps will keep it performing well.

Switch off electricity and remove plug. Ensure hands are dry.

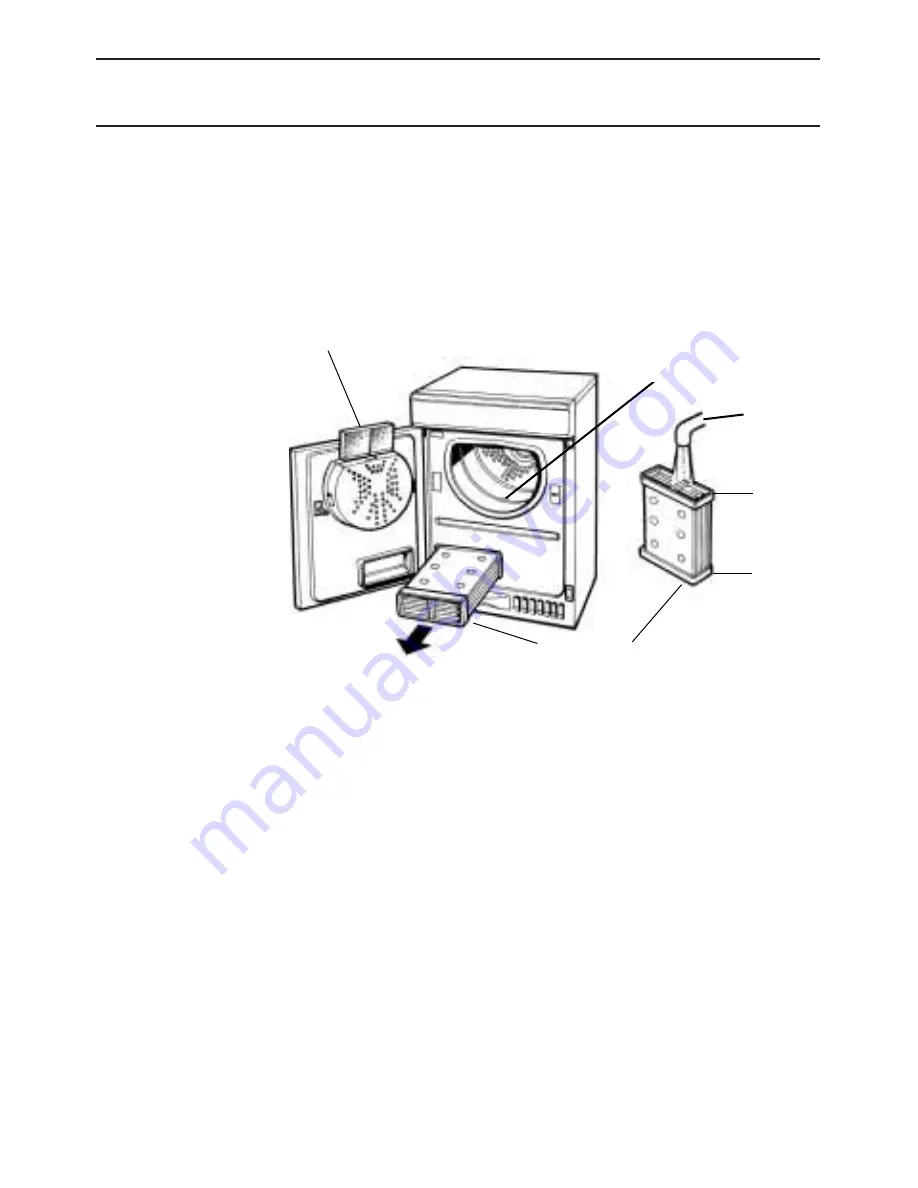
Always clean the filter, by rinsing under the tap or using a vacuum
cleaner. Turn the dryer by hand to check that small items like hand-
kerchiefs do not get missed. Always empty the water container.

Wipe the drum and seal with a damp cloth.

Remove condenser unit and clean any build up of fluff from between
the plates by rinsing it under the tap with cold water. This should be
done with cold water from the rear of the condenser. Refit with the
handle at the front.

Occasionally clean the surface of the stainless steel sensor inside the
drum with vinegar to remove water contaminates. Apply carefully with
a cloth this will maintain the drying performance of the dryer. The
sensor is approx 50mm (2") round and located between the vanes of
the drum towards the front of the dryer, rotate the drum if necessary
to locate it.

Every 6 months vacuum the front air intake grille and Vents at the rear
of the dryer, to remove the build up of fluff, lint or dust.
To remove accumulation of fluff from the door, front of condenser and
filter areas, clean occasionally with a vacuum cleaner.

Abrasive cleaners, scouring agents, acids, chlorine bleach or metal
polish to clean any part of the machine.

Your tumble dryer uses special bearing components. Lubrication by
the user is not necessary and must not be attempted.

We strongly recommend that all appliances are regularly checked for
electrical and mechanical safety.

Fluff filter

Front

Rear

Tap

When finished

After each load

Every Week

Every Month

Cleaning

Do not use

Lubrication

Condenser

Sensor

Summary of Contents for G85C

Page 1: ...Tumble dryer Instructions for installation and use G85C ...

Page 2: ... wrong If it still won t work 3 4 5 6 7 8 9 10 11 12 13 14 15 16 17 18 19 Register your purchase now Simply complete and return the Registration Form supplied with the appliance documents Retention of this Instruction Book This Instruction Book must be kept handy for reference as it contains important details on the safe and proper use of the appliance If you sell or pass the appliance to someone ...

Page 3: ... in water and detergent then well rinsed and spun NEVER Tumble dry articles that have had chemicals used for cleaning NEVER Dry articles that are contaminated with flammable substances such as petrol oil paint hair lacquer creams cooking fat or oil NEVER Tumble dry rubber foam rubber plastic plastic foam nappy pants or liners polythene or paper Large very bulky items including duvets and sleeping ...

Page 4: ...electrical requirements ALWAYS Ensure that your dryer is installed correctly and has adequate ventilation see Where to put your dryer ALWAYS Observe the rules for drying garments In particular woollen articles should not be dried in a tumble dryer unless they are labelled Superwash Machine washable or have the May be tumble dried symbol If in any doubt do not dry wool in the machine Unlike other m...

Page 5: ... GREEN YELLOW EARTH BLUE NEUTRAL BROWN LIVE If a replacement plug is to be fitted the appropriate wire must be connected to the correct terminal as follows Connect Green Yellow to terminal marked Earth or Green or Blue to terminal marked Neutral or N or Black Brown to terminal marked Live or L or Red If the plug being replaced is a non rewirable type then the cut off plug must be disposed of safel...

Page 6: ...fore you first use it to remove any dust which may have accumulated during transit Water Container Empty after Each Load Air intake grille Plinth Moulding Not fitted to all models Serial Model numbers Fluff filter CLEAN AFTER EACH LOAD Door catch Rating Plate Condenser Keep clear of fluff Clean periodically Door latch see The Controls ...

Page 7: ...ed This airflow is essential to condense the water produced drying the washing the dryer will not operate efficiently in an enclosed space or cupboard If using your dryer in a small or cold room some condensation could be experienced DO NOT use 2 way adaptors or extension leads The door of your Dryer is reversible and can easily be changed Exchange diagonally hinge brackets and blanking plugs Exch...

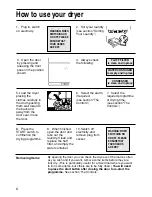
Page 8: ... and take out the laundry Clean and replace the fluff filter and empty the water container 10 Switch off electricity and remove plug from socket WARNING WHEN SWITCHING ON OR OFF PLEASE ENSURE THAT YOUR HANDS ARE DRY WARNING WHEN SWITCHING ON OR OFF PLEASE ENSURE THAT YOUR HANDS ARE DRY FLUFF FILTER is clean and in place WATER CONTAINER is empty and in place CONDENSER is clean and in place Removing...

Page 9: ...ase Care phase 8 30 minutes LOW heat include cool tumble followed by the Crease Care phase 9 20 minutes LOW heat include cool tumble followed by the Crease Care phase 10 Airing 20 minutes of cool tumble 11 Easy Iron Programme see section Easy Iron Programme For description of other programmes see next page Press and release the START button to commence a drying programme The drying programme must ...

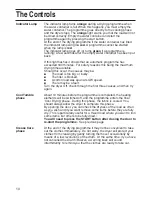
Page 10: ...ilter is blocked A cotton load was spun at LOW speed There may be a fault Turn the dryer Off check through the first three causes and then try again About 10 minutes before the programme is completed the heating elements will be switched off and the programme enters the final Cool Drying phase During this phase the fabric is cooled You should always allow the dryer to complete this phase By openin...

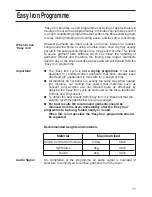
Page 11: ...drying programme It has been designed to condition soften garments that have already been dried and left unattended in this state for a period of time All materials do not behave in exactly the same way when heated For instance our testing has shown that materials such as Tencel and Acrylics are not relaxed quite as effectively by applying the Easy Iron cycle as we found on the more traditional Co...

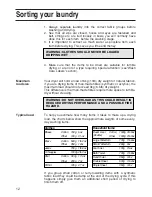
Page 12: ...without creasing To help you estimate how many items it takes to make up a drying load the charts below show the approximate weights of some every day washing items If you group small cotton or terry towelling items with a synthetic fabric load they could be damp at the end of the drying cycle If this happens simply give them an additional short period of drying to finish them off Maximum load siz...

Page 13: ... rainwear or any other articles which are inflammable or contain inflammable substances e g towels contaminated with hair lacquer Fibreglass e g some types of curtains Items which have been dry cleaned Woollens Woollen items need as much care in drying as they do in washing The movement of the tumble drying action causes the woollen fibre to shrink and distort Garments with the ITCL Code see Items...

Page 14: ...vier starch solution than you would when drying the items on the washing line Make sure that as much of the solution is removed from the load as possible before placing it in the Dryer Remove the items from the dryer as soon as they reach ironing dampness If they are overdried the starch will powder leaving the fabric limp which rather defeats the purpose of the exercise To make sure all your tumb...

Page 15: ...tainer out of the dryer and empty it into a sink or other suitable drain Empty the water container after EVERY programme Failure to do this will result in the water container becoming full and the load will not dry Water Container Plinth Moulding not fitted to all models Sink Water Container To Empty Water Container ...

Page 16: ...is cold your clothes will take longer to dry than if the room is warm Some bulky items such as padded jackets can be dried with care and we do advise that you remove these items several times shake them and return them to the dryer THERE ARE HOWEVER SOME ITEMS THAT WE DO NOT ADVISE YOU TO DRY SEE ITEMS NOT SUITABLE FOR TUMBLE DRYING All fabrics contain a little natural moisture even when dry and t...

Page 17: ...r contaminates Apply carefully with a cloth this will maintain the drying performance of the dryer The sensor is approx 50mm 2 round and located between the vanes of the drum towards the front of the dryer rotate the drum if necessary to locate it Every 6 months vacuum the front air intake grille and Vents at the rear of the dryer to remove the build up of fluff lint or dust To remove accumulation...

Page 18: ...r each load 2 Does the water container need emptying Is the Indicator lamp glowing red orange The bottle should be emptied after every load 3 Does the Condenser need cleaning It should be cleaned every month 4 Have you selected the correct programme setting for the type of fabric you are drying 5 Have the air intake grille or rear vents of the Dryer been obstructed 6 Were the clothes excessively w...

Page 19: ...ex piece of equipment DIY repairs or unqualified and untrained service people may put you in danger could damage the appliance and might mean you lose cover under the Parts Guarantee If you do experience a problem with the appliance don t take risks call in our Service Engineer Our Spare Parts are designed exclusively to fit your appliance Do not use them for any other purpose as you may create a ...

Page 20: ...PRINTED BY SIMLEX FOUR ASHES WOLVERHAMPTON June 2003 Part number 0766200121 01 ...

Reviews: