4
5
4
5
Positioning speakers, please
remember that the characteristics of
the room play an important role in
the sound quality:
•
a room with not much furniture
and/or with large windows increases
the high frequencies;
•
a room with a lot of furniture and/
or carpets and curtains decreases the
high frequencies;
•
placing the speakers close to a
corner the level of low frequencies is
increased.
Important
:
before make holes, check that there
are no
pipes or cables in the wall;
•
place the speakers away from
heat generating items, in a dust
and moisture protected place.
All connections should be made
with the amplifier switched off.
Make sure that the load’s
impedance is not lower then the
accepted one from your amplifier.
Link the speakers by using good
quality cables; the cable cross
section have to be proportionate
to the length: 1,5 square
millimeters up to three metres; 2,5
millimeters for longer lengths.
Keep the polarities: in the event of
wrong phase (opposite polarity) the
performances of the audio system can
be reduced. Usually the positive is
marked with the red color and/or the
“+” sign, the negative with the black
and/or the “-” sign.
•
Nel posizionare gli altoparlanti, tenete
presente che le caratteristiche della
stanza giocano un ruolo importante
nella riproduzione del suono:
• un ambiente con pochi mobili e/o
grandi superfici vetrate incrementa le
alte frequenze; • un ambiente con
molti mobili e/o tappeti/tendaggi
assorbe le alte frequenze;
posizionando i diffusori vicino ad un
angolo si rinforzano le basse
frequenze.
Importante
: prima di praticare fori, verificate che
non ci
siano tubi o cavi nella parete;
collocate i diffusori lontano da
oggetti che
generano calore, in un luogo
protetto da polvere ed umidità.
E’ bene che tutti i collegamenti
siano fatti con l’amplificatore
spento. Verificate che l’impedenza
di carico non sia inferiore a quella
accettata dall’amplificatore.
Collegate i diffusori all’amplificatore
con cavo di buona qualità: la sezione
deve essere proporzionata alla
lunghezza: 1,5 millimetri quadri sino a
tre metri; 2,5 millimetri per lunghezze
superiori.
Rispettate le polarità: eventuali errori di fase
(inversione di polarità) possono ridurre le
prestazioni del sistema audio.
Abitualmente
il colore rosso e/o il segno “+” indicano il
positivo, il colore nero e/o il segno “-”
indicano il negativo.
•
•
•
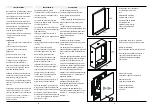
Rimuovete la griglia
utilizzando il gancio in dotazione.
Remove the grille
using the provided hook.
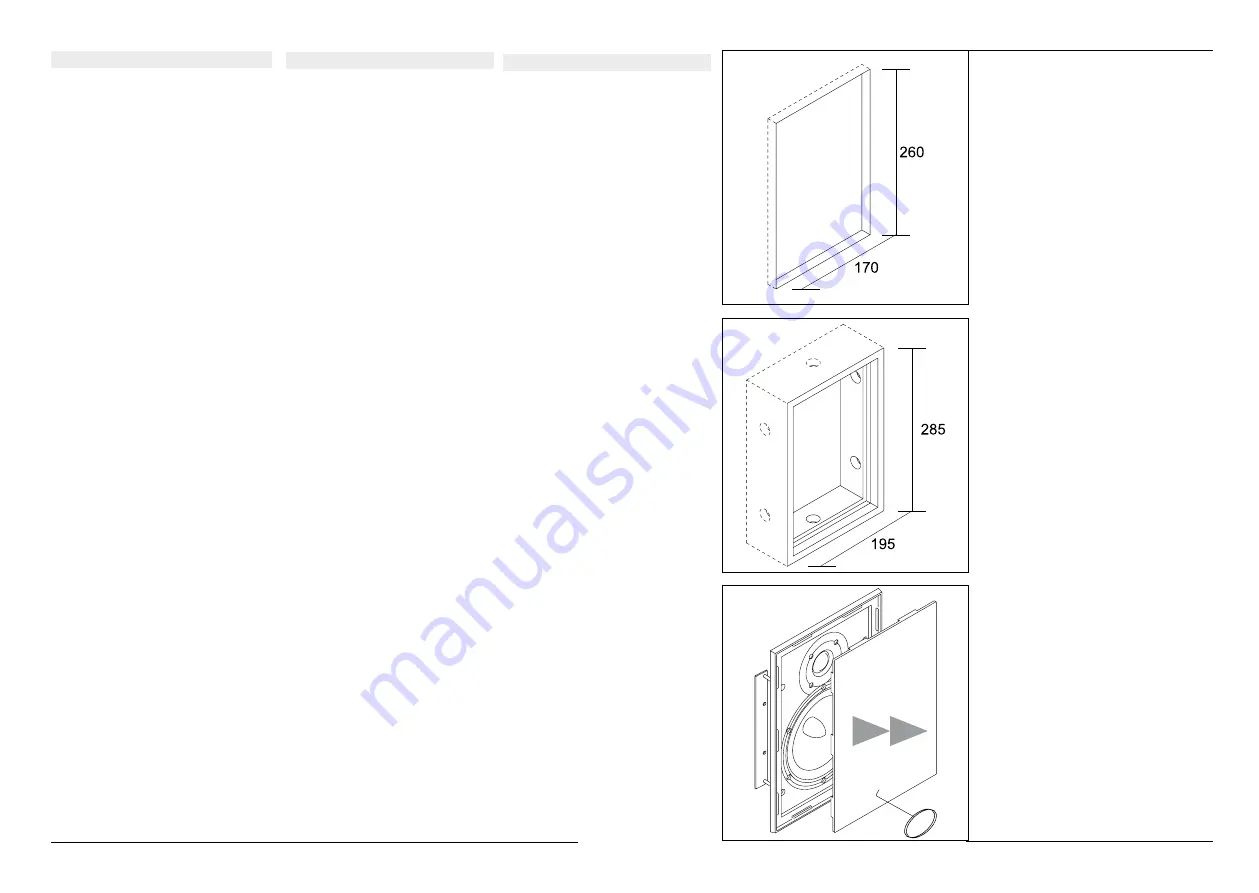
Installazione su cartongesso:
è sufficiente praticare un
foro.
Plasterboard mounting:
simply make a cutout.
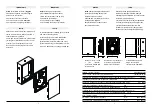
Installazione su pareti in muratura:
murate il box in legno al filo del muro.
Brick wall mounting:
set the wooden box flush with the wall.
INSTALLAZIONE
INSTALLATION
USTAWIENIE
Ustawienie głośników oraz
charakterystyka pomieszczenia w
którym stoją wpływa na jakość
brzmienia
:
-pokój z niewielką ilością mebli i/lub z
dużymi oknami wzmacnia wysokie
tony
,
-pokój z dużą ilością mebli i/lub
dywanów i zasłon osłabia wysokie tony
,
-umieszczenie głośników blisko ściany
lub w rogu pomieszczenia, zwiększa
poziom niskich tonów.
WAŻNE:
-
p
rzed wywierceniem otworów
montażowych upewnij się że w ścianie
nie ma kabli ani rur
-
n
ie należy montować głośników w
pobliżu urządzeń emitujących ciepło lub
w warunkach wysokiej wilgotności lub
kurzu.
Wszystkie podłączenia należy wykonać
na wyłączonym amplitunerze. Należy
się upewnić
,
że impedancja nie jest
niższa niż ta akceptowana przez Twój
wzmacniacz.
Podłącz głośniki stosując
przewody wysokiej jakości; przekrój
kabla musi być proporcjonalny do
długości: 1,5 milimetra kwadratowego
do trzech metrów; 2,5 milimetra dla
większych długości.
Zwróć uwagę na polaryzację: w
przypadku niewłaściwej fazy
(przeciwna biegunowość) wydajność
systemu audio może zostać
zmniejszona. Zwykle dodatni jest
oznaczony kolorem czerwonym i / lub
znakiem „+”, ujemny czarnym i / lub
znakiem „-”.
Aby zamontowac głosnik
w ściance karton-
gipsowej należy wyciąć
otwór o odpowiednich
wymiarach
Aby zamontować głośnik w ściance z
cegły lub ściance z betonu nalezy
zastosować dołączoną obudowę
głośnikową.
Zdejmij maskownicę
używając dołączonego
haczyka.


