2
ENSURE that the petrol is only stored in an approved storage
container.
DO NOT refuel the motor while it is in operation or hot.
DO NOT refuel the motor in the vicinity of sparks, a naked
flame or a person smoking.
DO NOT over fill the fuel tank and avoid spilling petrol when
refueling. Spilled petrol or petrol vapour may ignite. If spillage
occurs, ensure that the area is dry before starting the motor.
ENSURE that the fuel tank cap is securely fitted after
refueling.
! CHEMICAL HAZARDS
DO NOT operate or refuel a petrol or diesel motor in a
confined area without adequate ventilation.
CARBON MONOXIDE exhaust gases from internal
combustion motor driven units can cause death in confined
spaces.
! NOISE HAZARDS
EXCESSIVE NOISE can lead to temporary or permanent loss
of hearing.
WEAR an approved hearing protection device to limit noise
exposure. As required by Occupational Health and Safety
regulations.
PROTECTIVE CLOTHING
ALWAYS wear approved hearing protection when working in a
confined work space. Protective goggles and a dust mask
should be worn when working in a dusty environment.
Protective clothing and footwear may also be desirable when
working with hot mix bitumen.
! ADDITIONAL HAZARDS
Slip/Trip/Fall is a major cause of serious injury or death.
Beware of uneven or slippery work surfaces.
Exercise care when working in the vicinity of unprotected holes
or excavations.
OPERATION
Pre start-up inspection
The following Pre-start-up inspection must be performed
before the start of each work session or after every four hours
of use, whichever is first.. If any fault is discovered, the
compactor must not be used until the fault is rectified.
1.Thoroughly inspect the compactor for signs of damage.
Check components are present and secure. Pay special
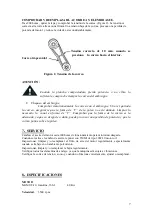
attention to the belt drive safety guard fitted between the
engine and the vibrator unit.
2. Check the engine oil level and top up as necessary.
3. Check the engine fuel level and top up as necessary.
4. Check for fuel and oil leaks
Start and stop Procedure
Petrol Engine
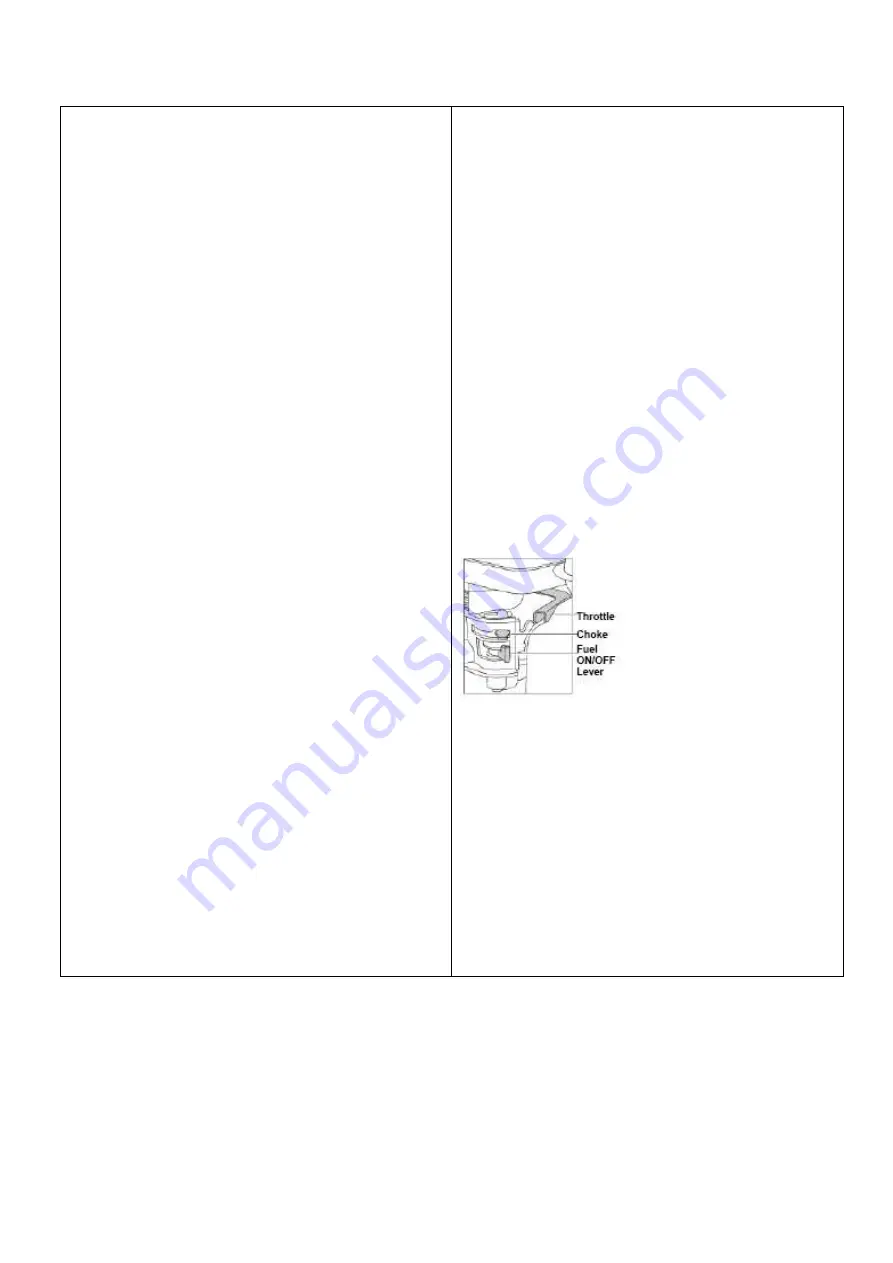
1. Open the fuel tap by moving the fuel ON / OFF lever fully to
the right.
2. If starting the engine from cold, set the choke ON by
moving the choke lever fully to the left. If restarting a warm
engine, the choke is usually not required. However, if the
engine has cooled to a degree, partial choke may be
required.
3. Turn the engine ON/OFF switch clockwise to the “1”
position.
4. Set the throttle to the idle position by moving the throttle
lever fully to the right. Do not start the engine on full throttle,
as the compactor will vibrate as soon as the engine starts.
5. Taking a firm hold of the control handle with one hand,
grasp the recoil starter handle with the other.. Pull the recoil
starter until engine resistance is felt, then let starter return.
6. Taking care not to pull the starter’s cope fully out, pull the
starter handle briskly.
7. Repeat until the engine fires.
8. Once the engine fires gradually, set the choke lever to the
OFF position by moving it to the right.
9. If the engine fails to fire after several attempts, follow the
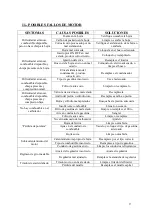
trouble-shooting guide on page 5.
10. To stop the engine, set the throttle to idle and turn the
engine ON /OFF switch anticlockwise to the “0” position.
11. Turn the fuel off.
The machine is best suited to the compaction of bituminous
and granular materials e.g. granular soils such as silt and clay
are best compacted using the impact force produced by a
vibrating rammer.
Where possible the site should be graded and leveled before
commencing compaction.
For more information on starting and correct operating
procedures of the motor, refer to the motor operation manual
supplied with the unit.
Increase the motor speed to the maximum setting using the
hand throttle lever, before commencing compacting.
The machine should be controlled by grasping the handle with
both hands and applying restraint to control the forward
motion.
Summary of Contents for MAMUT-10
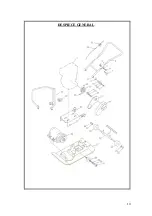
Page 12: ...10 DESPIECE GENERAL ...
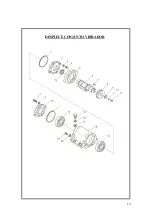
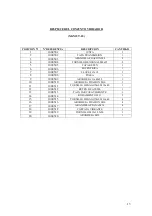
Page 14: ...12 DESPIECE CONJUNTO VIBRADOR ...
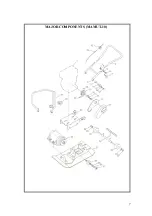
Page 22: ...7 MAJOR COMPONENTS MAMUT 10 ...
Page 24: ...9 VIBRATOR ASSEMBLY MAMUT 10 ...
Page 36: ...11 MAMUT 10 LISTA DE PEÇAS ...

