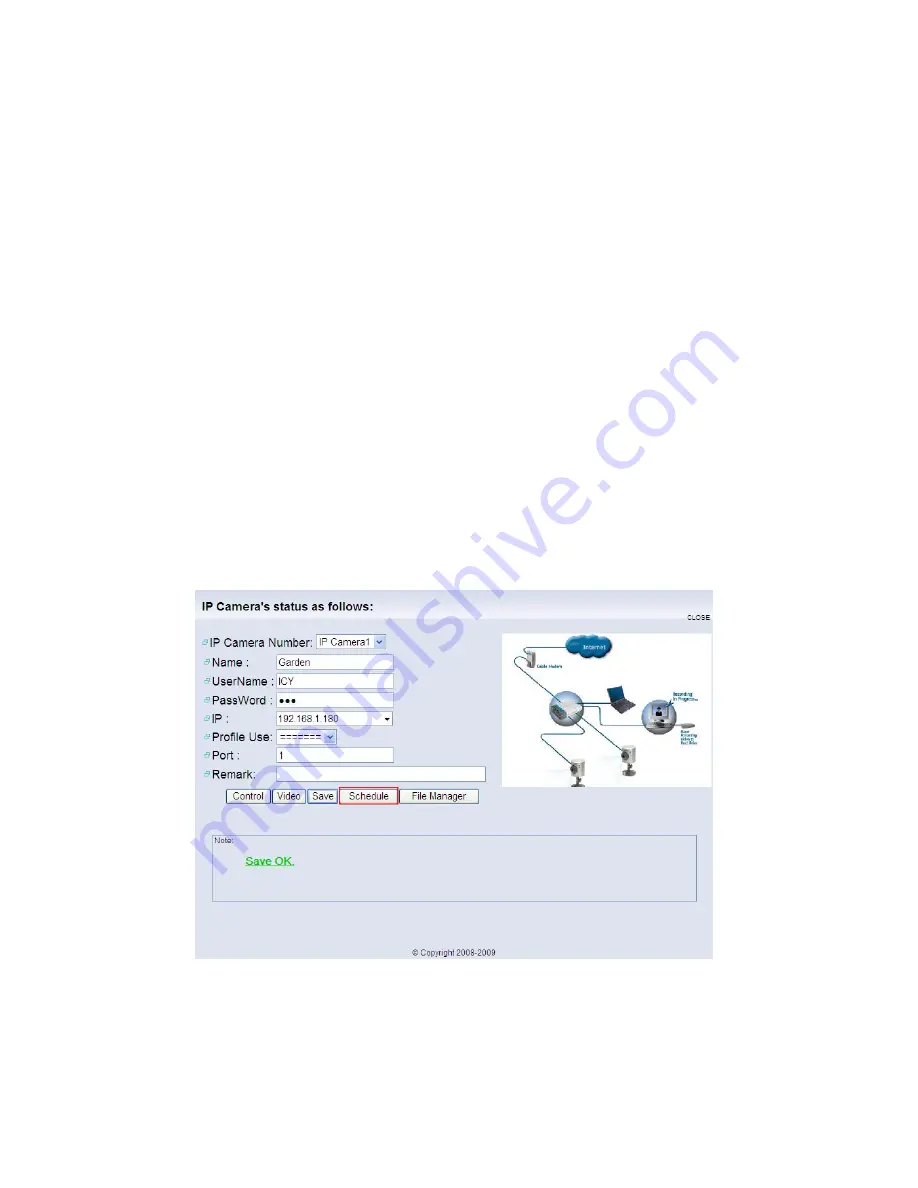
d.
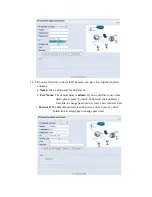
IP:
Once the IP Camera connects correctly, the user just click on drop down
list, the system will automatically detect IP address.
e.
Profile Use:
After you setup schedule, you can choose one of the schedules
from drop down list.
f.
Port:
The default port number is 80. We strongly suggested that use default
port number unless this port number has already been occupied by
another application.
g. Remark:
This column is for you to write note for IP Camera, and this is not
required column.
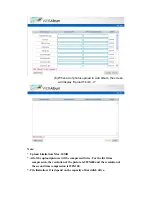
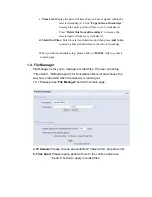
After the required values has been input to correspond fields, please press
“
Save”
button to save the value.
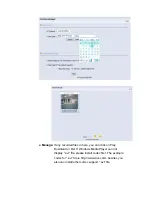
1.3. Arrange Schedule Profile
This sub menu displays the scheduled profile(s). To customize the profile, click
Add and enter a description for the profile in the prompt dialog window. Press
OK to add it to the Schedule Profiles list. Press Delete button to delete the
selected profile from the list.
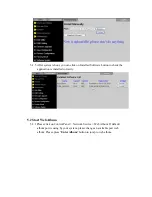
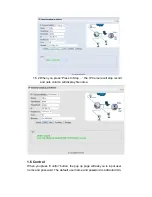
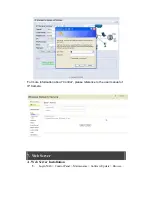
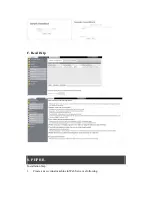
1.3.1 Please press “Schedule” button to start setup process.
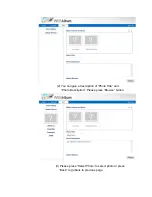
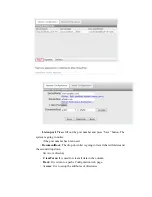
1.3.2 Please click on “Add” button to enter profile name, or press “BACK” link
from right up corner to go back to previous page.
Summary of Contents for I-NA312N1-S
Page 1: ...Model I NA312N1 S Network Attached Storage User Manual www ineotechusa com...
Page 3: ...uShare Web Album IP Camera Web Server PHP BB Gallery...
Page 17: ...d Internet Protocol Setting...
Page 18: ...e Time Settings f Wizard Setting Confirmation...
Page 20: ...b Step 2 3...
Page 21: ...c Step 3 3 3 Add Group a Step 1 3...
Page 22: ...b Step 2 3 c Step 3 3...
Page 23: ...4 Add Share a Step 1 3 b Step 2 3...
Page 24: ...c Step 3 3...
Page 32: ...a Windows FTP Access button...
Page 33: ...b NFS Access button...
Page 34: ...3 Printer Server...
Page 37: ...3 Time Settings...
Page 39: ...5 Information To display some basic system information...
Page 47: ......
Page 53: ...Press play to start play music C Photo Please select UPnP NAS3000 from source list...
Page 54: ...Please select photo folder from list Now you can select photo to browse or run slideshow...
Page 56: ...5 1 3 Please press Upload button 5 1 4 The package is uploading...
Page 81: ...2 Update Choose any ServerName from table and press Update button...
Page 85: ...E Sample To verify the apache server is working normal E 1 Login admin admin E 2 Message Page...
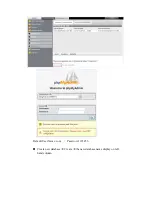
Page 88: ...4 Press phpMyAdmin link to create a database named as phpbb 4 1 Please login in to phpMyAdmin...
Page 98: ...11 Please press Continue to step 3 button 12 Please press Continue to step 4 button...
Page 112: ...Log File 1 Samba Log...
Page 113: ...2 FTP Log...
Page 114: ...3 DHCP Server Log 4 System Log...
Page 115: ...5 Administration Log...
Page 129: ...available http www neo2tech com Thank you for choosing ineo Tech products...

