Application Note
11
Revision 1.0
2016-11-01
Getting Started with the XDPL8220 Reference Board Using .dp Vision Software
Table 4
below shows the recommended procedures of using test configuration function in .dp Vision to load
the new parameter values in the RAM and test the application with the new configuration.
Table 4
Test Configuration procedures
Step
Instruction
I
Open configuration file and change parameter value (see example in
Figure 9
)
II
Ensure that the primary supply voltage (e.g AC input) to the board is switched off and the
hardware connection for configuration is ok based on
Figure 2
and
Figure 3
.
III
Press
to supply power and establish connection to the target XDPL8220. After this step,
XDPL8220 will be in configuration mode and the device status
should change to
.
IV
Ensure LED output is connected to the board and switch on AC input (e.g. 230VAC).
After this step, the board does not startup because XDPL8220 is still in configuration mode.
V
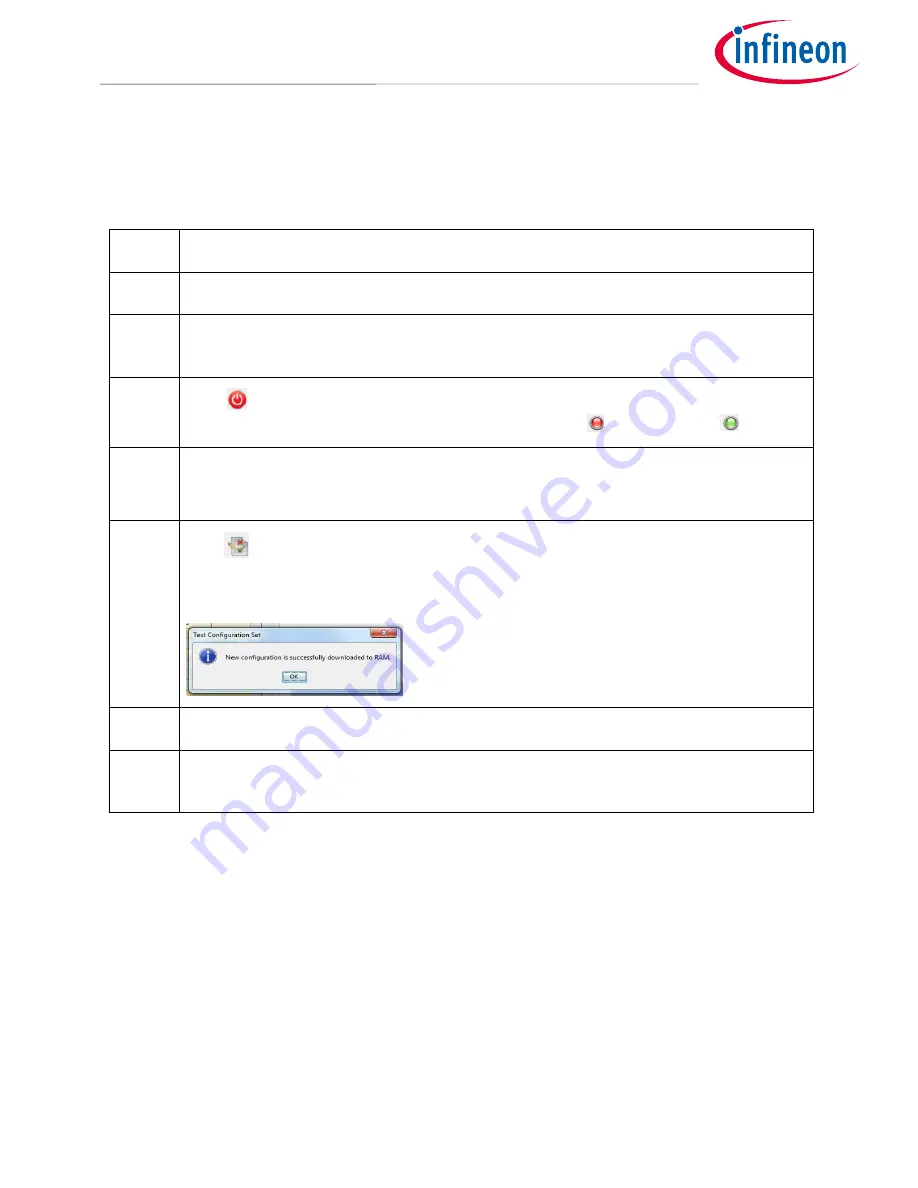
Press
to test configuration with target XDPL8220
After this step, the IC will automatically start up with the new configuration and you should see
a pop up window like below:
VI
Press “OK” on the pop up window.
VII
Repeat the steps to test another configuration change. Otherwise, turn off the AC input and
disconnect the programming cable from board connector.
Note:
If there is any error encountered in between step I to VII, please kindly refer to the message bar of
.dp Vision for the error message. For more details, please kindly refer to the .dp Vision user manual
[5]
.


