Chapter 3 - Configuration scenarios
User Manual
R5000 series - Web GUI
108
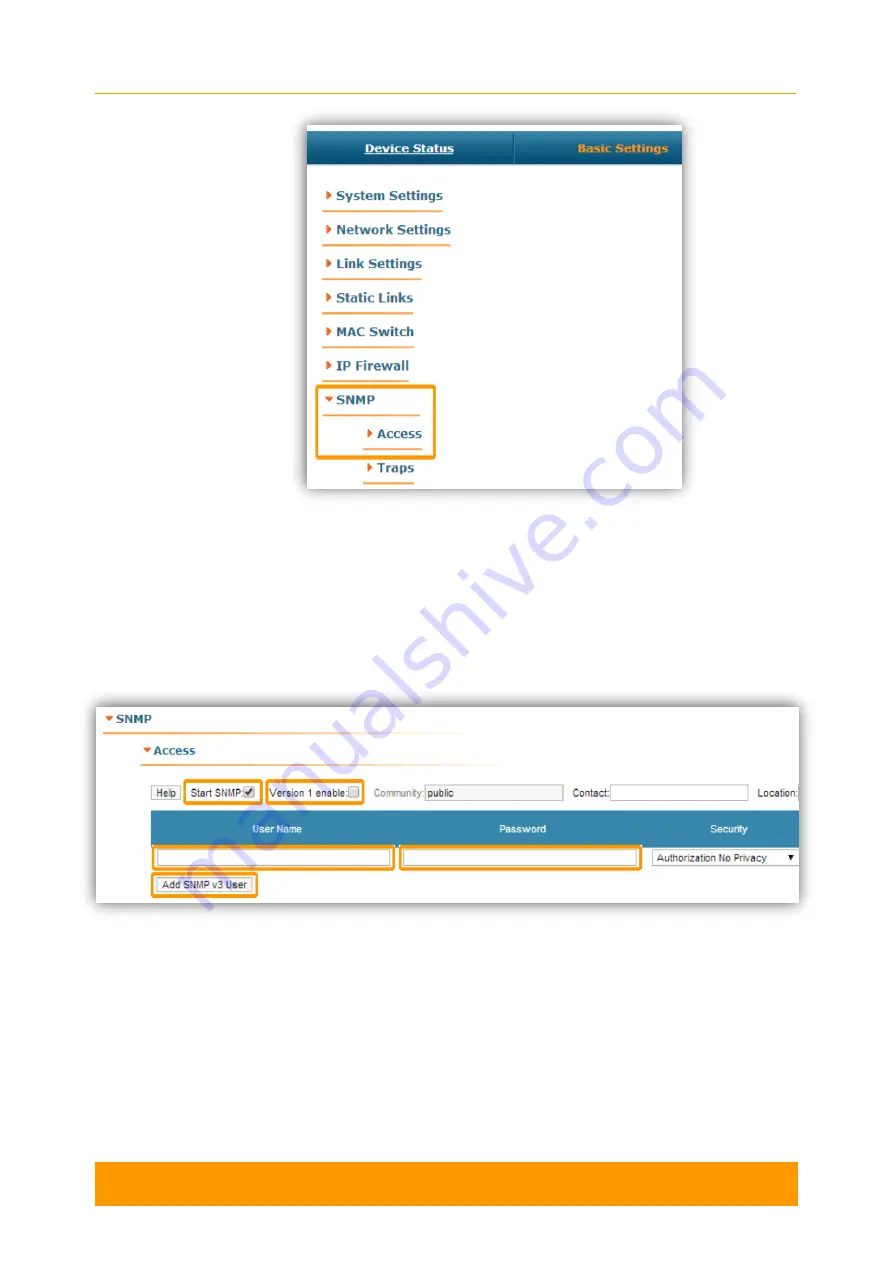
Figure 85 - SNMP access
In this section, we s
elect the “Start SNMP” corresponding checkbox (in order to
enable the SNMP agent) and unselect “Version 1 enable” corresponding checkbox
(in order to disable the SNMPv1, which is enabled in the default configuration). Then
press the «Add SNMPv3 User» button and insert your desired SNMP login and
password into the
“User Name” and “Password” fields and leave the rest of the
parameters available in this section with their default values:
Figure 86 - Create SNMPv3 account
In order to finalize the SNMP configuration, press the «Apply» button (at the bottom
of the page).
Now, we have the SNMP agent active and the SNMPv3 account already created for
our unit.


