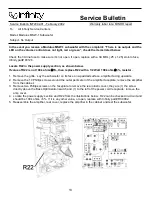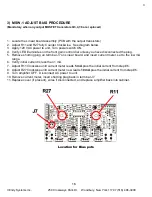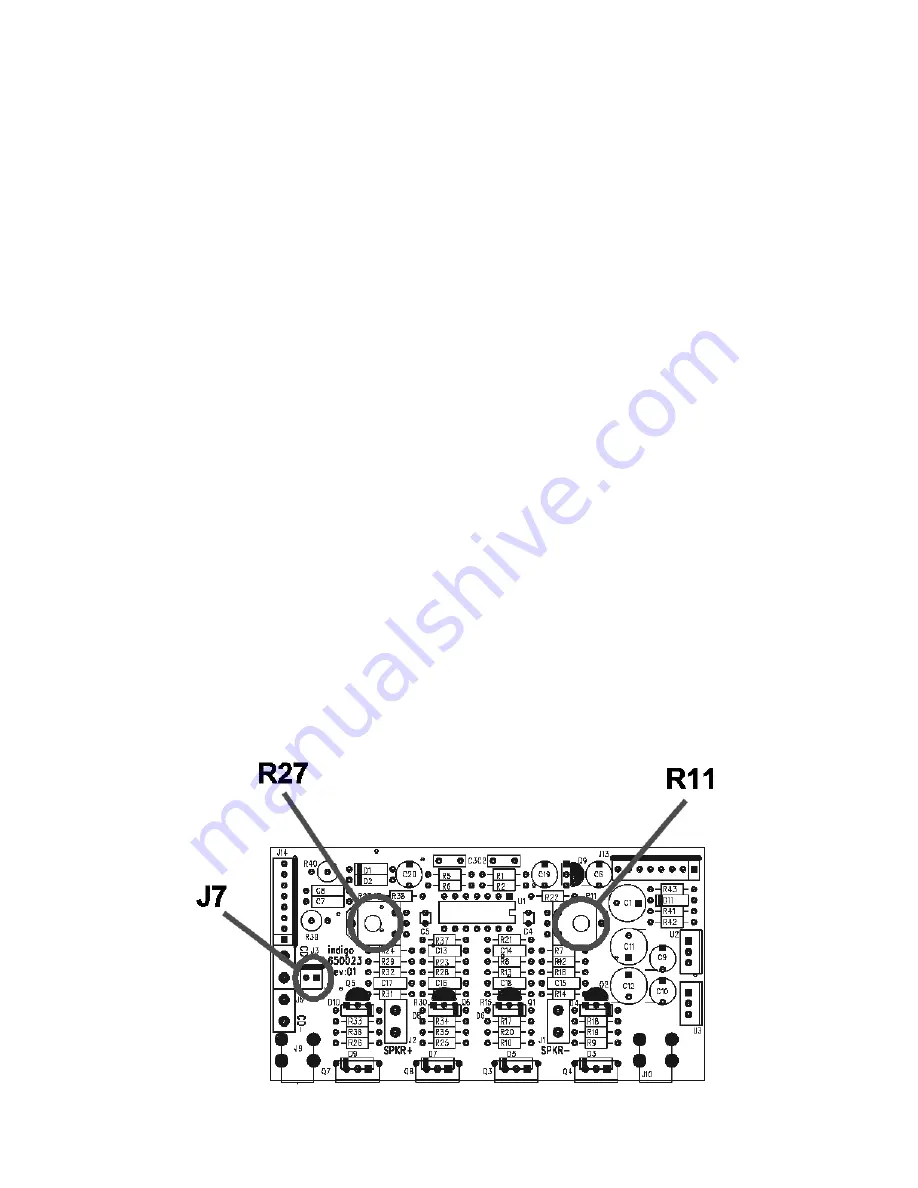
MSW-1 ADJUST BIAS PROCEDURE
(Mandatory when any output MOSFET transistors Q3,4,7,8 are replaced)
1. Amplifier should be unplugged and OFF.
2. Remove Amp assembly from cabinet; remove rear plastic cover if present. All wires exiting
the cover can remain connected unless they will prevent you from removing the amplifier or
accessing potentiometers on the Linear board PCB in the following steps.
3. Locate the Linear board assembly (PCB with the output transistors)
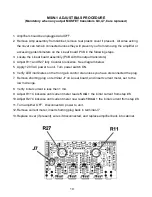
4. Adjust R11 and R27 fully Counter Clockwise. See diagram below.
5. Apply 120 VAC power to unit, Turn power switch ON.
6. Verify LED illuminates on the front gain control dial unless you have disconnected the plug.
7. Remove shorting plug on terminal J7 on Linear board, and insert current meter, set to the
low mA range.
8. Verify initial current is less then 1 mA.
9. Adjust R11 Clockwise until current meter reads
5 mA
+ the initial current from step #8.
10. Adjust R27 Clockwise until current meter now reads
10 mA
+ the initial current from step #8.
11. Turn amplifier OFF. Disconnect AC power to unit.
12. Remove current meter; insert shorting plug back in terminal J7.
13. Replace cover (if present), wires if disconnected, and replace amplifier back into cabinet.
19
Summary of Contents for Modulus MSW-1
Page 3: ...MSW 1 3 DETAILED SPECIFICATIONS ...
Page 4: ...MSW 1 4 DETAILED SPECIFICATIONS Cont ...
Page 5: ...MSW 1 5 CONTROLS ...
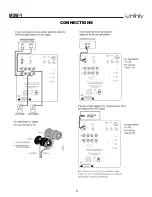
Page 6: ...MSW 1 6 CONNECTIONS ...
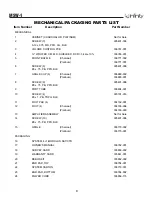
Page 10: ...MSW 1 10 PACKAGING 16 17 18 19 21 20 22 00533 24 23 ...
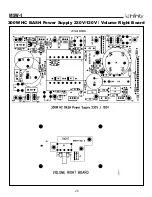
Page 20: ...MSW 1 20 300W HC BASH Power Supply 230V 120V Volume Right Board ...
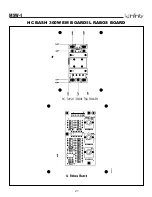
Page 21: ...MSW 1 21 HC BASH 300W EM BOARD IL RABOS BOARD ...
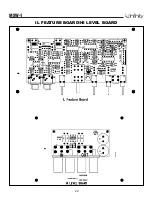
Page 22: ...MSW 1 22 IL FEATURE BOARD HI LEVEL BOARD ...
Page 23: ...HC BASH 300W LINEAR BOARD MSW 1 23 ...
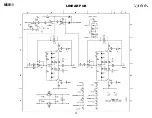
Page 32: ...MSW 1 32 LINEAR PCB ...
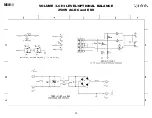
Page 33: ...MSW 1 33 VOLUME LC HI LEVEL OPTIONAL BALANCE 250W AC DC and EMI ...
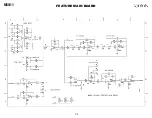
Page 34: ...MSW 1 34 FEATURE MAIN BOARD ...
Page 35: ...MSW 1 35 FEATURE HOUSEKEEPING ...
Page 36: ...MSW 1 36 FEATURE RABOS ...
Page 37: ...MSW 1 37 POWER SUPPLY ...


