HQ Infinity Service Manual
| 105
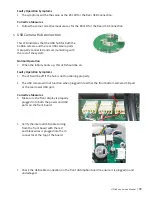
To remove the left or right handle LED board
1.
If the handles are mounted to the HQ Infinity,
first rotate the handles down to the lowest
position to more easily access the boards.
2.
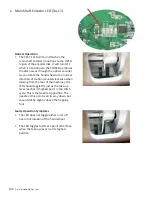
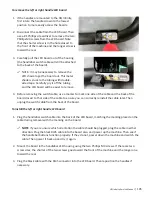
Disconnect the cable from the LED board. Then
use a #1 Phillips screwdriver to remove the two
Phillips M3 screws from the LED board. Note
that the shorter screw is in the hole closest to
the front of the machine and the longer screw is
toward the rear.
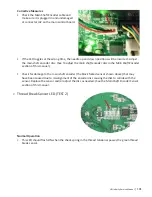
3.
Carefully pull the LED board out of the housing
(the handlebar switch cable will still be attached
to the back of the board).
NOTE: It may be necessary to remove the
LED shade to get the board out. This metal
shade is stuck to the tubing with double-
sided tape. Carefully pry it off the tubing
and the LED board will be easier to remove.
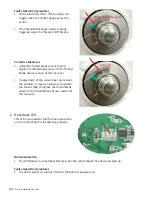
4. Before removing the switch cable, use a marker to mark one side of the cable and the back of the
board closest to that side of the cable to ensure you can correctly reinstall the cable later. Then
unplug the switch cable from the back of the board.
To install the left or right handle LED board
1.
Plug the handlebar switch cable into the back of the LED board, matching the marking placed on the
cable during removal with the marking on the board.
NOTE
: If you are unsure which orientation the cable should be plugged, plug the cable in either
direction. Plug the black RJ45 cable into the board also, and power up the machine. Then see if
the handlebar buttons function properly. If they do not, power down the machine and switch the
cable. Then power it back up and try it again.
2.
Mount the board in the handlebar LED housing using the two Phillips M3 screws. If there are two
screw sizes, the shorter of the two screws goes toward the front of the machine and the longer one
toward the rear.
3.
Plug the black cable with the RJ45 connector into the LED board. Then reposition the handles if
necessary.

