134 |
www.HandiQuilter.com
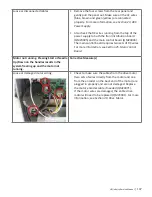
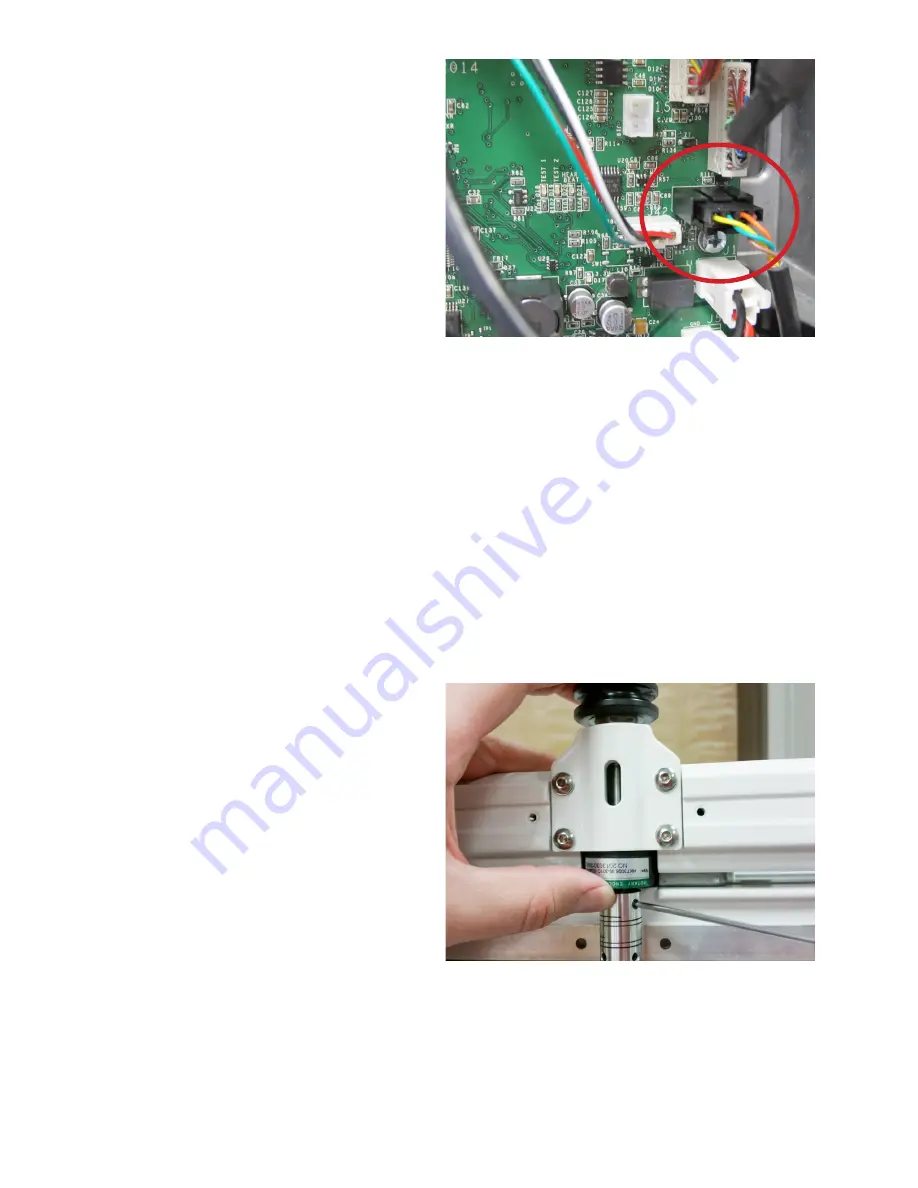
7. Plug the Y-encoder cable into the Y-encoder as
shown.
8.
Mount the rear axle assembly to the machine using a 3mm hex tool to loosely attach the 8 screws
previously removed.
9.
Tighten the four screws on the hub closest to the Y-encoder. (These screws are in nonadjustable
mounting holes.)
10.
Tighten the four screws on the opposite hub, sliding the hub in our out to try to align the hub with
the screws to the same position they were before the assembly was removed (usually there are
markings left in the paint from the screw heads). If it is difficult to determine that position, slide the
hub in toward the center of the machine and tighten at that position.
NOTE
: The two spiral set screws closest to the encoder should still be loose to enable the shaft to
slide in or out as needed.
11.
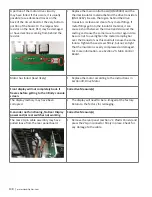
Press the wheel closest to the Y-encoder tight
against the wheel hub as shown. This will press
the shaft into the collar.
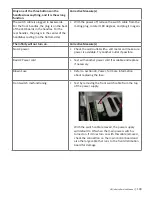
12.
Tighten the collar set screws with a 2mm hex
tool.
13.
Verify the rear wheels are spaced properly for the carriage tracks by placing the machine up on
the carriage and make sure both wheels are centered on the peaks of the carriage tracks. If any
adjustment left or right needs to be made, loosen the 4 screws on the wheel hub opposite of the
Y-encoder and slide the hub in or out as needed to get the proper spacing.


