


HQ Infinity Service Manual
| 87
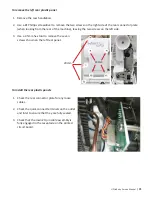
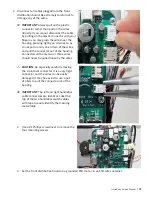
4. Align the power switch opening on the front left
panel with the power switch on the front circuit
board.
5.
Angle the left panel slightly to fit the rear portion of the panel under the flange of the bulkhead and
then gently press the panel in place against the head frame. Ensure it aligns properly with the front
right panel and that the connectors of the front circuit board align properly with the openings in the
left panel. Also make sure the switch is free to move for switching the machine on and off.
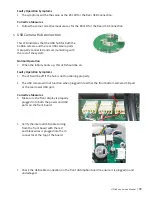
6.
Use a 2.5mm hex tool to attach the left panel to the head frame. See the chart above and refer to the
photo to properly place each of the screws.
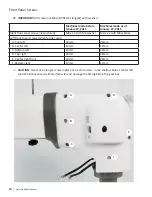
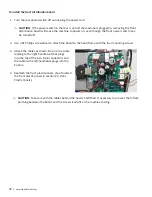
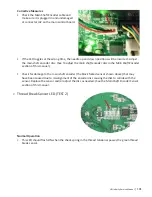
23. 48V Power Supply (QM23003)
A failed power supply will not allow power to
be delivered to any of the rest of the Infinity.
Therefore, you will not have any LEDs on any
boards, including the green LED at the top of the
48V power supply. Since identifying a failed power
supply can be difficult, before replacing the power
supply, check the following:
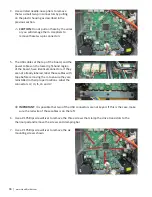
•
Be sure that there is power from the AC mains.
•
Check the fuse. (See
Fuse
in section 16,
Power
.)
•
Make sure the rear main power switch is in the
ON (dash) position.
•
Press the front power switch to be sure it is in
the ON (recessed) position.
•
Check the AC wires. (See
AC Wiring
in section
17,
Electrical Wiring
to be sure they are all
plugged in.) This requires removing the rear
connector plate.


