


94 |
www.HandiQuilter.com
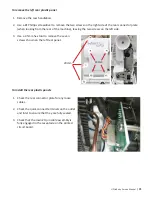
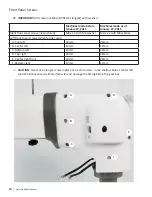
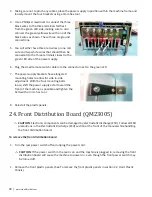
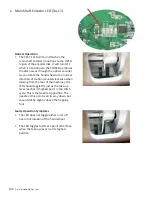
4. Use serrated needle-nose pliers to remove
the two small two-pin connectors by pulling
on the plastic housing as described in the
previous section.
U
CAUTION
: Do not pull on these by the wires
or you will damage them. Use pliers to
remove these two-pin connectors.
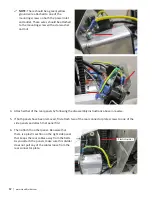
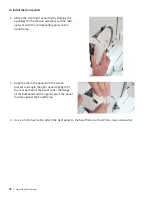
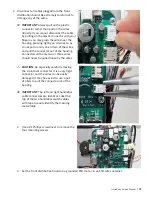
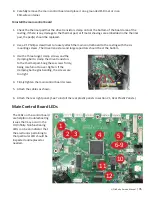
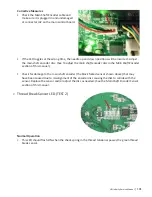
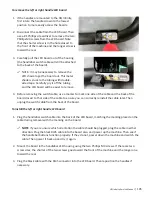
5.
The USB cables at the top of the board, and the
power cables on the lower right-hand region
of the board, have identical connectors. If they
are not already labeled, label these cables with
tape before removing them to ensure they are
reinstalled in their proper locations. Label the
connectors J2, J3, J5, J6 and J7.
Â
IMPORTANT
: It is possible that two of the USB connectors are not keyed. If this is the case, make
sure the red wire of those cables is on the left.
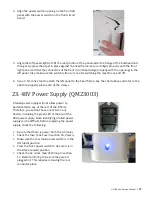
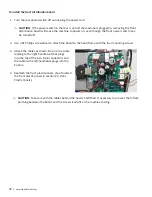
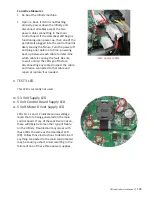
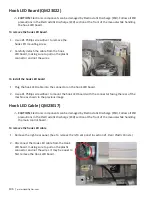
6.
Use a #1 Phillips screwdriver to remove the three screws that clamp the drive transistors to the
thermal pad and remove the screws and clamping bar.
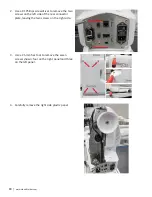
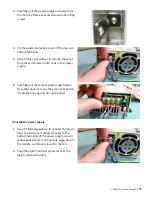
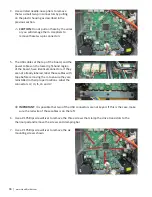
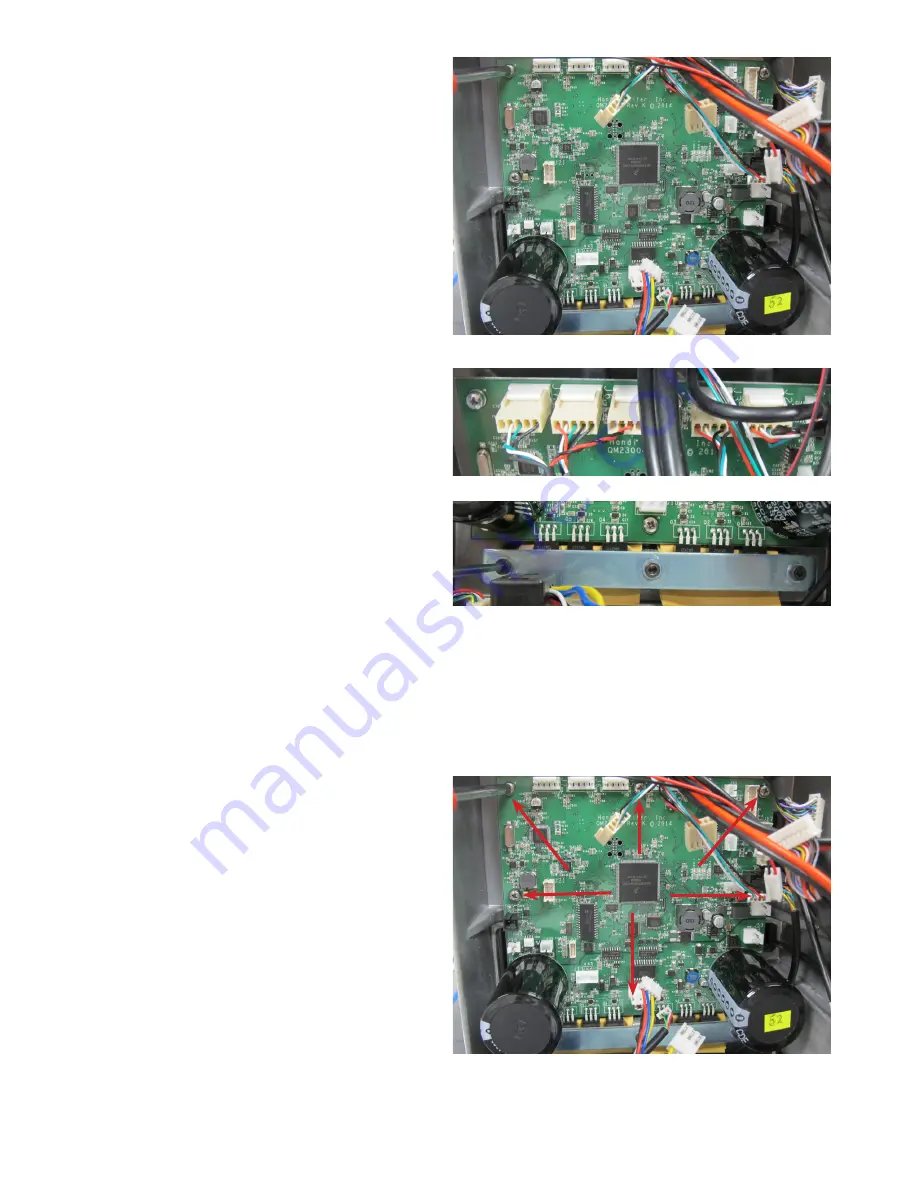
7. Use a #1 Phillips screwdriver to remove the six
mounting screws shown.


