background image

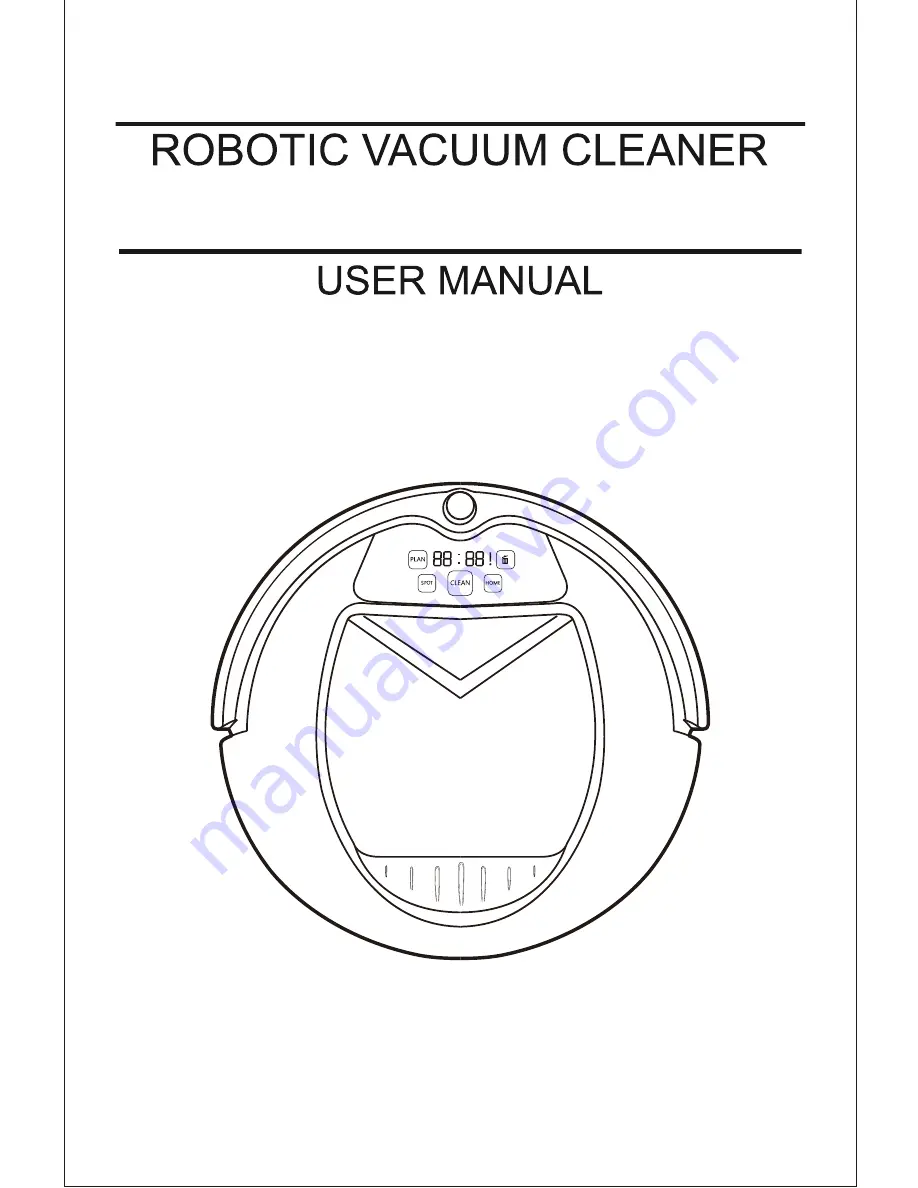
MODEL NO.:HOVO620

Summary of Contents for Hovo 600

Page 1: ...MODEL NO HOVO620 ...

Page 2: ...attery Charging Methods Cleaner Operations Schedule Cleaning Time Cleaner Operations Virtual Blocker Usage Product Maintenance Clean Side Brushes Clean Dust Bin and Filters Clean Sensors Troubleshooting Error Codes Chart Replaceable Modules BatteryInstallationandReplacement Unit Usage Limitation Product Specification Safety Instrucions Product Features Main unit and acceccories Assembly Disassembl...

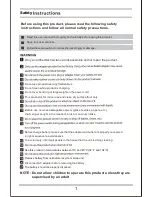
Page 3: ...cted in right sequence to avoid sparks To avoid injury inform all people in the house that the unit is doing cleaning Use this product in temperatures between 0 C and 40 C 32 F and 104 F Remove battery from unit before recycle or scrap unit Disconnect AC adapter before removing the battery The battery should be properly disposed NOTE Do not allow children to operate this product unless they are su...

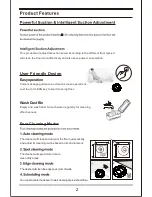
Page 4: ... CLEAN key to start cleaning floor Easy operation Wash Dust Bin Empty and wash dust bin with water regularly for cleaning effectiveness Four Cleaning Modes The cleaner will clean and vacuum the floor automatically and adjust its cleaning routine based on its environment The cleaner will spend more time to clean dirty areas The cleaner will clean the edge and corner of walls You can schedule the cl...

Page 5: ... 音乐 电影 音量 3 HEPA Filter Spare Side Brushes 2 8 9 Mop ACAdapter Cleaning Brush Tool Virtual Blocker battery not included Unit Self Charging Base included 1 2 3 4 5 6 7 9 8 Main unit and acceccories 10 User Manual ...

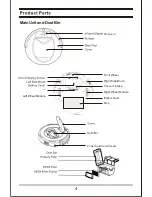
Page 6: ...4 Power Switch and Socket Receiver Main Unit and Dust Bin Right Wheel Module Front Wheel Right Side Brush Vacuum Intake Bottom Cover Mop Left Wheel Module UV ...

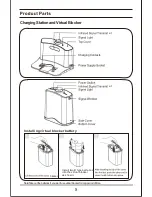
Page 7: ...ion and Virtual Blocker Installing virtual blocker battery Note Take out the batteries if you won t use virtual blocker for long period of time Install two D type batteries into the virtual blocker as shown blocker Charging Contacts ...

Page 8: ...ly control the cleaner unit Make sure the unit is switched on before using the remote Point the remote towards the unit and press button to control unit operation Install one coin type battery into remote control unit Do not use remote near self charging base or virtual blocker ...

Page 9: ...hen cleaner is in selected mode pressing to return the cleaner to self charging base display Flashes constantly when dust bin is full or when vacuum intake is blocked display Shows an error has occurred Clean Press to complete following operations ed mode pressing this button to cha Spot Press to complete following operations Home Press to complete following operations B Press this button to switc...

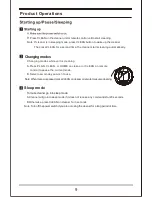
Page 10: ...g cleaner cleaner F If the cleaner is not used for long time please turn the power switch off Place self charging base Turn on the Power Switch at the side of cleaner then display will flash A Turn on power switch before start to charge cleaner battery D Before first time use let the cleaner do cleaning until battery is used up Please keep self charging base plug in otherwise cleaner will not find...

Page 11: ...er is paused press CLEAN on cleaner or remote to resume cleaning Sleep mode A Cleaner will go into sleep mode if it does not receive any commands for 20 seconds B Otherwise press CLEAN on cleaner for 3 seconds Note Turn off the power switch if you are not using the cleaner for a long period of time Note If cleaner is in sleeping mode press CLEAN button to wake up the cleaner To make cleaner go int...

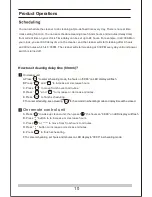
Page 12: ...cleaning delay time hh mm On cleaner unit A Press to enter scheduling mode the hours on 88 88 on LED display will flash B Press and to increase or decrease hours C Press to move from hours to minutes D Press and to increase or decrease minutes E Press to finish scheduling F To cancel scheduling keep pressing for 5 seconds in scheduling mode and delay time will be erased On remote control unit A Pr...

Page 13: ...e cleaner detects an obstacle it will use its side brushes to clean the sides Note Place cleaner against a wall Press EDGE on remote unit to start edge cleaning mode press CLEAN to stop Virtual Blocker Virtual Blocker creates an invisible barrier that the cleaner will not cross The Virtual Blocker can be used to confine the cleaner in a room put it outside the door way or prevent it from going tow...

Page 14: ...assageandcleanitifnecessary A Press PUSH to open the dust bin cover B Take out the dust bin C Separate HEPA filter from dust bin D Pull out dust bin top cover and take out primary filter F Wash dust bin with water Clean filters with cleaning brush tool DO NOT wash it with water 2 Do not wash HEPAfilter and replace it after one year of usage Clean Side Brushes unit Note 1 Clean dust bin module when...

Page 15: ...mop and trailing bar on the carpet or uneven ground Assembly Disassembly The Mop A B Wipethesensorwindowandautochargingsensorswithcleaningtoolorasoftdrycloth C Reverse the cleaner tear out the mop unplug the fastener at the bottom of the cleaner to release the trailing bar refer to figure A and B you can assemble it as before disassembly ...

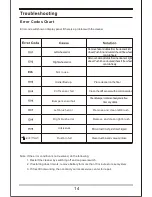
Page 16: ... sensor fail Clean the cliff sensor with a cotton swabs Bumper sensor fail canturnfreely Left brush error Right brush error Remove and clean right brush Remove and clean left brush Checkbumpercanmovefreelyandisfree fromanydebris Unit is stuck Dust bin full Clean dust bin and vacuum intake Note If the error condition is not resolved do the following 1 Restart the cleaner by switching off and on pow...

Page 17: ...15 Vacuum Guard Front Wheel Module ...

Page 18: ... not stuck in I Lock back battery cover with screws A Remove two screws from battery cover with screw driver C Take out the battery using the 2 strip holder on its sides Note Onlyusefactoryauthorizedbatteries Unit Usage Limitation The cleaner unit can ONLY be used at residential houses indoor and dry floor It will clean the debris dirt dust and pet hairs off the floor and work well on hardwood til...

Page 19: ...2000mAH 17 3 4hours 13 4 340mm 3 54 90mm 6 6 Lbs 3 0Kgs 0 4Liters Main Unit Button Type Battery AC Adapter Specification Input Output 100 240V 50 60Hz 0 8A 24 0V 1 0A ...

Page 20: ...Metapo Inc http www infinuvo com http www metapo com ...

Reviews: