background image


iWall 360


User Manual


Summary of Contents for iWall 360

Page 1: ...iWall 360 User Manual...
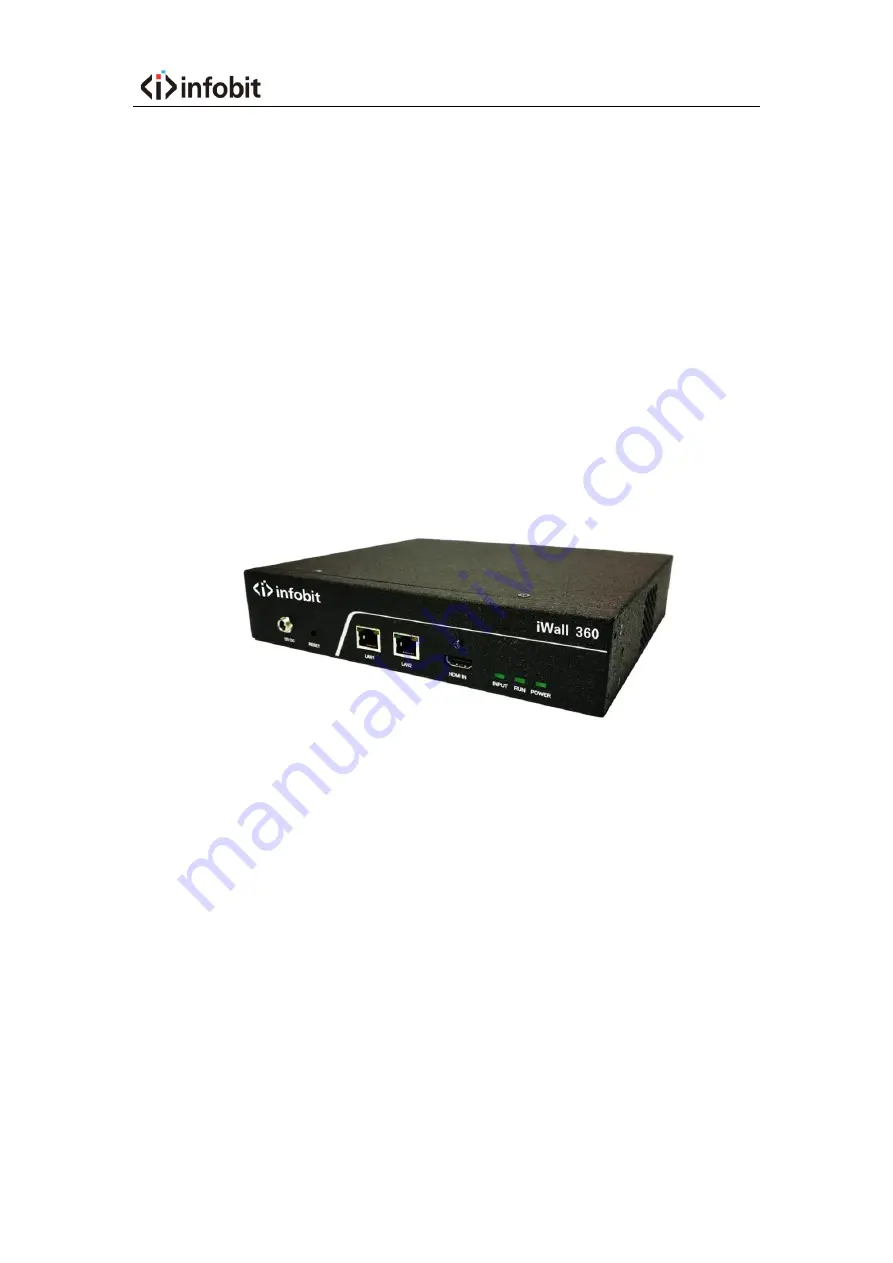
Page 2: ...ance Description 4 1 Front port 4 2 Rear port 5 4 Application Specification 6 1 Input configuration 6 2 Output configuration 6 3 Cascading configuration 7 4 Scene configuration 8 5 Operating instructi...

Page 3: ...Open window 23 2 Close window 24 3 Zoom window 24 4 Scroll window 25 5 Window animation 25 6 Update EDID 25 7 Change Mode 27 1 Select the mode 28 2 Cascade set 28 3 The limitation of open the window...

Page 4: ...temperature 10 60 Storage environment No solvent and corrosive gas no dust no interference of strong magnetic field 3 Video input index The device uses HDMI 1 4 standard input port supports resolution...

Page 5: ...of the next Note when there are no correct input signals devices will display their IP addresses of LAN 1 on displays 6 Mechanical index Appearance size 208 x 45 x 199mm 8 19 x 1 77 x 7 83 in 3 Appear...

Page 6: ...full window display LAN1 RJ 45 connector controls device by connect PC or router LAN2 used for cascading of additional devices HDMI input Status light When power on POWER lights on When device is work...

Page 7: ...tion 1 Input configuration Each individual device supports only one local input signal source and each input signal source can open only one window on the whole output system 2 Output configuration 1...

Page 8: ...e input signals from device s input port Cascading data is the signals from cascading ports of other devices The cascading data could be different as the different device statuses in the system a Get...

Page 9: ...y serial port command 5 Operating instructions of upper computer 1 Introduction This article introduces the methods of the software at the client side including software installation and operation 2 S...

Page 10: ...9 Figure 5 3 4 Select the Next to enter the next interface as shown in the figure 5 3 Figure 5 4 5 Select the suitable installation root directory and click the Install as shown in the figure 5 4...

Page 11: ...the following figure 5 5 will appear Figure 5 6 Click Yes Y to unload the installed software 7 After the progress bar completes loading you should click close to complete the software installation Do...

Page 12: ...5 7 3 System login 1 Connect to server The number of the corresponding devices filled in the device the number of devices And click apply The following list shows the information of the corresponding...

Page 13: ...define the name of the device by themselves After clicking Connect the upper computer and the device communicate normally Note The IP of device default is 192 168 1 25 Port 1024 2 Disconnect to server...

Page 14: ...k the device list in the interface device the dialog box of modifying IP would pop up Figure 5 10 Figure 5 11 Modify the corresponding values and click confirmation After the device restarts automatic...

Page 15: ...ct the upper computer will give a connection tip of failure Figure 5 12 Please check the device IP port network cables switches etc until the troubleshooting is complete 4 Output settings Click output...

Page 16: ...ty splicing etc The following contents will be introduced one by one 1 Screen setup area The red box area is the screen setup area as shown in the figure below Figure 5 14 a Resolution Setting Now sup...

Page 17: ...15 Figure 5 16 Effect immediately after selecting the output resolution The client can also modify the existing resolution parameters and clicks the on the right of the resolution to enter the modifie...

Page 18: ...ining a resolution only set it by the key and modifying it via advanced timing is not correct b The setting of display arrangements Set up display arrangements according to the actual placement positi...

Page 19: ...it turns black 2 Select the required rotating angle in the drop down menu of the rotating angle can choose four angles 3 Click adding the output screen to the wall Observe the setting conditions in t...

Page 20: ...tch border width Figure 5 20 Modify screen DotPitch BezelTop parameters click on the Apply To All or Apply To Current or Apply To Monitor parameters saved successfully Apply To All The screen of all e...

Page 21: ...the figure is the screen adjustment area Basic introduction 1 Selecting a certain screen you can see a coordinate axis with blue and red at the edge of the screen This coordinate axis is used for the...

Page 22: ...box below to fill in the desired rotation angle The screen can be selected at any Angle The contents of the display will rotate according to the rotation angle c Coordinate axis The position of the co...

Page 23: ...nges the output signal type DVI HDMI Move to Back the output is placed at the background Remove Monitor delete this window Single output can be set up separately and multiple press Ctrl output can be...

Page 24: ...e of the screen automatically snaps together Click the button again to cancel this feature Key G align to grid Click this button to align the left border of the screen to the background grid Click aga...

Page 25: ...is selected the window will be opened by the signal source of the main equipment 2 Close window In the input interface click the close window button 3 Zoom window Method 1 Place the mouse pointer at...

Page 26: ...rresponding the left value and upper value at the bottom of the device interface After filling in press the ENTER button to take effect 5 Window animation In the input interface select different test...

Page 27: ...ange EDID pop up dialog box Figure 5 27 Select the correct EDID file and click open If the update is successful the program will give the following tip Figure 5 28 If the update fails the program will...

Page 28: ...s 7 Change Mode When the device connected enter the device interface double click the device to pop up the dialog box Figure 5 30 Figure 5 31 Note A primary device must exist at the device level and t...

Page 29: ...device will use the local input for video output and will send the signal from cascading input to the next device Slave get cascading data transfer cascading data This device will use the signal from...

Page 30: ...inciple One device can only have one window For example there are windows in any outlet of Device 1 and no other windows are allowed to appear on any of the four outlets The device can be used as sign...

Page 31: ...ion number Figure 5 34 6 Online upgrade The iWall 360 supports network upgrade for mainboard firmware through the upper computer program Right click on the upper computer software icon select open fil...

Page 32: ...t the upgrade file and then click Update to upgrade Figure 5 36 After the MCU upgrade is completed the equipment will restart automatically and the FPGA upgrade will need to be restarted manually When...

Reviews: