Configuration Examples
22
Infoblox User Guide
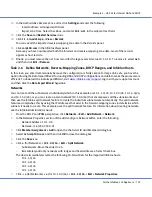
4.
On the
General
page in the
corp100.com Properties
dialog box, enter the following:
—
Zone file name: corp100.com.dns
—
IP address: Enter
1.1.1.2
, and then click
Add
.
—
In the IP Address field, select
1.1.1.3
(the NAT IP address of the legacy DNS server), and then click
Remove
.
5.
To save the configuration change and close the
corp100.com Properties
dialog box, click
OK
.
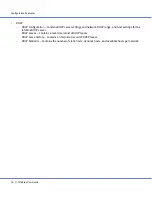
Task 1.8
Configure NAT and Policies on the Firewall
Change the NAT and policy settings on the firewall to allow bidirectional DNS traffic to and from ns1.corp100.com
and NTP traffic from ns1.corp100.com to the NTP server at 3.3.3.3.
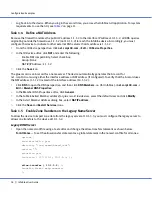
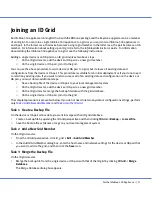
For example, enter the following commands on a Juniper firewall running ScreenOS 4.x or later:
set address dmz ns1 10.1.5.2/32
set address untrust ntp_server 3.3.3.3/32
set interface ethernet1 mip 1.1.1.2 host 10.1.5.2
set policy from dmz to untrust ns1 any dns permit
set policy from untrust to dmz any mip(1.1.1.2) dns permit
set policy from dmz to untrust ns1 ntp_server ntp permit
At this point, the new DNS server can take over DNS service from the legacy server. You can remove the legacy server
and unset any firewall policies permitting traffic to and from 10.1.5.3.


