Instruction Manual
4
5. Gently seat the 3.5” SATA hard drive in the enclosure, so that the hard drive label is
facing upward relative to the enclosure tray, and the data and power connections are
facing the rear panel of the enclosure.
Please note
: Due to the compact
design of SAT3510U2E, the hard drive will fit very snugly within the enclosure.
6. Ensure that the mounting holes at the base of the hard drive are aligned with the four
pre-drilled holes on the drive enclosure tray. Using the screws provided, fasten the
drive to the tray.
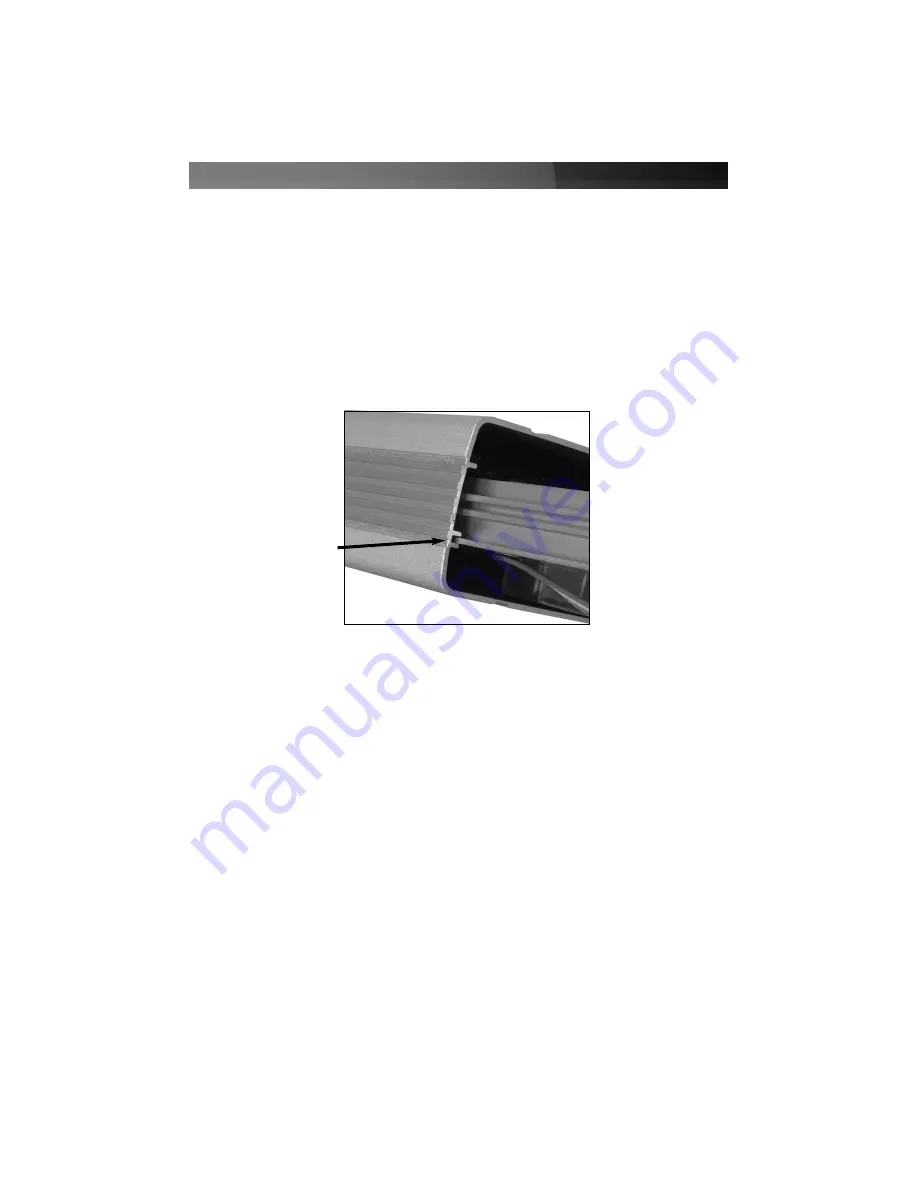
7. Align the guide rails located on the sides of the drive tray, with the guide rail located on
the inside of the casing. Gently slide the tray (with drive installed) into the casing, and
replace the rear panel faceplate that was removed in
Step 2
.
7. Fasten the rear panel to the enclosure, using the screws removed in
Step 2
.
Guide Rail


