106
•
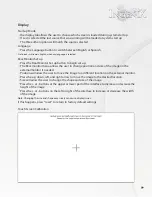
When the photo viewer first started Ingenix will ask you select photos you would like to see.
•
First select where the photos are located.
•
Press one of three tabs on the left.
•
"SD" for SD cards, "HDD" for hard drive. Or "USB" for USB memory sticks sometimes called
thumb drives
•
Select the folder the desired photos are located in Note: folders may be inside of other folders
•
Once a photo is selected all photos in the same folder will be accessible through the main
control panel.
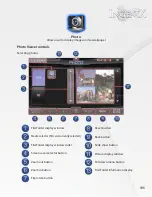
Main control panel
•
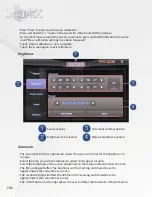
The left and right and right arrows will move forward and back through all images in the
current selected folder.
Screen saver
•
The screen saver button will save the current selected image to the Ingenix Screen saver.
Zoom feature
•
The and + buttons will allow the user to zoom in and out of the current selected image.
•
While zoomed, touching the image will center the image at the location touched.
•
Pressing reset will reframe the image back to the original location and size.
Image rotation
•
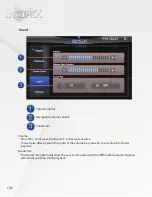
Pressing the rotate image button will rotate the image.
•
Each time the rotate image button is pressed the image will rotate 90 degrees clockwise.
Back
•
The Back button will return the user to the previous screen
Slideshow
•
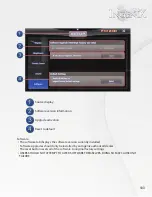
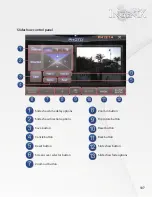
The slideshow button will access the slideshow control panel
•
See slideshow control panel on next page for information on controls for slideshow.
Summary of Contents for S-84SNTA
Page 2: ......
Page 13: ...12 Quick Access Links Marquee Banner Clock Slider Menu ...
Page 15: ...14 ...
Page 17: ...16 The clock settings button will open the clock settings menu ...
Page 19: ...18 Navigation NAVI MENU on the unit to activate the navigation system ...
Page 22: ...21 ...
Page 23: ...22 ...
Page 26: ...25 ...
Page 29: ...28 Go to the last page Step 1 ...
Page 30: ...29 Step 2 Step 3 ...
Page 34: ...33 ...
Page 39: ...38 Se lect GO to route to your home location or select route option ...
Page 59: ...58 Volume Down Reset to default Okay Enter Test Audio Level Volume Up Previous Screen ...
Page 63: ...62 ...
Page 71: ...70 Basic alphabetical keyboard pictured below Qwerty Keyboard pictured below ...
Page 72: ...71 Qwerty Keyboard pictured below ...
Page 127: ......
Page 128: ......


