15
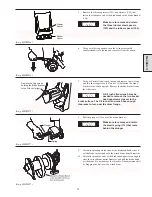
7.
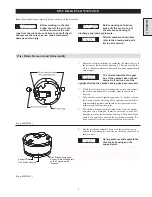
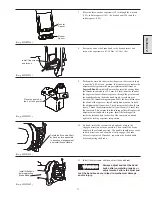
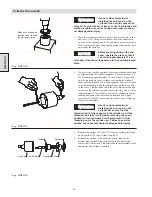
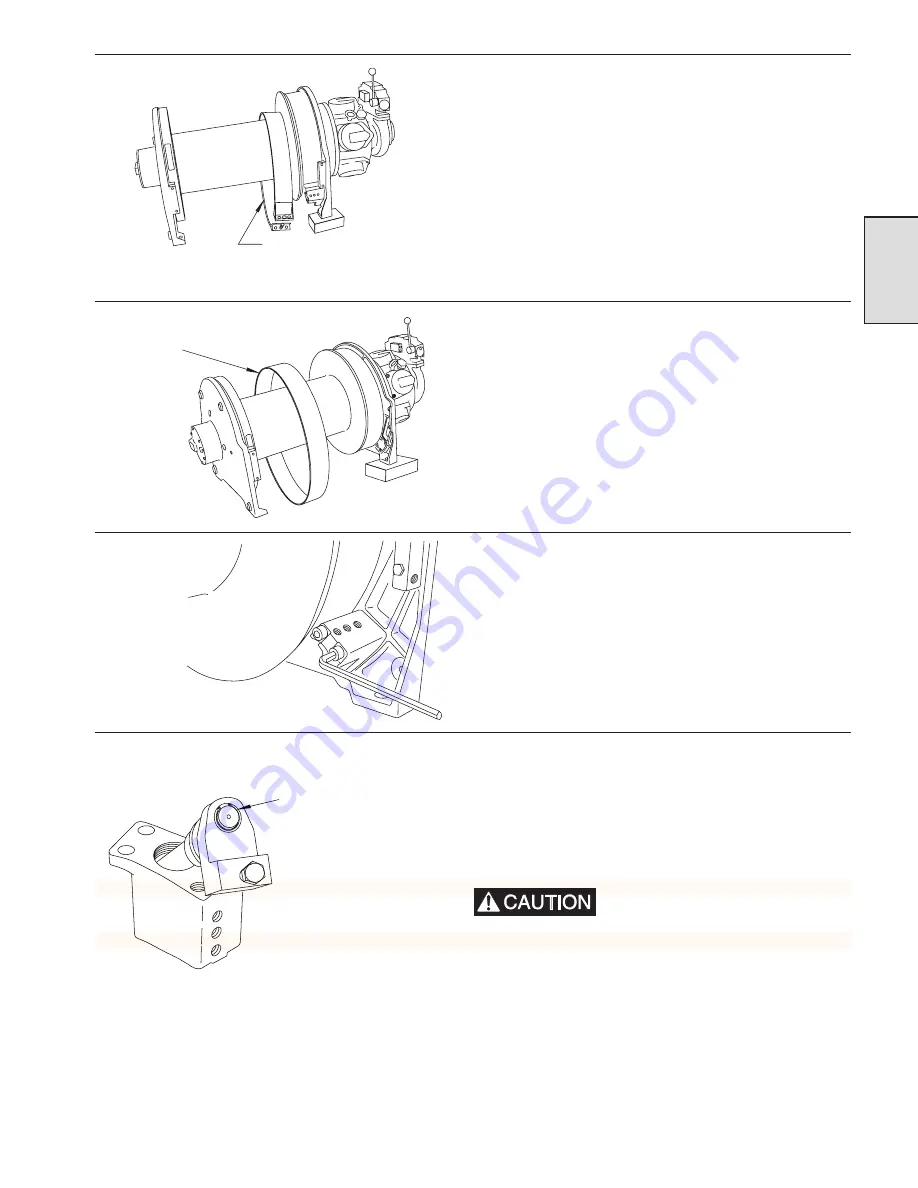
Gently spread the ends of the brake band apart and slide it off
the brake drum and onto the winch drum.
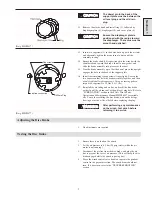
(Dwg. MHP1033)
8.
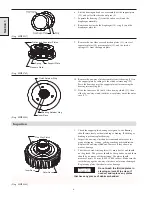
Gently spread the ends of the brake band apart far enough to
clear the winch drum barrel diameter and take it off the drum.
(Dwg. MHP1045)
9.
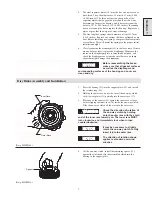
Using a 10 mm allen wrench, loosen and remove the two long
and two short capscrews (107 and 112) that fasten the brake
bracket (106) to the winch upright.
(Dwg. MHP1042)
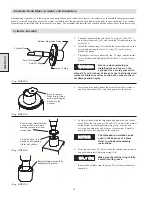
10. If needed, the ‘O’ rings and bearings can be removed from the
brake bracket. The ‘O’ rings are easily removed with a blunt
scribe or a screwdriver, and the small needle bearing (140) can
easily be removed by pressing it out. Removal of the larger
needle bearing (138) is only required if the bearing housing is
cracked or chipped or if the rollers are damaged. Removal in
this case can be accomplished using a punch, driven against the
bearing outer race.
This may shatter the race and
cause pieces to scatter. Be sure to
wear safety glasses.
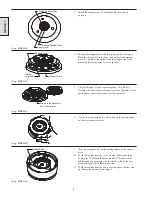
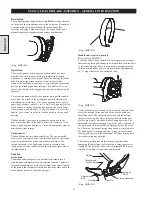
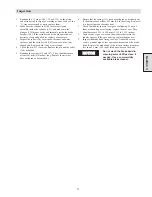
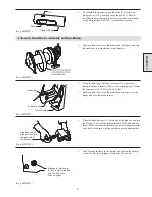
11. Remove the retainer ring (132) that holds the cam plate to the
eccentric shaft, and remove the washer (133), cam plate (131),
and sleeve bearing (134). This completes the disassembly of
the manual band brake.
(Dwg. MHP1040)
Section 2
Move the Brake Band onto the
Winch Drum barrel diameter.
Remove the Brake Band
from the Winch Drum barrel
diameter.
Remove the Brake Bracket
from the Winch Upright.
Remove the Retainer Ring
and Washer to remove
the Cam Plate from the
Eccentric Shaft and take
off the Sleeve Bearing.
Summary of Contents for FA5A
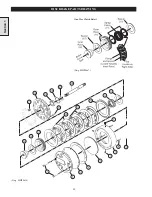
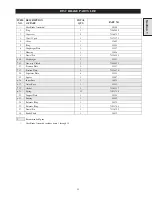
Page 10: ...10 DISC BRAKE PARTS DRAWING Dwg MHP0667 Dwg MHP0630 One Way Clutch Detail Section 1...
Page 19: ...19 Section 2 SERVICE NOTES...
Page 54: ...54 REDUCTION GEAR ASSEMBLY PARTS DRAWING Dwg MHP1221 Section 5...
Page 57: ...57 SERVICE NOTES...
Page 58: ...58 SERVICE NOTES...
Page 59: ...59 SERVICE NOTES...

