47569580001_ed3
EN-2
EN
1. To release belt tension, press tip of belt arm (A) against a flat surface until there is an audible
click. This sound indicates the belt arm is in the locked position.
2. Remove and replace the belt (B).
WARNING
Keep fingers away from belt when reapplying tension.
3. Depress belt release button (C) to regain tension in the belt.
Refer to Fig. A on Page 2.
Belt Arm Position
1. Depress arm release button (D - refer to Fig. A on page 2) to rotate arm. Releasing the arm
release button retains it in one of eight locked positions.
2. Working arm positions can be adjusted to every 30 degrees. Refer to Fig. B1 on Page 2.
3. Refer to Figure B2 for recommended storage position.
Belt Tracking
1. With belt installed, loosen set screw (E).
2. Attach battery and turn on tool.
3. While tool is operating, adjust belt support screw (F) clockwise or counter-clockwise to
center belt on belt arm tip (G).
4. Turn off tool.
5. Tighten set screw (E).
Refer to Fig. C on Page 2.
Parts and Maintenance
Tool repair and maintenance should only be carried out by an authorized Service Center.
Refer all communications to the nearest
Ingersoll Rand
office or distributor.
Environmental Protection
When life of
Ingersoll Rand
electrical product has expired, it must be recycled in accordance
with all applicable standards and regulations (local, state, country, federal, etc.). Improper
disposal may endanger environment.
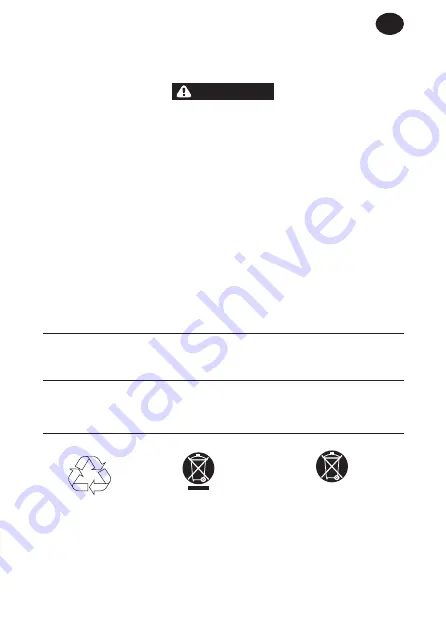
Symbol Identification
Li-Ion
Return waste material
for recycling.
Do not dispose of this product
with household waste material.
Product contains Lithium-Ion.
Do not dispose of this product with
household waste material.
Original instructions are in English. Other languages are a translation of the original instructions.
Summary of Contents for G1811
Page 2: ...A C C B A D F E 30 0 G B1 B2 1 2 3 4 5 6 7 8 ...
Page 3: ...5 100 75 75 50 50 25 25 10 10 0 ...
Page 73: ...Notes ...
Page 74: ...Notes ...
Page 75: ...Notes ...


