OPERATING INSTRUCTIONS
17
UP6RD–5–175, UP6RM–5–175, UP6RD–5–175
INITIAL START–UP
Follow this procedure before putting the unit into service for the first
time:
1. Set the pressure switch lever or control panel knob to ”OFF”.
2. Open the service valve fully to prevent air pressure from building in
the tank.
3. Move the pressure switch lever or control panel knob to
”ON/AUTO”. The unit will start.
CAUTION
Unusual noise or vibration indicates a problem. Do not continue to
operate until you identify and correct the source of the problem.
NOTE
Ensure the direction of rotation is correct per the arrow on the motor
or arrow on the blower housing on enclosed units. If the rotation is
incorrect on three–phase units, interchange any two of the three leads.
4 Run the unit for 30 minutes. Ensure the service valve is fully open
and there is no tank pressure build up.
5. After 30 minutes, close the service valve fully. The air receiver will
fill to cut–out pressure and the motor will stop. The unit is now ready for
use.
NORMAL START–UP
1. Set the pressure switch lever or control panel knob to ”OFF”.
2. Close the service valve.
3. Attach hose and accessory.
4. Move the pressure switch lever or control panel knob to
”ON/AUTO”. The unit will start.
5. Allow tank pressure to build. The motor will stop when tank pressure
reaches cut–out pressure.
6. Open the service valve. The unit is now ready for use.
NOTE
When the receiver tank pressure drops below the factory pre–set
minimum, the pressure switch resets and restarts the unit.
When you are finished:
1. Set the pressure switch lever or control panel knob to ”OFF”.
2. Close the service valve fully.
3. Remove the air tool or accessory.
4. Slowly open the service valve to vent air pressure down to 20 psig.
5. Slowly open the manual drain valve at the bottom of the tank to drain
all condensate (water).
6. Close the drain valve and the service valve for the next use.
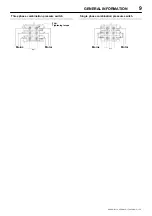
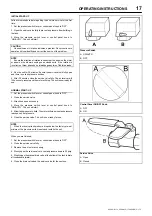
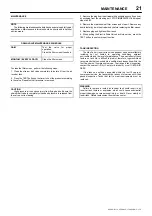
Pressure Switch
A. ON/AUTO
B. OFF
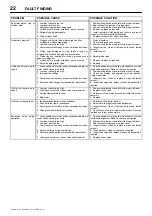
Control Panel ON/OFF Knob
A. OFF
B. ON
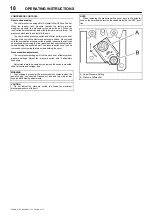
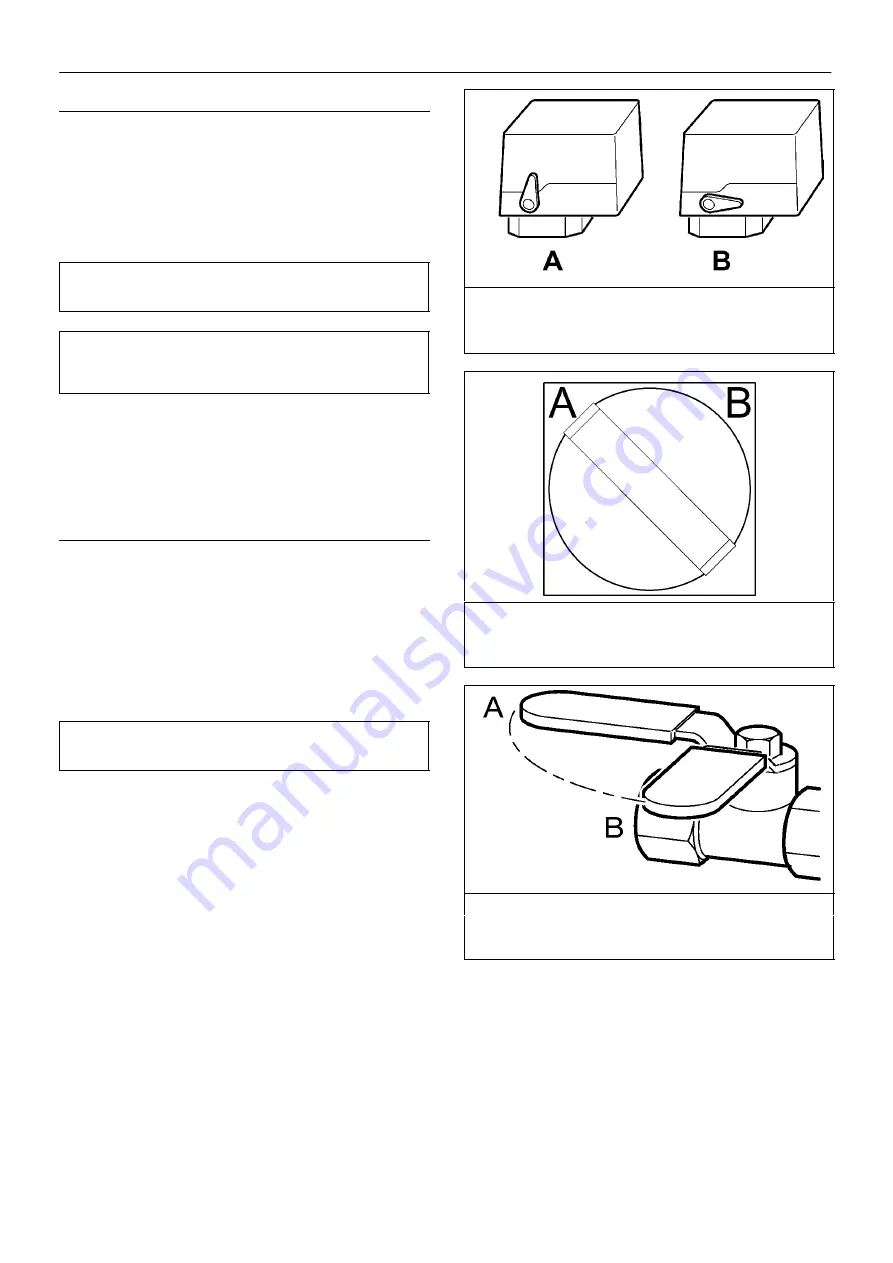
Service Valve
A. Open
B. Closed
Summary of Contents for UP6RD-5-175
Page 2: ......

