63
D.
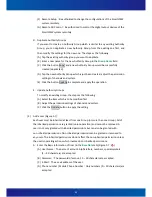
In the next page
○
3
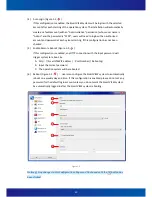
of the wizard (Figure 5-16), all cameras to be added which
user checked in the page
○
1
and their option settings would be listed in the table
for confirming. Users are able to modify those settings or finish the procedure.
E.
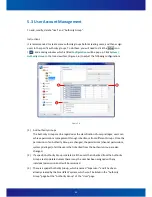
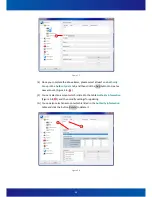
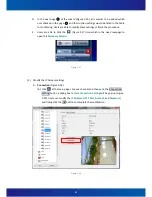
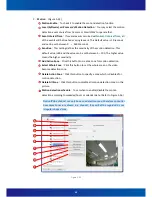
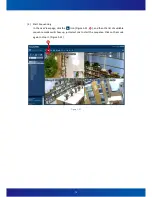
Users are able to click the (Figure 5-17) icon which in the Live View page to
open this
Discovery Wizard
.
Figure 5-17
(3)
Modify the IP Camera settings
:
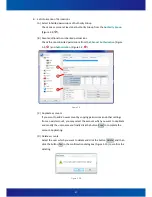
A.
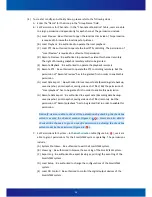
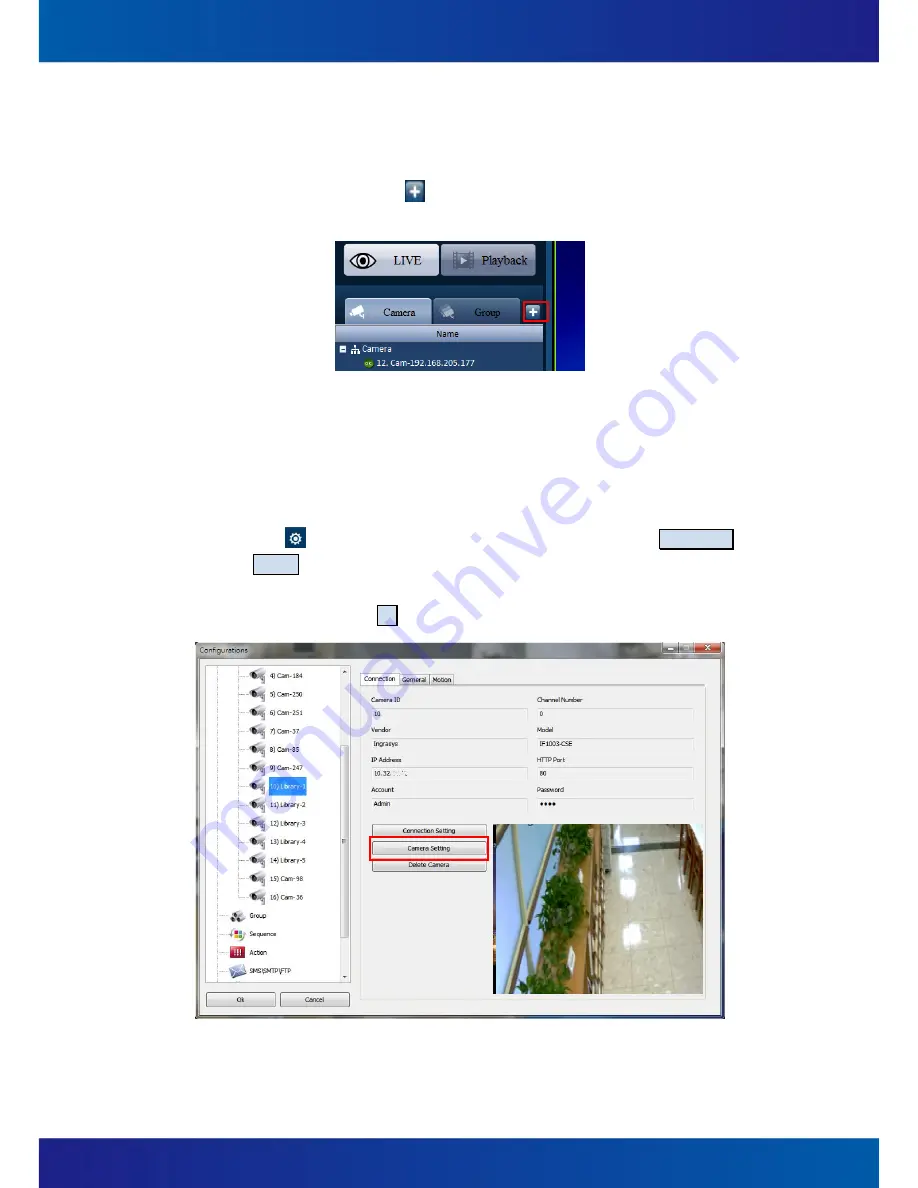
Connection
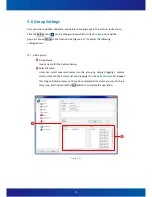
(Figure 5-18).
(A)
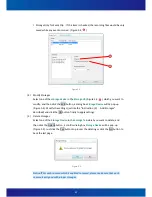
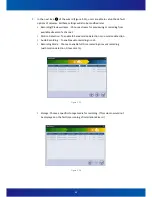
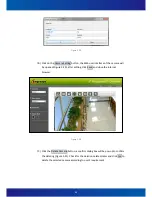
Click at the main page, choose a channel and choose on the Connection
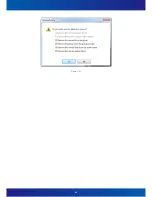
Setting button a dialog box
Camera Connection Setting
will be pop-up (Figure
5-19). Users can modify the
IP Address
,
HTTP Port
,
Account
, and
Password
,
and finally click the OK button to complete the modification.
Figure 5-18
Summary of Contents for iSC-NVR2316-T
Page 28: ...27 5 Confirmation Step Figure 3 5 Figure 3 5...
Page 66: ...65 Figure 5 21...
Page 70: ...69 Figure 5 26...
Page 97: ...96 Figure 6 16 Figure 6 17...
Page 99: ...98 Figure 6 19 Figure 6 20...
Page 108: ...107 Figure 9 4...


