135
1. Click on the
Add
button to display the Rsync configuration window.
2. Select the
Local to Remote
or the
Remote to Local
check circle.
3. Enter a
Name
for the Rsync configuration. Names must be identical on the server and
on the client.
4. Select a
Local Folder Group
that you want to back up to a remote server.
5. Select a Remote IP where a synchronization Folder Group exists. Enter port number
873
.
6. Enter a User name that have a Full Access to the source Folder Group.
7. Enter and confirm the password for the user account.
8. Enter a Module name file. Default is
Netbackup
.
9. Select the
Compress file
option and/or the
Delete extraneous files
from destination
directory.The extraneous files are those new ones on your server that haven’t been
backed up yet. The Delete extraneous files option is used when you want to restore an
entire directory without the files changed after a specific point in time.
10. Rsync schedule:
10-1. Immediately: Select this to start the Rsync immediately.
10-2. According to the schedule:
Select to Rsync hourly, Daily, Weekly, or according to the Monthly schedule.
Each is done by selecting different check circles.
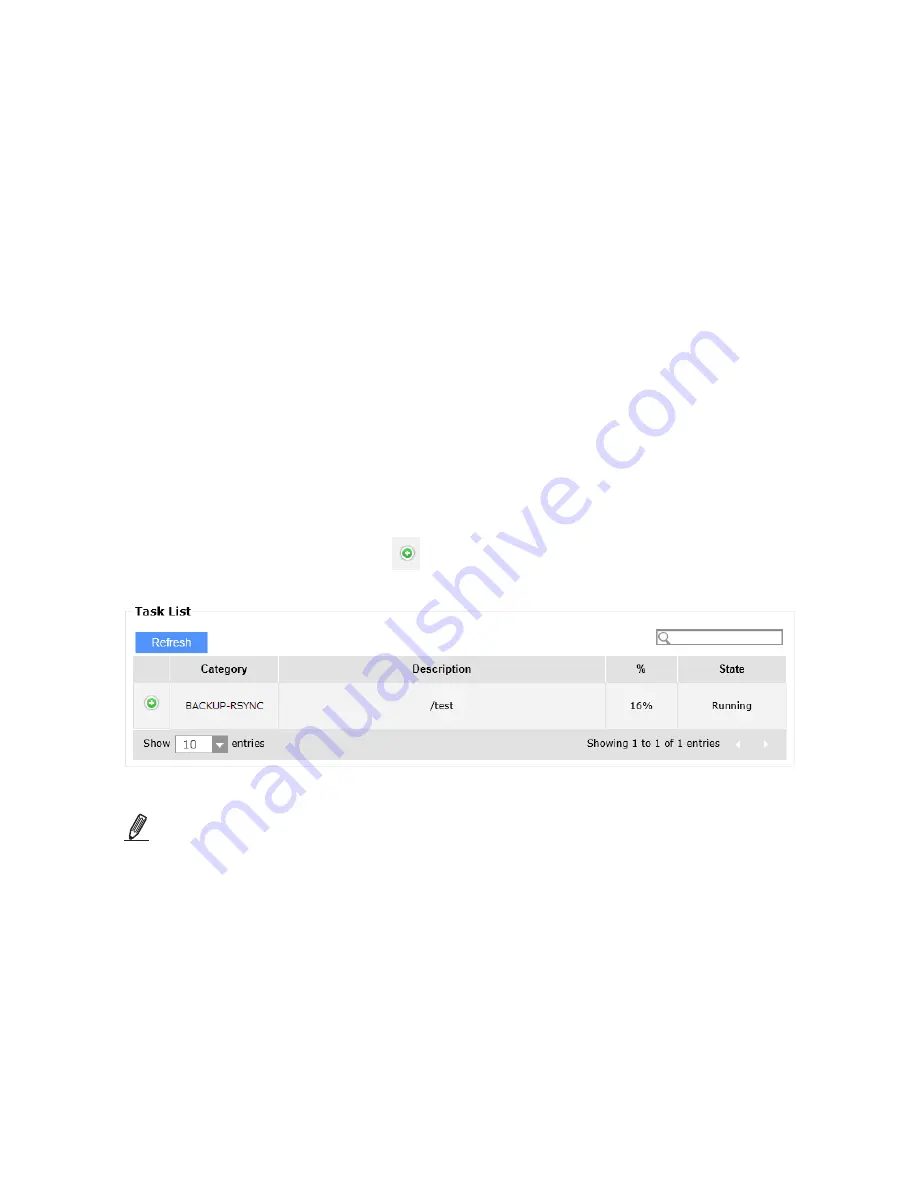
Once successfully started, you can check the Rsync progress in
Status
>
Task Progress
window. You can click on the details
button to check the latest progress information.
NOTE:
The NAS server supports Rsync with the NAS server of the other brand which also
supports rsync protocol. The other-brand NAS server may use other Rsync module for
remote Rsync. When successfully connected to the other-band NAS server, the Rsync
module of them will be displayed.


