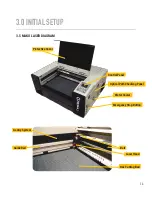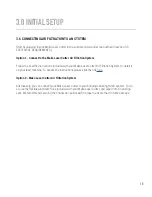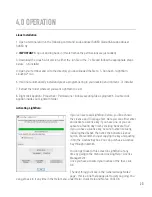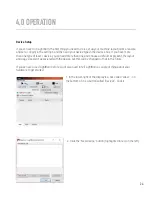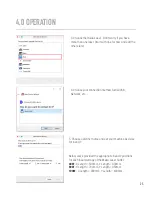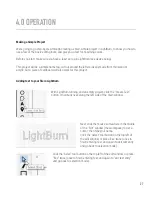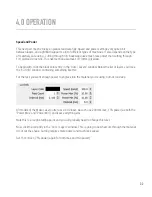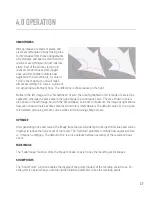
When you finish the text, you’ll see an entry appear in the “Cuts / Layers” list on the upper left of the
display. This is the “layer” that your text is on, and it holds the settings that will be sent to the laser for
all the objects on this layer:
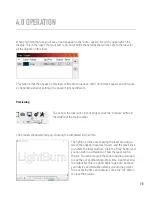
This tells us that the shapes on this layer will be drawn as lines, with 100 mm/sec speed, and 20% pow-
er. Depending on your settings, the speed might be different.
Previewing
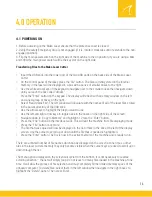
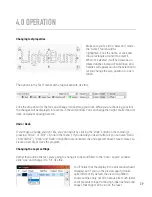
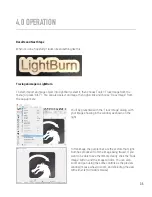
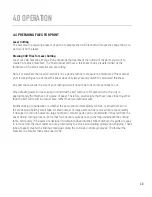
To see how the laser will run your project, click the “Preview” button in
the middle of the main toolbar.
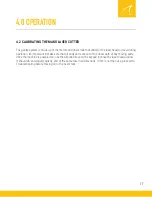
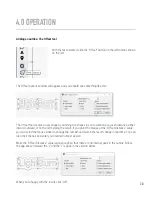
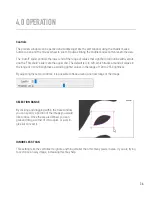
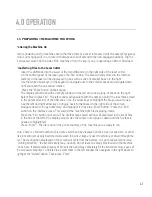
The preview window will pop up, showing the completed job, like this:
The lighter red lines are showing the laser moving be-
tween the shapes (traversal moves), and the black lines
are where the laser will burn. Click the “Play” button and
you can watch a simulation of how the laser will run
the job. You can also grab the slider and drag it around
to see the cut at different points in time. Spot checking
the output like this is a good habit to get into, because
you’ll likely spot mistakes before you burn the project
for real, saving time and material. Click the “Ok” button
to close the preview.
4.0 OPERATION
28

