background image

4.0 OPERATION 

Speed and Power 

This next part may be tricky, so please read carefully. Speed and power settings vary quite a bit 

between lasers, and LightBurn supports a lot of different types of machines. It also depends on the type 

of material you’re using - cutting through 1/8” basswood uses much less power than cutting through 

1/4” plywood or acrylic. This next section assumes 1/8” (3mm) plywood.

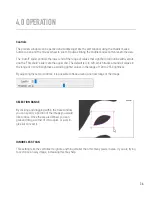
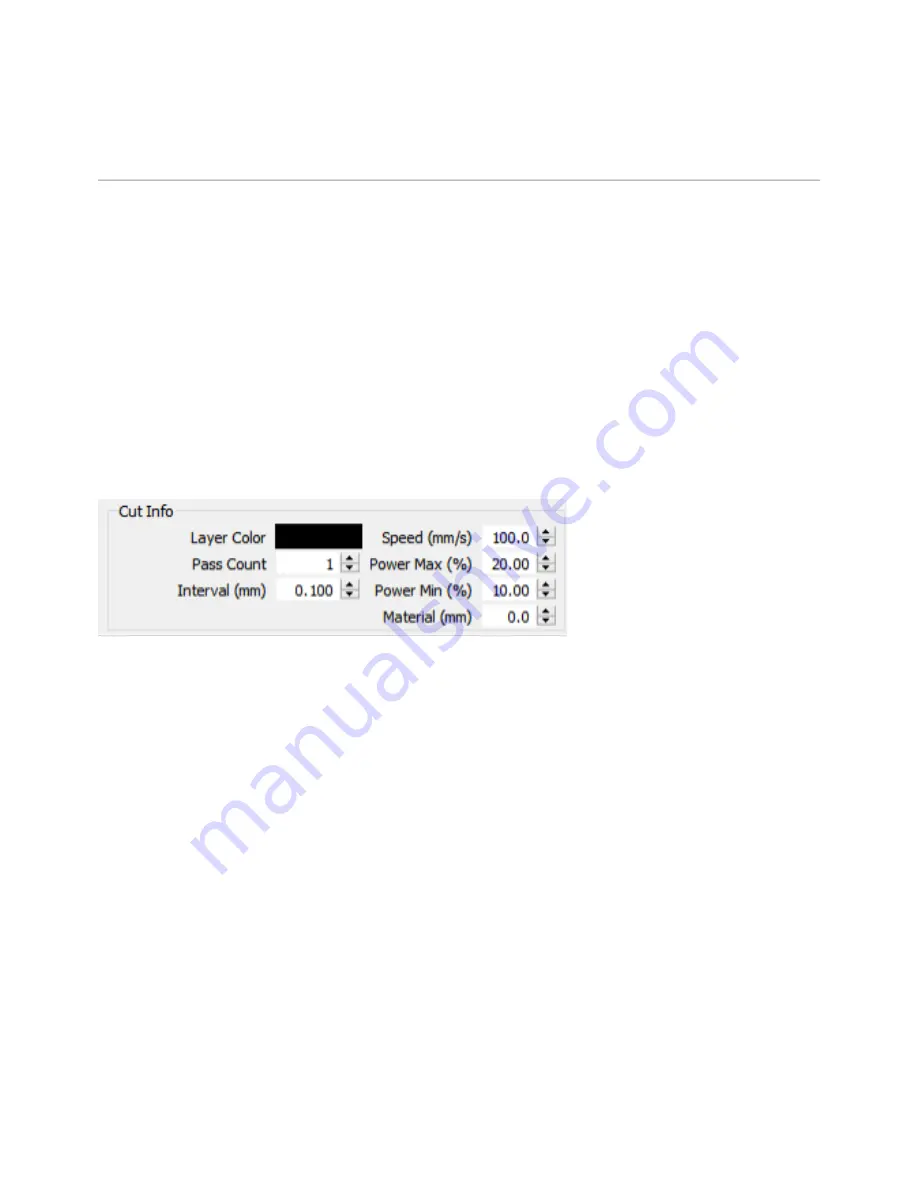
To begin with, click the black color entry in the “Cuts / Layers” window. Below the list of layers you’ll see 

the “Cut Info” window, containing something like this: 

For the text, you want enough power to engrave into the material you’re using, but not too deep. 

All models of the Mako Laser Cutter use a CO2 laser. As such use 200 mm/sec, 15% power (as both the 

“Power Max” and “Power Min”) and leave everything else. 

Note this is a rough starting point, and you will probably need to change this later. 

Now, click the red entry in the “Cuts / Layers” window. This is going to be what cuts through the material 

to cut out the shape. Cutting requires more power and much less speed. 

Set 15 mm/sec, 75% power (again for both max and min power) 

32

Summary of Contents for MAKO100

Page 1: ...LASER CUTTER USER MANUAL CO2 LASER...

Page 2: ...ed personnel This Operation Manual must be read and followed prior to operating the laser machine Furthermore InkSmith reserves the right to change or alter any product described herein without prior...

Page 3: ...s 13 3 3 Electrical Requirements 13 3 4 Exhaust Requirements 13 3 5 Machine Diagram 14 3 6 Connecting Components 15 4 0 OPERATION 16 4 1 Powering Machine ON OFF 16 4 2 Calibrating the Laser 16 4 3 Con...

Page 4: ...mit liability for damage to personnel and or equipment resulting from such use The laser cutting machine must only be operated maintained and repaired by personnel that are familiar and trained as wel...

Page 5: ...1 0 MACHINE OVERVIEW 1 2 TECHNICAL SPECIFICATIONS 5...

Page 6: ...g professional results quickly and efficiently The Mako Laser Cutters are able to cut and engrave on a variety of materials including wood cardboard fabric leather and acrylic Warning labels about you...

Page 7: ...e Operation Manual 2 Machine operators must ensure no unauthorized individuals install set up operate maintain and or repair the laser cutting machine 3 It is the duty of the operator to check the mac...

Page 8: ...the laser beam or radiation scattered from it Your laser cutter s keys should be kept in a secure location during normal laser use and should never be accessed by untrained personnel As with all type...

Page 9: ...and do not try to start a system that has been modified or disassembled Dangerous radiation exposure can result if the use of operation or adjustment of equipment other than is anything that describe...

Page 10: ...direct supervision of a trained person A tiny flame is normal for some materials during laser operations Any flame that continues to burn after the laser has moved positions is an indication that the...

Page 11: ...ng but will scorch on edges Synthetic fibers good for cutting but only on non chlorinated fibers be aware that edges will self seal Corian Cork Delrin Seal Press Leather Mat Board used as border on pi...

Page 12: ...se Clamps 5 Power Cables and Adapters 6 Triangle Key 7 USB Cable 8 Ethernet Cable 9 USB Drive 10 Accessories 11 Gold Pins 12 Water Chiller Valve 13 Allen Keys 14 Housing Keys 80W 100W Optional 15 Air...

Page 13: ...ndle the weight of the laser Choose a location where you are able to have access to all sides of the laser 3 3 ELECTRICAL REQUIREMENTS Make sure that your electrical outlet is capable of providing the...

Page 14: ...3 0 INITIAL SETUP 3 5 MAKO LASER DIAGRAM 14 Emergency Stop Button Protective Cover Control Panel Optical Path Checking Panel Water Cooler Hex Cutting Bed Belt Guide Rail Gantry System Laser Head...

Page 15: ...luded with your Mako Laser Cutter Air Filtration System to install it on your laser machine To access the instructions please click the link here Option 2 Mako Laser Cutter Air Filtration System Alter...

Page 16: ...of the USB stick Use the arrow keys to highlight the file you want to use Use the left and right arrow keys to toggle back to the boxes on the right side of the screen Navigate down to Copy to Memory...

Page 17: ...portant to make sure that all body parts are out of the travel path of any moving parts Once the machine is powered on use the direction keys on the keypad to move the laser head around It should do s...

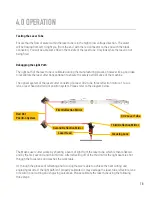
Page 18: ...e black connector You will be able some flow in the middle of the laser tube Only look while the laser is not being fired The Mako Laser cutter works by shooting a beam of light from the laser tube wh...

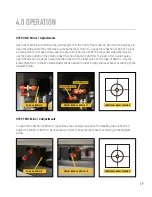
Page 19: ...open the lid and side panel to examine the location of the laser pulse on the tape of Mirror 2 Use the knobs on Mirror 1 to make small adjustment as needed in order to align the laser beam according...

Page 20: ...e metal laser nozzle Adjust the knobs on the top of the laser head accordingly to align with the diagram pictured below It is important to ensure all three mirrors on the laser machine are adjusted ac...

Page 21: ...hering mode and much more WARNING If a file is prepared using a table size setting larger than your bed size it may cause the axis to attempt to travel beyond their physical limitations resulting in d...

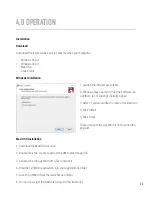
Page 22: ...tally signed 3 Select if you would like to create a desktop icon 4 Click Install 5 Click Finish That s it Locate the LightBurn icon to launch the program Mac OSX Installation 1 Download the Mac OSX ve...

Page 23: ...see is the General Usage Notes page this is a brief help page just to get you going You can get back to it any time in the Help menu under Help Quick Help and Notes Click OK 23 Linux Installation 1 Op...

Page 24: ...can add more than one and choose a default At present the layout and page size aren t associated with the device but this will be changed to that in the future If you ve never used LightBurn before y...

Page 25: ...er 4 Choose your connection method Serial USB Network etc 5 Choose a distinct name and set your machine bed size for X and Y Below we ve provided the appropriate X and Y positions for each laser watta...

Page 26: ...m status bar depending on your system If you are adding multiple devices repeat the steps above for each Mako Laser Cutter When you are done you can set the default connection by clicking on the name...

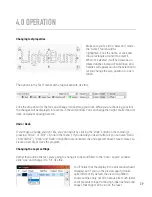
Page 27: ...for this project Adding text to your file in LightBurn With LightBurn running and an empty project click the Create Text button It normally lives along the left side of the main window 27 Next click...

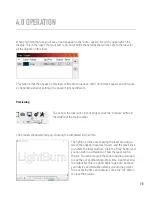
Page 28: ...k the Preview button in the middle of the main toolbar The preview window will pop up showing the completed job like this The lighter red lines are showing the laser moving be tween the shapes travers...

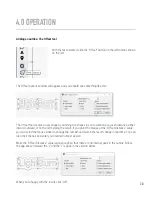
Page 29: ...d adjust spacing here too Undo Redo If you make a change you don t like you can undo it by clicking the Undo button on the toolbar or pressing Ctrl Z or Edit Undo in the menu If you decide you liked i...

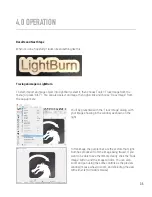
Page 30: ...e either inward outward or both and merging the result If you point the mouse at the Offset Distance value you can scroll the mouse wheel to change the number and watch the result change in real time...

Page 31: ...only thing selected like this Then click the Red square in the color palette at the bottom of the display The outline will turn red and you should see two entries in your Cuts Layers list like this T...

Page 32: ...s window Below the list of layers you ll see the Cut Info window containing something like this For the text you want enough power to engrave into the material you re using but not too deep All models...

Page 33: ...hat it can be positioned and the one you choose may depend on the kind of hardware you have We recommend that in the start from menu you use the absolute cords Absolute Cords Will cut the object in th...

Page 34: ...ed of the laser and use the arrow keys on the laser controller to move the head of the laser to the lower left corner of the material When you think it s lined up press the button labeled Frame The he...

Page 35: ...from the pop up menu You ll be presented with the Trace Image dialog with your image showing in the window as shown on the right In this image the purple lines are the vectors that Light Burn has prod...

Page 36: ...values in the range of 0 to 128 brightness excluding lighter values in the range of 129 to 255 brightness By adjusting these two controls it is possible to trace around a narrow range of the image SEL...

Page 37: ...own in blue is also sharp in the left image but with the Smoothness value set to maximum the image at right shows how even sharp corners become smoothed and this is rarely desired The default value of...

Page 38: ...t thicknesses of materials need deeper cuts Deeper cuts need to have a slower speed To change the speed at which the laser moves press the Speed button then use the Min Power and Max Power buttons to...

Page 39: ...art a file or to pause a file during operation Start Pause The Origin button is used to set particular X and Y coordinates This can be done by using the arrow buttons to move the laser head to where y...

Page 40: ...at the kerf amount of material lost to the cut is approximately the thickness of a piece of paper Therefore any designs that have lines closer together than the kerf will result in a larger hole rathe...

Page 41: ...rrow keys to highlight the file you want to use Use the left and right arrow keys to toggle back to the boxes on the right side of the screen Navigate down to Copy to Memory and highlight it Press the...

Page 42: ...leaned periodically To do this use a small amount of glass cleaner on white paper towel to gently wipe the surface PLEASE NOTE After using glass cleaner on the machine you MUST wait at least an hour b...

Page 43: ...dry beforeusing the laser cutter again 5 Any debris or dust left on the lens surface will be baked on if not cleaned off before using the laser WARNING After using glass cleaner on the machine you MU...

Page 44: ...e rails on the Gantry system wipe them down with paper towel no solvents and lubricate them with a few drops of shredder performance oil Move the laser head back and forth several times to ensure the...

Page 45: ...te When the laser cuts completely through a material smoke can usually be seen coming through the bottom of the bed ISmoke will be visible through the cracks of the fresh cut material when looking thr...

Page 46: ...ed turning the training Machine Overview General Safety Laser Safety Precautions Operational Safety Approved Not Approved Materials Powering ON OFF the laser machine Debugging the Light Path Control S...

Page 47: ...please contact our Technical Support line InkSmith Technical Support Phone 1 844 465 7684 ext 4 E mail tech inksmith ca www inksmith ca Technical Support Hours Monday Friday 9 00am 5 00pm EST NOTE For...

Page 48: ...QUESTIONS tech inksmith ca 1 844 465 7684 ext 4 www inksmith ca CO2 LASER...

Reviews: