4.0 OPERATION
Again, note that these are starting points and may need to be adjusted.
Open the “Preview” window again (“Alt+P”, or click the “Preview” button), then drag the progress slider
from left to right to watch how the laser hear will run. You’ll see the text engrave first, followed by the
outline cut. If you don’t see those things, check the settings again, and verify that you have the first layer
(black) set to “Fill”, and the second layer (red) set to “Line”.
Positioning the Job on the Laser
When sending this to the laser, there are a couple of different ways that it can be positioned, and the
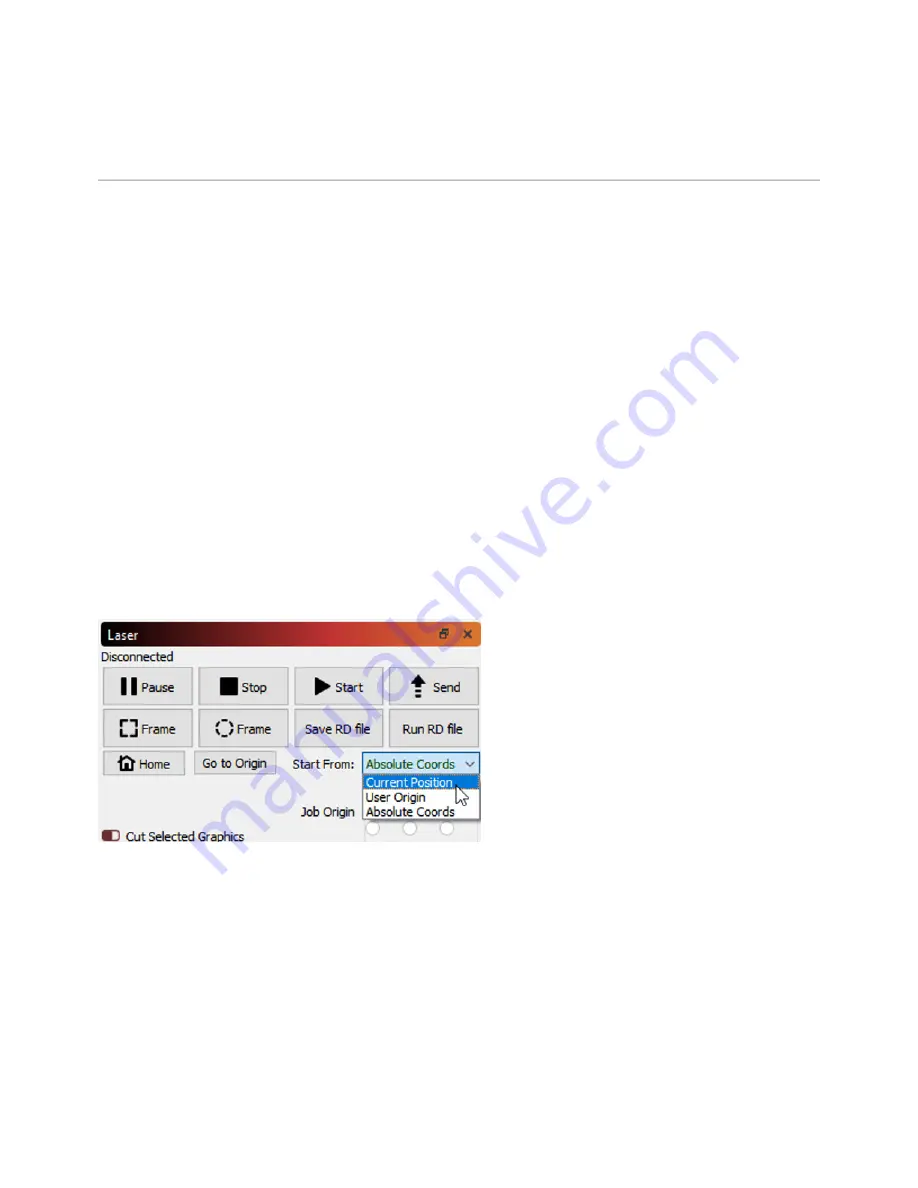
one you choose may depend on the kind of hardware you have. We recommend that in the ‘start from’
menu you use the absolute cords.
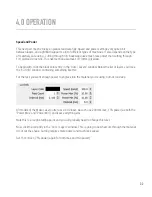
Absolute Cords: Will cut the object in the position on the grid that you have chosen.
User Origin: Will cut the object wherever you
set origin to. Which should be set up to the
top right (X0, Y0).
Currently Position: Will cut the object where
the laser is currently positioned on the bed.
In the Laser window, which is in the low-
er-right of the main window by default,
look for the ‘Start From’ drop down box,
and choose ‘Current Position’ or ‘Absolute
Coords’.
In the Laser window, which is in the lower-right of the main window by default, look for the ‘Start From’
drop down box, and choose ‘Absolute Coords’.
33

