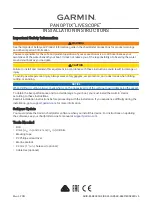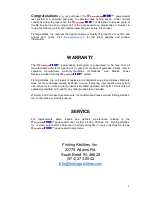

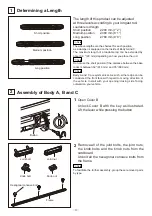


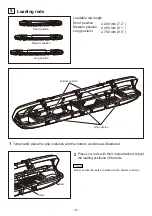
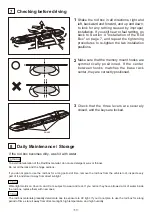

Loadable rod length
Short position
Medium position
Long position
2,200 mm (7’ 2” )
2,480 mm (8’ 1” )
2,760 mm (9’ 0” )
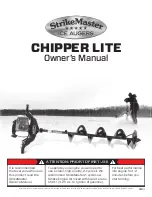
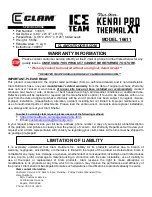
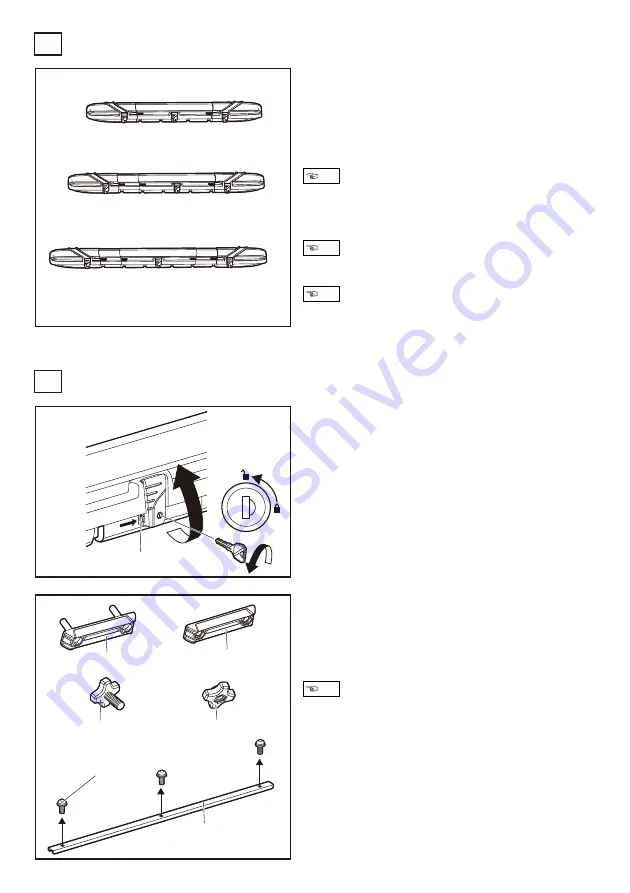
Open Cover B
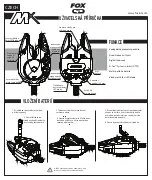
1
Remove all of the joint bolts, the joint nuts,
the knob bolts and the knob nuts from the
cardboard.
Unbolt all the hexagonal concave bolts from
the frame.
2
Unlock Cover B with the key as illustrated.
Lift the lever while pressing the button.
The above lengths are the shortest for each position,
as a damper is equipped on the inside of Body A and C.
The maximum length of a loadable rod can be extended by
about 0.8 " (20 mm) depending on how you place the rod.
Do not use the short position if the distance between the base
racks is between 32” (810 mm) and 35” (890 mm).
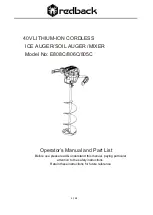
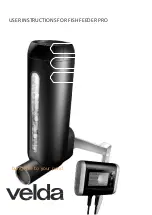
Body A and C are symmetrical. As such, either edge can be
considered the front face with regard to moving direction of
the vehicle. Install with your opening/closing side facing
outward on your vehicle.
Determining a Length
1
Assembly of Body A, B and C
2
−3−
Button
Short position
Medium position
Long position
Joint bolt
Joint nut
Knob bolt
Knob nut
Hexagonal concave bolt
Frame
To facilitate the further assembly, group these removed parts
by type.
The length of this product can be adjusted
at three levels according to your longest rod.
Note
Note
Note
Note