21
INSTALLATION AND
QUICK START UP GUIDE
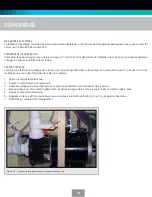
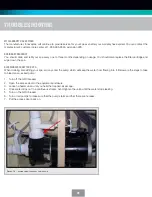
3. Remove the access door located underneath the top side control panel to reach the pump and spa pack. Check that the two heater
unions are hand tight. Vibrations during transport may loosen them. Do not use a wrench. Over-tightening may cause damage to
unions and gaskets, which will not be covered under warranty. Check the unions periodically as vibrations from the pump may loosen
them and lead to a leak. Check that the shutoff valve from the drain hose is in the off position and that the cap is hand tight. Check
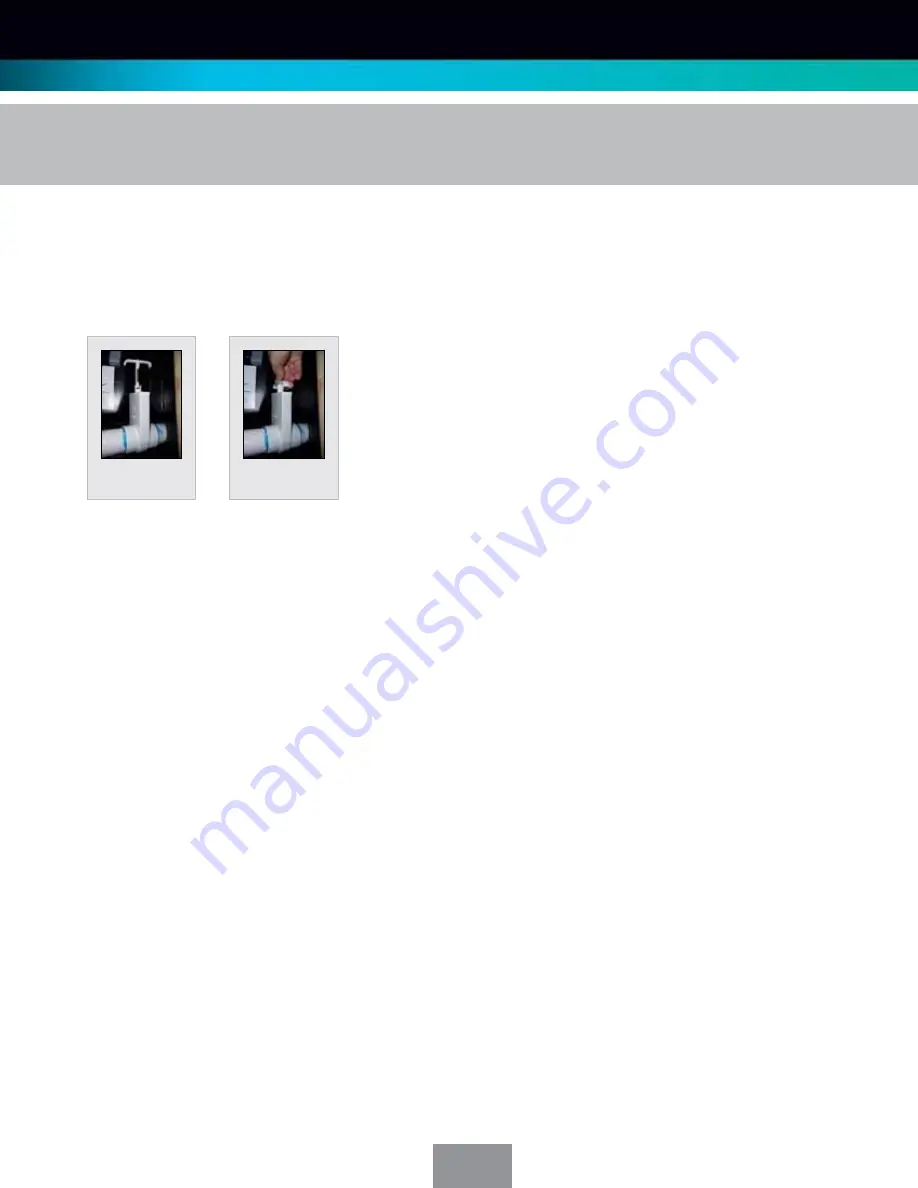
that all slide valves are opened (T-handle pulled out (fig. 1.1), the valve is opened; T-handle pushed in (fig. 1.2), the valve is closed).
4. To fill your spa, remove the filter cover and the filter cartridge by turning it counter clockwise.
If your source water contains metals
such as iron, it is recommended that you attach a pre filter to your garden hose to help remove the metals and make start up easier.
Put
your garden hose into the threaded hole where the filter cartridge is located and begin to fill your spa through this hole. Make sure
that all the jets are in the open position. This will purge air from the water lines and it will make priming the pump easier. Fill your
spa approximately 6 inches (15 cm) from the spa top. The level that you keep your spa water at will be determined by the number
of bathers using the spa. The more bathers, the higher the water level will rise.
5. When your spa is full of water, plug the power cord into your wall outlet or switch your 110V GFCI breaker to the on position. The
top side control display will sequence through a numbered test pattern before displaying the letters PR for a few minutes.
6. Next, the top side control will display dashes until the current water temperature is detected and displayed. This may take up to one
minute. To set your desired temperature, press either the up «
5
» or down «
6
» arrow. The set temperature will begin to flash. To
change the set temperature, press the warm icon to increase it or the cool icon to decrease it. The set temperature stops flashing
and shows the desired temperature.
7.
PRESET FILTER CYCLES.
Your first filter cycle begins 6 minutes after your spa is energized. The second filter cycle begins 12 hours
later. Filter duration is programmable for 1 to 8 hours in a 12-hour period. The default filter time is 4 hours (F4). To program filter
cycles, press either «
6
» or «
5
» , press on the «Jets» icon and then again on «
6
» or «
5
» to adjust the cycle time. Press the
«Jets» icon to exit filter cycle programming. The pump operates at low speed during filter cycles.
8. If your spa is not operating in a filter cycle, but the water requires heating, the spa pump and the heater will turn on until the set water
temperature has been reached. Both components will then shut off automatically. This prevents your water from cooling down. Your
spa is also equipped with freeze protection. If the water temperature drops below 45°F (7°C), the pump will automatically turn on
and will turn itself off 4 minutes after the water temperature has risen back to 45°F (7°C).
IMPORTANT
Your spa automatically checks the water temperature for 1 minute, every 30 minutes, to increase the temperature if it has dropped. If
you are operating your spa using a 110V electrical supply, the heater will disengage when your pump is turned on to high speed. If your
set temperature has dropped during usage, the heater may not come on automatically when you change your pump from high speed
to low speed. To turn the heater back on, decrease your set temperature by 1 degree, then raise it back to your set temperature. This
should reengage the heater within a minute.
F
igure
1.1
F
igure
1.2

