ELITE
Installation guide
Chapter 1: Installation
5
•
Connect the UPS data cable to an available USB port on the back of the system.
Connect the other end of the data cable to the UPS.
•
Connect the UPS to AC power. Turn on the UPS
•
Connect the Multi-COM port cable to the connector labeled
Comm Cable
on the
back of the system.
•
Connect the system’s AC power cord to the row of UPS power outlets labeled
Battery, Surge and Noise Protected Outlets 300W Max
.
•
Connect the VGA monitor to the
Video
connector on the back of the system.
•
Connect the keyboard cable to the
Keyboard
connector on the back of the system.
•
Connect the PS/2 mouse to the
Mouse
connector on the back of the system.
•
Connect the AC power cord of the monitor to the UPS and turn on the VGA
monitor.
4. Verify system operation.
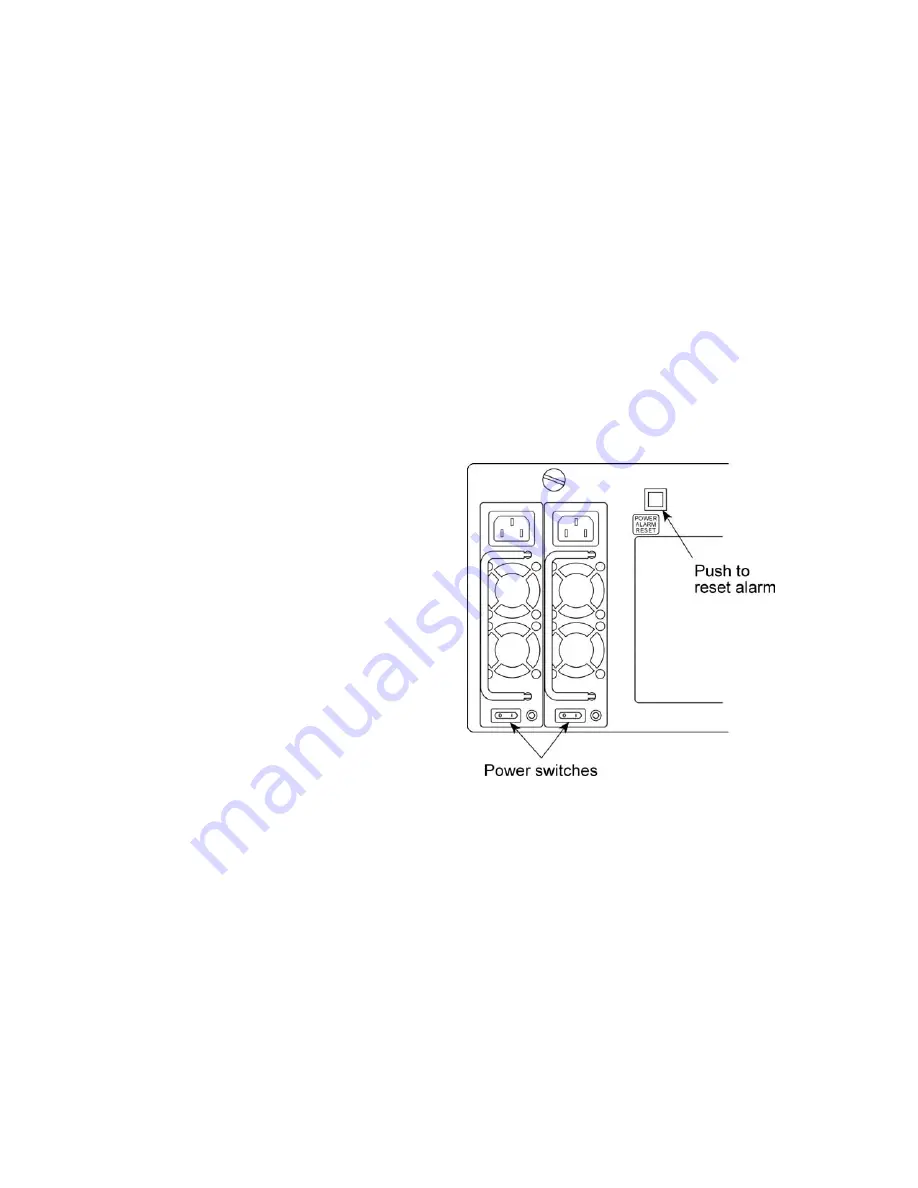
Flip both power supply toggle
switches (located on the back of the
system) to the “on” position. Open
the door to the system and flip the
power toggle switch to the “on”
position.
Verify that the following components
are working:
•
The software begins to load on the
monitor.
•
The CPU fan on the motherboard
is turning.
•
The power supply fan is turning.
•
The fan(s) in the front section of
the computer are turning.
Verify that the following components are working:
•
The Elite software begins to load on the monitor. The system is configured to log
on automatically as an administrator.
•
The CPU fan on the motherboard is turning.
•
The power supply fans are turning.
•
The fans in the front section of the computer are turning.
•
The UPS on Power Utility status is OK, as shown on the Windows icon tool tray.
If any of these components do not work, call Innovation at the number shown on the
front of this manual.
The diagram below shows which system tray icons typically load on the system:


