6
Setup / Basic Operation
Setup
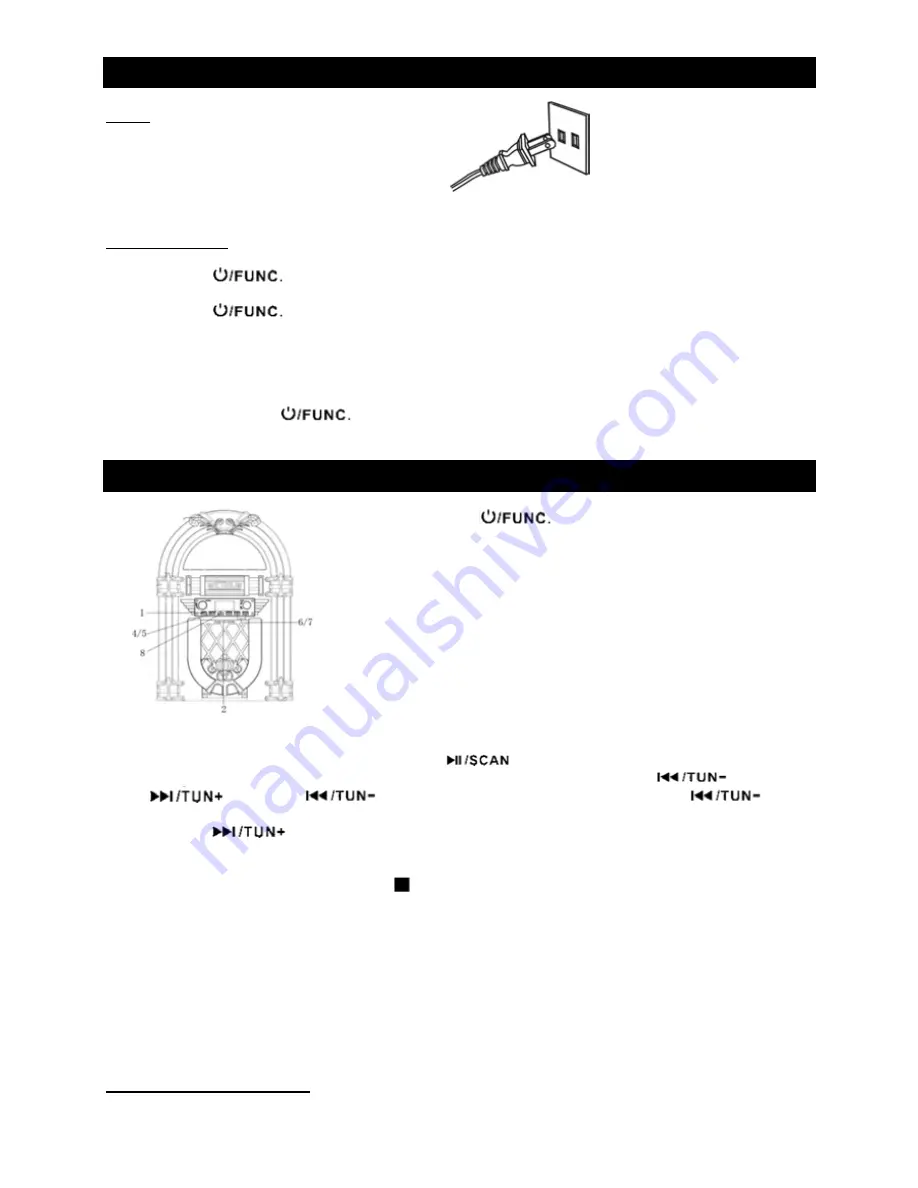
Connect the AC power cord to a wall outlet.
Note:
To prevent interference, avoid bundling audio signal cables together with the AC power cord.
Basic Operation
1. Press the
button to turn the unit on.
2. Press the
button again to select the source
(CD/FM/AUX/BLUETOOTH)
3. Rotate the VOLUME knob to adjust to the desired sound level.
4. Press and hold the
button to turn the unit off.
Listening to a CD
1.
Press the “
” button to select CD mode. The unit
will display the “CD”
Note:
When no disc is set, “disc” will appear on the display.
2.
Push the CD door to open the tray.
3.
Place a disc on the tray with the printed label facing
outward, then close the tray.
4.
The unit will automatically start playing from the first track.
5.
To temporarily pause playback, press the
button. Press again to resume.
6.
To skip tracks backward or forward, press the corresponding skip button
or
. Pressing
once will restart the current track. Pressing
twice
in succession will return to the beginning of the previous track.
Pressing
button to skip to the next track.
7.
To fast forward / rewind within a track, press and hold down the corresponding skip button until
the desired position is reached.
8.
To stop playback, press the STOP
button
Important:
- Never place more than one disc on the tray.
- The disc must be placed in the center of the disc tray. An incorrectly loaded disc can permanently
damage the tray door mechanism.
- It takes a moment for the unit to load a disc, during which all buttons will be temporarily
deactivated.
Repeat / Random Playback


