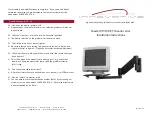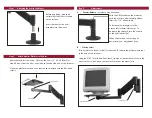
Step 1 Attaching the Arm to the Mount
Before beginning, please be
certain that the mount is secure
on the surface.
Insert the shaft of the arm
assembly into the mount.
Step 2 Attach Monitor Platform to the Arm
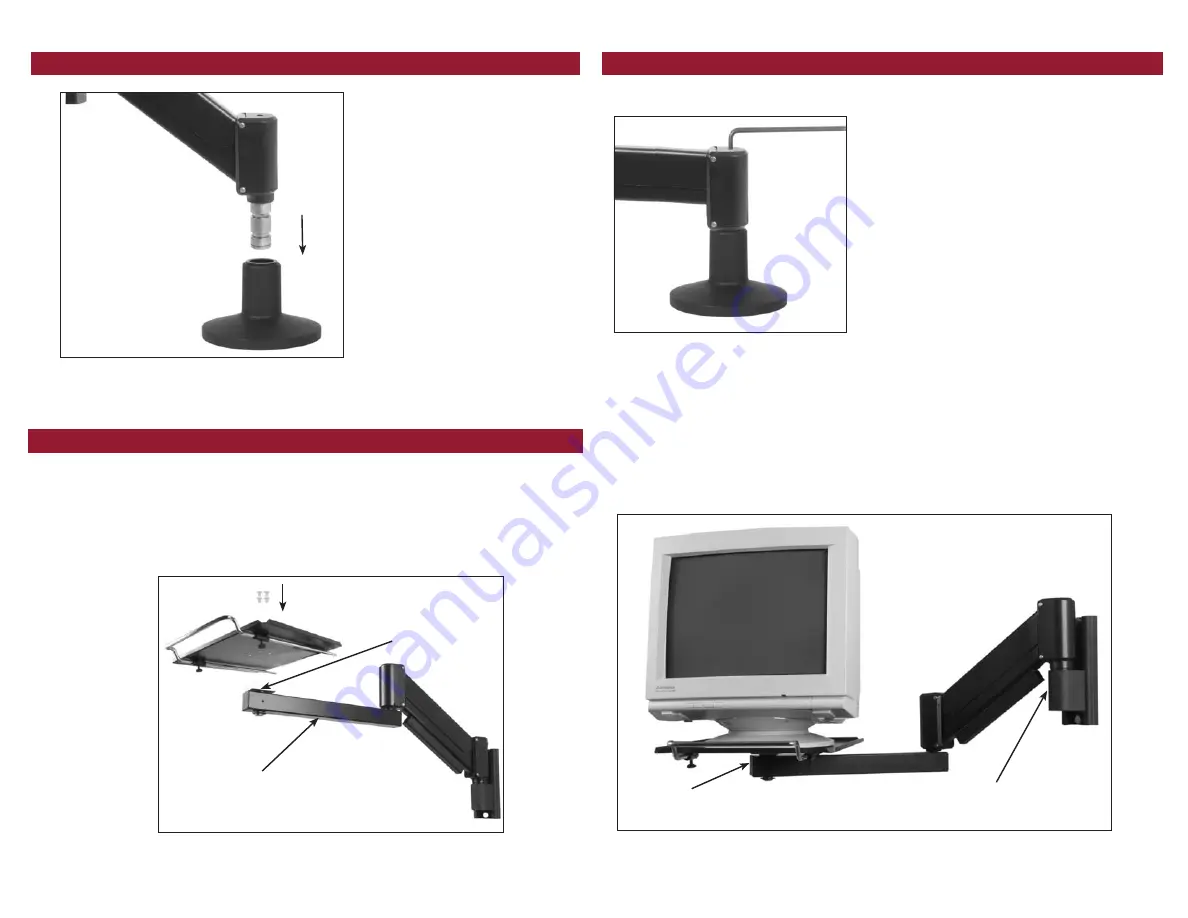
Remove platform from wrap. Unscrew the four 1/4” x 20 Philips Flat
Head Screws from the tilt or non-tilt base found at the end of the forearm.
Place the platform on the bar as shown and re-attach with the
fl
at head
screws.
Step 3
Adjustments
non-tilt base
forearm
With the CRT monitor on the platform,
push the arm into a horizontal position,
insert the 1/4” allen wrench.
To increase the strength, turn the
wrench left (counter-clockwise). To
decrease the strength, turn the wrench
to the right (clockwise).
When the arm does not drift up or
downward, your adjustment is set.
A - Counter-Balance -
assistance may be needed
B - Friction Joints
Friction joints are found in the (1) mount and (2) where the platform attaches
to the end of the forearm.
Using the 3/32” provided allen wrench, tighten or loosen the set screw in the
mount to control how much your arm will rotate at the mount joint.
(1) Friction Joint
(2) Friction Joint

