6
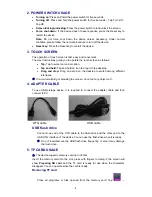
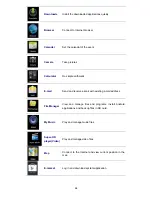
Storage
→
Unmount shared storage
→
Remove TF card. Press the card and it
will eject.
☆
Do not insert/remove the memory card repeatedly, or else it may damage
the card.
☆
Please use qualified memory card to avoid incompatibility.
6. GETTING STARTED
Charging the device
Connect one end of the power adapter to the socket and the other end to the
power jack to charge the device.
During charging, the battery symbol is
; after charged, the battery symbol turns
into
.
☆
You can use USB cable to charge the device.
☆
You can use the device while charging; however, it will extend the charging
time.
Battery management
The battery electricity isn’t full when it is packed. It is recommended to charge at least
four hours before using the device.
The charging time and discharging time of the battery are limited. However, you can try
the following measures to extend the life of the battery.
Use the device at least once every week.
Charge the battery regularly.
Do not keep the battery too low for long time.
Always keep the device and battery away from heat source.
Start-up
Press and hold the power switch for five seconds.
Wi-Fi network settings
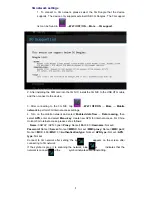
Since many functions require Wi-Fi connection, please configure the Wi-Fi
network before operation.
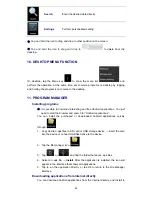
1. Click
→
WI-FI OFF/ON
2. Select to turn on Wi-Fi.
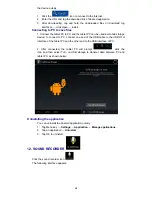
The device will automatically scan and list all available Wi-Fi networks. If the
Wi-Fi connection has
icon, you need to enter the valid password.
3. Tap a Wi-Fi connection
→
if password is required, please enter the valid
password
→
tap Connect, and the icon appears on the desktop after
connecting to Wi-Fi network.
4. Tap
to return to the desktop.
☆
If you set to hide Wi-Fi, it won’t be scanned automatically. Please tap Add
Wi-Fi Network, and then enter corresponding information to add the Wi-Fi.


