

5.4. LOCATION
Place the valve leaving enough space around it to realize easily the dismantling, the inspection and
the review the valve as well as in order to access to the actuator air connection’s device for valves
with automatic actuation even when the valve is operating. Consult in chapter
5.8. Welding
the re-
quired minimum distances. The installation should allow that the removable parts are could remove
easily.
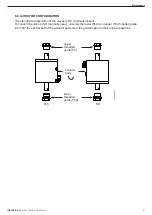
5.5. GENERAL INSTALLATION
After the location of the valve is defined, the valve can be joined to the pipe by welding the valve
housing or using fittings.
In case of joining the valve to the pipe by fittings do not forget the seals and tighten the unions pro
-
perly.
If instead, the valve is joined by welding, before starting to weld the valve bodies to the pipe disas
-
semble the valve to prevent damage to the joints, following the instructions in chapter
8.4. Disas-
sembly and assembly the valve
.
During installation, the valve avoids using excessive force and pay special attention to:
- vibrations that may be produced on the facility,
-
thermal dilation that the pipe may undergo when hot fluids are circulating,
- the weight that the pipe can support,
- excessive welding current.
The connections must be EHEDG-approved as described in EHEDG Position Paper (see
www.
ehedg.org/guidelines
).
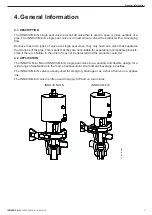
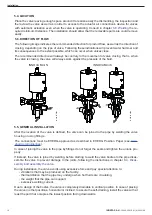
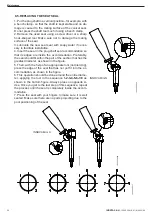
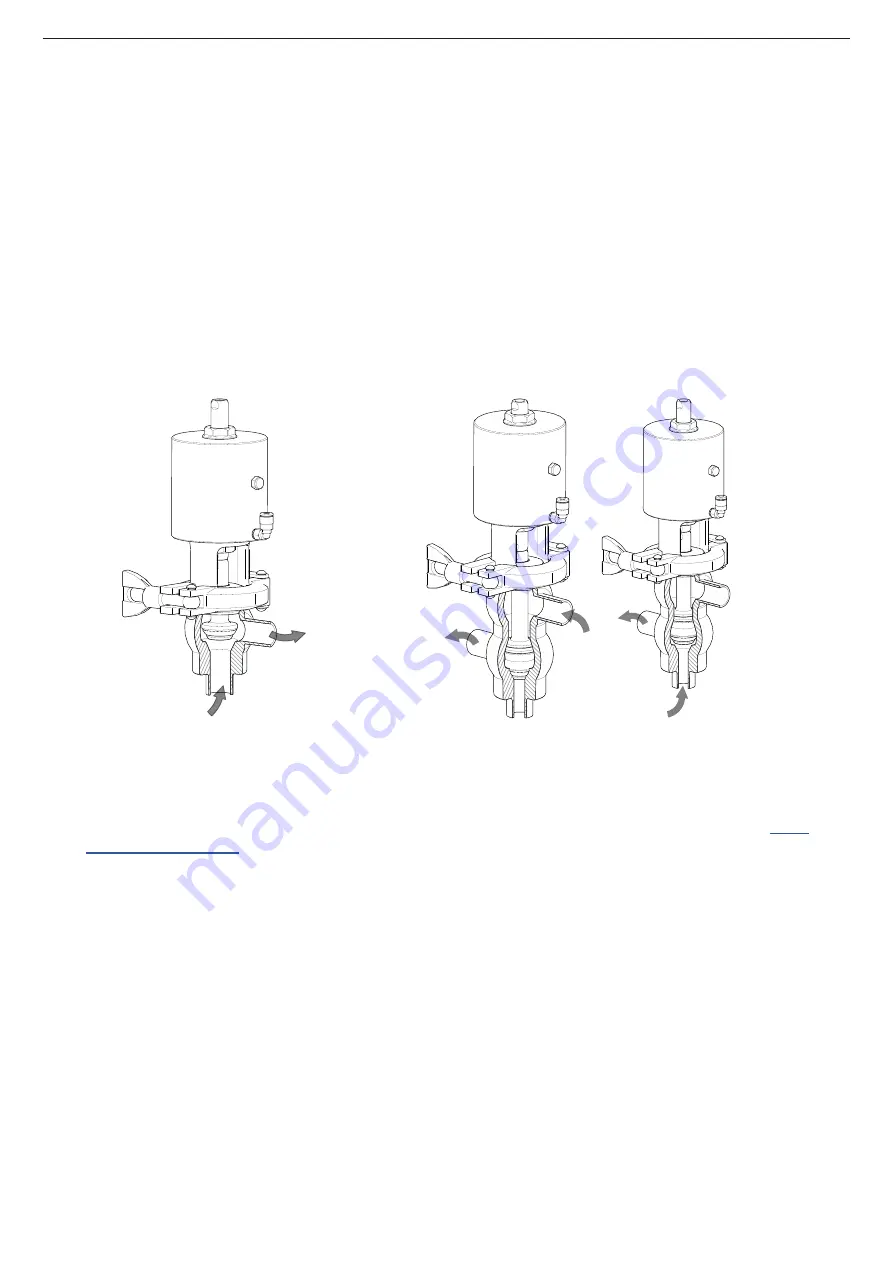
5.6. DIRECTION OF FLOW
The following image indicates the recommended direction for product flow, as well as the direction of
closing, depending on the type of valve. Following these indications will prevent water hammer and
its consequences to the extent possible, which can occur when valves close.
The recommended direction will always be contrary to the movement of valve closing, that is, when
the valve is closing, the valve will always work against the pressure of the fluid.
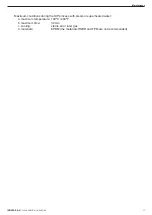
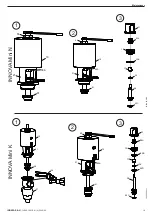
INNOVA Mini K
10.260.32.0006
INNOVA Mini N
10.260.32.0005
Due to design of the bodies, the valve is completely drainable in vertical position. In case of placing
the valve in other positions, horizontal or inclined, to assure the self-draining, install the valve with at
least the port that occupies the lowest position facing downwards.
Installation
INOXPA S.A.U.
10.260.30.01EN · (A) 2022/09
10