10
4.Installation
2021/11
4.2.
TRANSPORT AND STORAGE
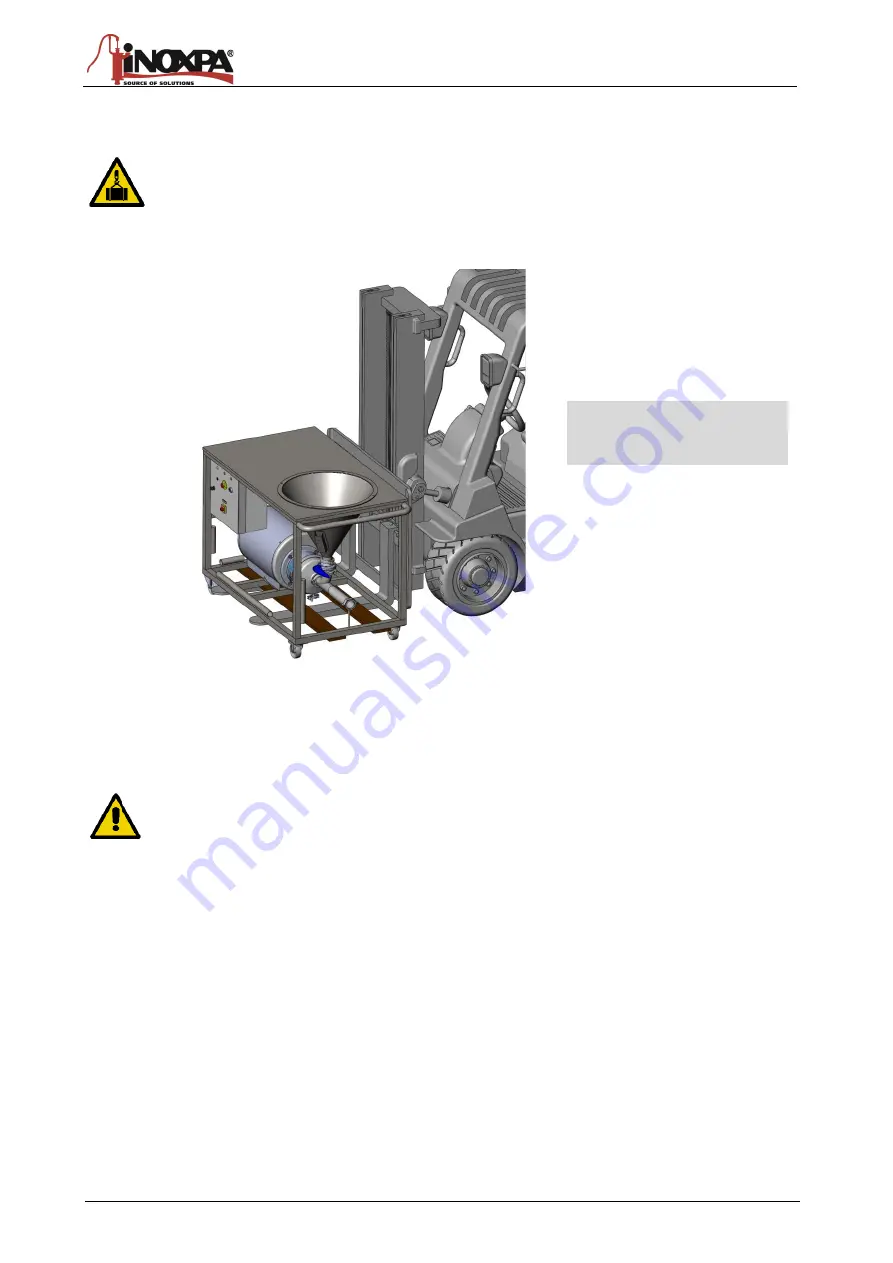
The blenders incorporate wheels so they can be moved but in case of being stored for shipping, refer to
the diagram for lifting the unit
Lift the blender as indicated below:
4.3.
LOCATION
Place the blender in a position that allows enough space around it to provide access to all the skid. (Refer to Section 8
.
Place the blender on a flat and level surface.
Install the blender so that it can be properly ventilated.
If the blender is installed outdoors, it must be sheltered under a roof. Its location must allow for easy
access during any inspection or maintenance tasks.
4.4.
PIPES
•
As a general rule, install the suction and discharge lines in straight sections, with the minimum possible number of
elbows and fittings in order to reduce any pressure losses that may be caused by friction.
•
Make sure that the blender
’s ports are properly align
ed with the pipework and have a diameter similar to that of the
pump connections.
•
Place the blender as close as possible to the suction tank and whenever possible below the liquid level, or even
below the tank level in order to achieve the largest possible static head for suction.
•
Install support brackets for the lines as close as possible to the blender's suction and discharge ports.
4.4.1.
Shut-off valves
The table blender may be isolated for maintenance. To accomplish this, shut-off valves must be installed and
connected to the blender's suction and discharge connections.
These valves must ALWAYS be open during operation of the blender.
02
.1
00
.3
2.
00
04
ATTENTION!
Make sure that the blender is
secured to prevent overturn it.


