600 Dekora Woods Blvd. Saukville, WI 53080
Toll Free: 800-488-8177 Local: 262-268-9330 Fax: 262-268-9952
Connect the Reel to the Command Module with the provided 10Ft/3M
extension cable.
Connect the Jetter adapter to the end of the jetter hose. Ensure that the
correct nozzle configuration is used to maximize performance of the system.
Connect the soft cable to the jetter adapter aligning the keyway of the
connector.
Attach the strain relief cables to the jetter adapter
Power on the command module and ensure the camera video is displayed.
Ensure that the interface box power switch is in the off position and the
pendant
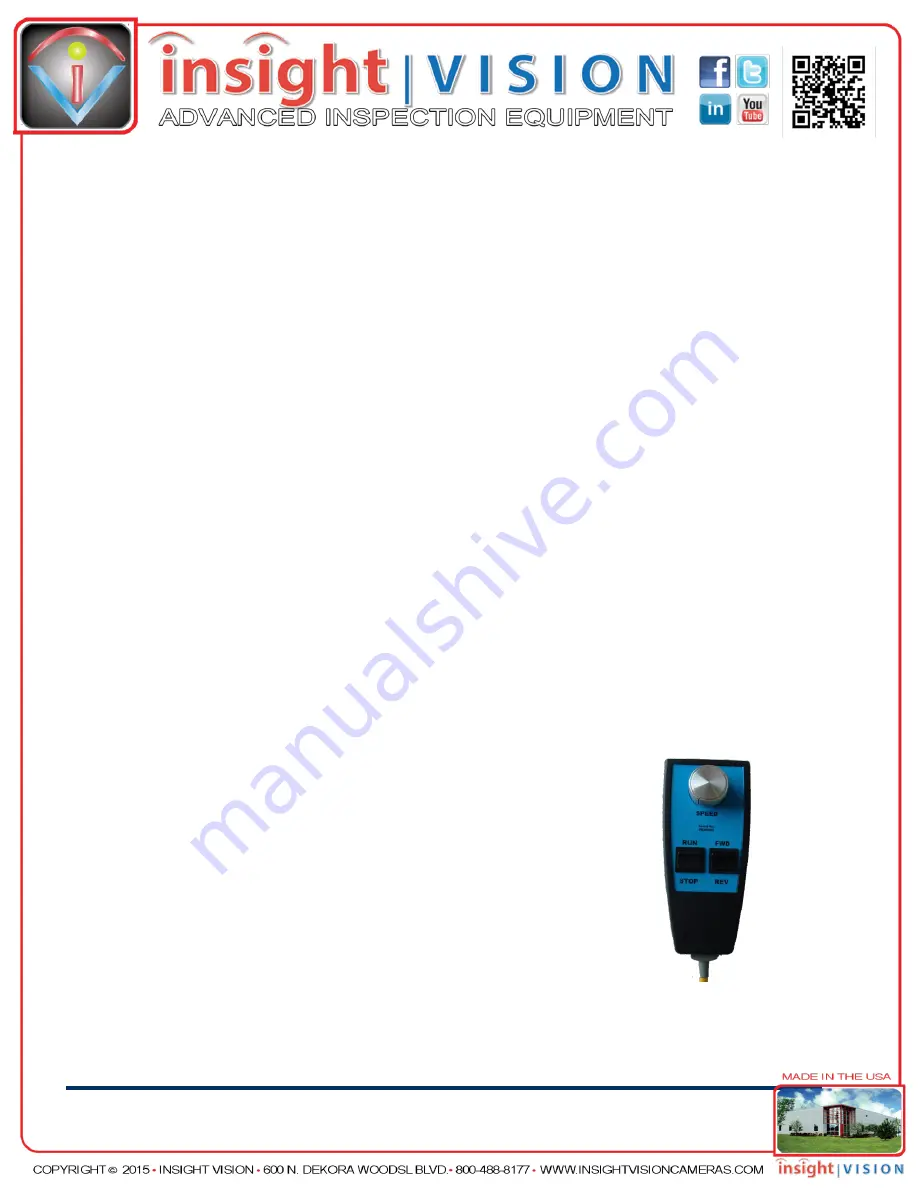
RUN/STOP
switch is set to stop.
Connect the 110VAC power cord to the interface box and a 110VAC power
source.
Turn on the interface box power switch.
When using the camera system it is recommended that a tiger tail, roller
assembly, or similar device is used the prevent damage to the cable and
increase the life of the system.
2. Cable Winding.
During the payout of cable the pendant control should be in
the stop position.
When cable is being retracted place Turn the pendant
SPEED
control fully counter clockwise.
Place the pendant
FWD/REV
switch in the rev position.
Place the pendant
RUN/STOP
switch in the run position.
Slowly adjust the pendant
SPEED
control clockwise to increase
the speed of the drum to match the speed of the jetter hose.
When the cable is being rewound onto the drum use the manual level wind
handle ensuring the cable wraps smoothly on the drum. If this is not done the


