
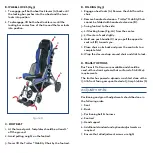
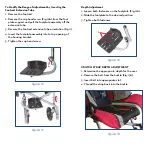
B. WHEEL LOCKS (Fig 3)
1. To engage, pull both wheel lock levers (A) back until
the locking bar pushes into the wheel and the lever
locks into position.
2. To disengage, lift both wheel lock levers until the
locking bar comes free of the tire and the lever locks
into position.
figure 3
C. FOOTREST
1. At the lowest point, footplates should be at least 2”
off the ground.
2. Avoid putting weight on the footrest.
3. Never lift the Trotter® Mobility Chair by the footrest.
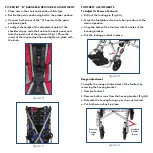
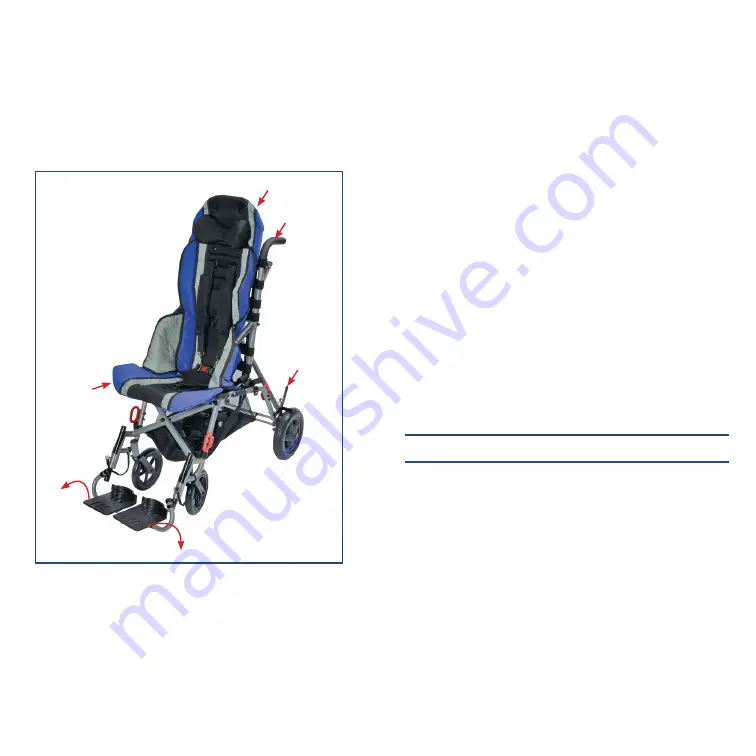
D. FOLDING (Fig 3)
1. Engage wheel locks (A). Remove the child from the
chair.
2. Remove headrest extension. Trotter® Mobility Chair
cannot be folded with headrest extension (B).
3. Swing footrest to the side.
4. Lift locking brace (Fig. 2A) from the center.
5. Lift center of seat slightly.
6. Hold one push handle (C) as you pull the opposite
seat rail (D) towards you.
7. Place chair on its back and press the seat rails to a
complete fold.
8. Wrap the closure strap around chair and click to lock.
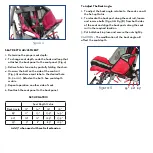
Positioning and growth adjustments should be done in
the following order:
1. Seat
2. Back
3. Positioning belt & harness
4. Footrest
5. Head support
6. Additional standard and optional adjustments as
required
7. Ensure that all adjustment screws are tight
adjustments:
D. TRANSIT OPTIONS
Bus Transit Tie Downs are available and should be
used with restraint systems that conform to SAE J2249
requirements.
The trotter has passed a dynamic crash test done with a
130 lb. front facing occupant tested at 30 mph (48 km/h)
B
C
A
D


