51
BIOS Setup
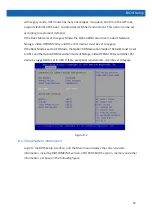
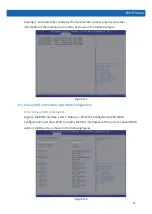
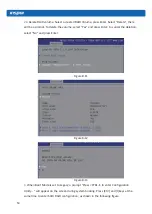
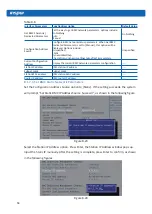
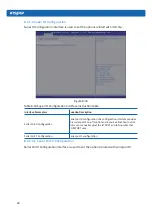
Figure 8-14
3.1
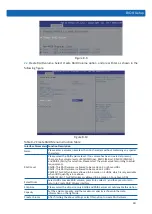
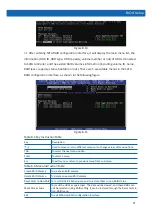
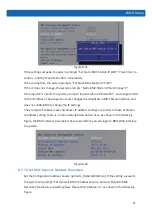
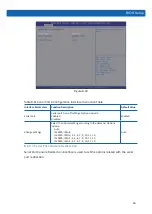
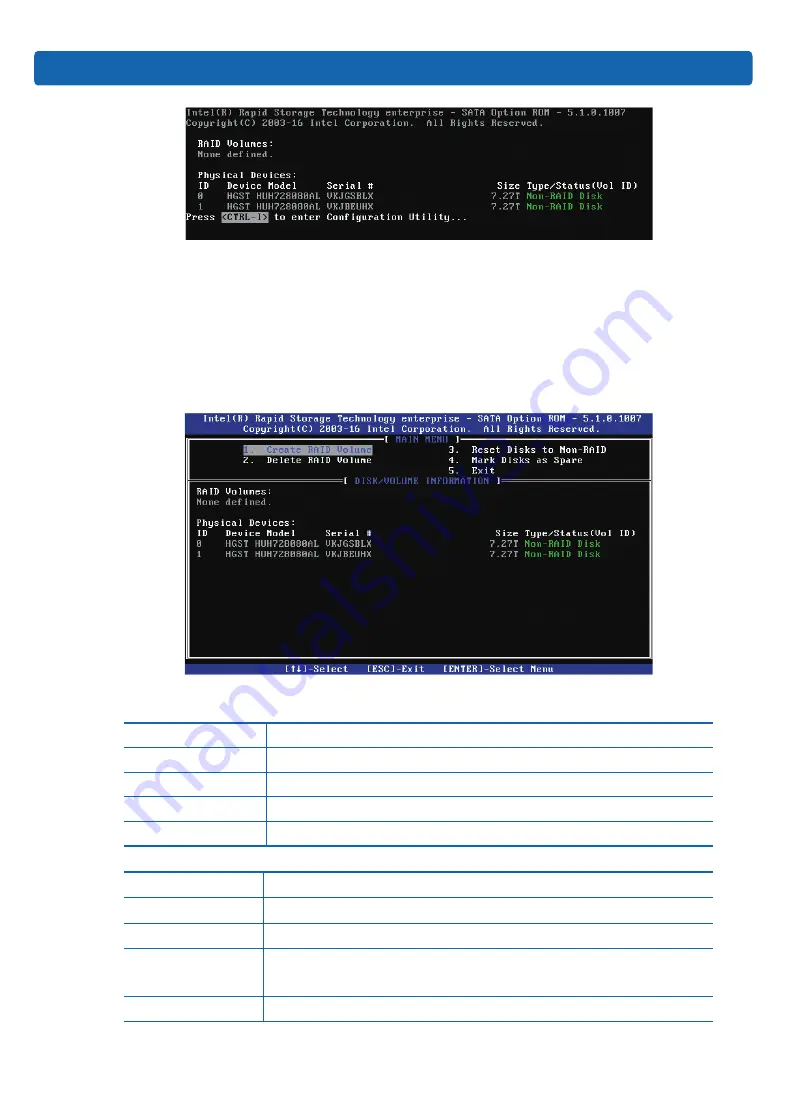
After entering SATA RAID configuration interface, it will display the main menu list, the
information (HDD ID, HDD type, HDD capacity, volume member or not) of HDDs connected
to SATA controller, and the existed RAID volumes information (including volume ID, name,
RAID level, capacity, status, bootable or not). There are 5 executable menus in the SATA
RAID configuration interface, as shown in the following figure.
Figure 8-15
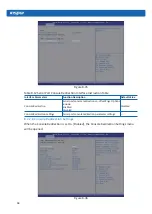
Table 8-3 Key Instruction Table
Key
Description
↑↓
Used to move cursor in different menus or to change values of menu options.
TAB
To select the next menu option.
Enter
To select a menu.
Esc
To exit menu or return to previous menu from sub-menu.
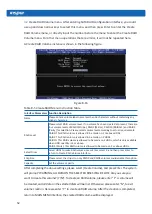
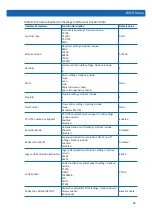
Table 8-4 Menu Instruction Table
Create RAID Volume
To create an RAID volume.
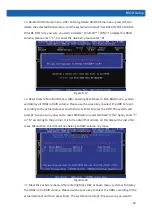
Delete RAID Volume
To delete an existed RAID volume.
Reset Disks to Non-RAID To reset HDDs in RAID volume, and to restore them to non-RAID status.
Mask Disk as Spare
To mask the HDDs as spare disks. The data will be cleared, and these HDDs can
not be selected during RAID setting. It can be restored through the Reset Disks to
Non-RAID menu.
Exit
To exit SATA HostRAID configuration interface.

