228
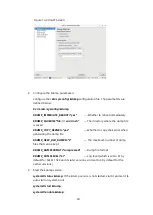
halt
The system will attempt to capture a vmcore, which will
cause the system to halt whether it succeeds or not.
poweroff
The server will be powered off.
shell
Enter the shell CLI (using bash as the default shell),
which enables you to manually capture the core file. To exit the shell CLI,
restart the system.
dump_to_rootfs
If non-root dump target is specified, the default action
can be set as
dump_to_rootfs
.
6.
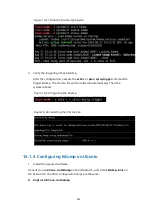
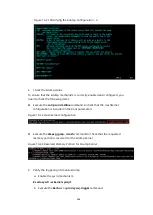
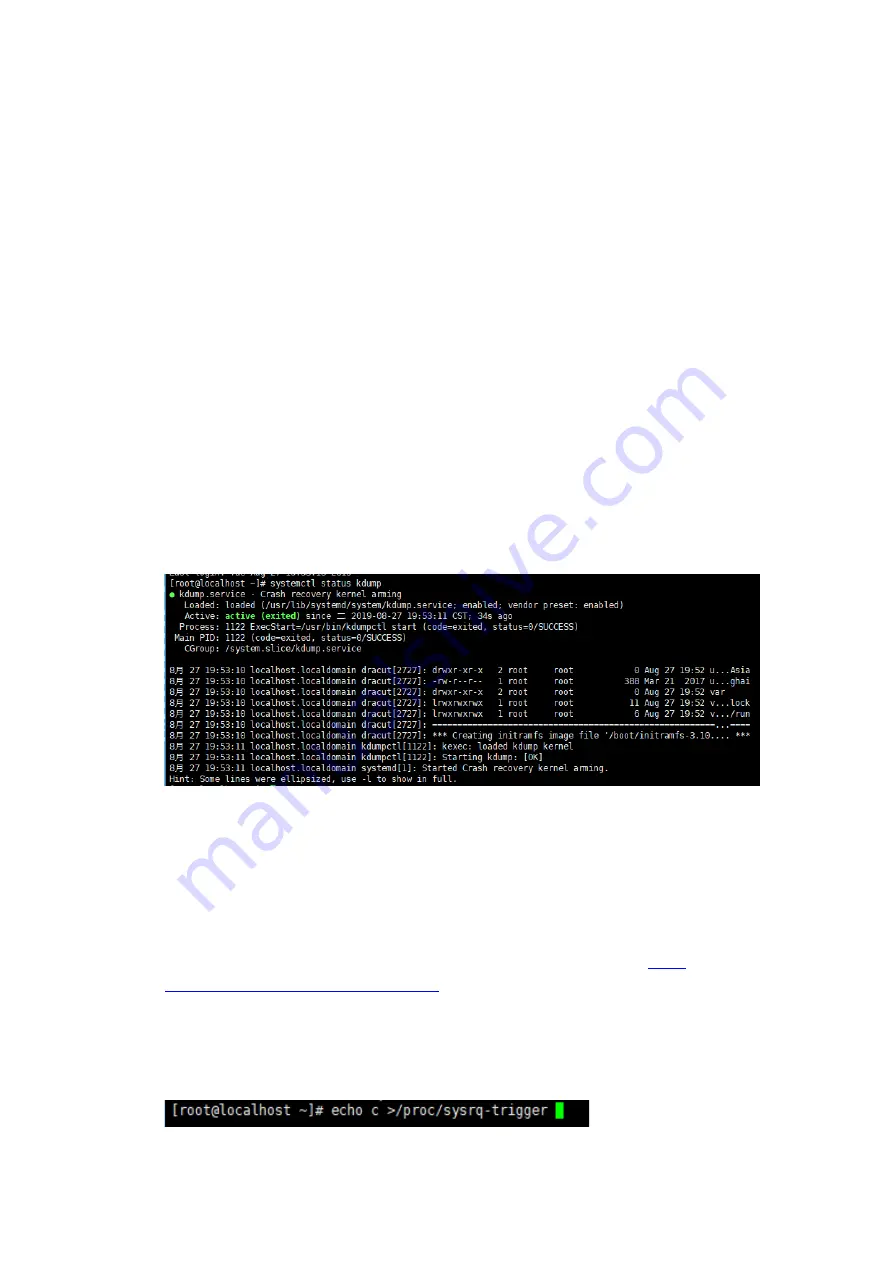
Check and start the kdump service.
If the kdump service is not started, start it and set it to auto start on system
boot.
#systemctl status kdump
#systemctl start kdump
#systemctl enable kdump
Figure 10-13 Checking and Starting the Kdump Service
#reboot
7.
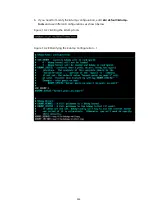
Verify the triggering of kdump.
Test whether the configuration takes effect in the CUI (Character User Interface).
You can execute the following command to result in a system crash. (Before that,
make sure you have configured the magic SysRq key by referring to
10.4
Configuring the Linux Magic SysRq Key
Execute the
echo c > /proc/sysrq-trigger
command to trigger kdump. The vmcore
file will be collected automatically. Then the system reboots.
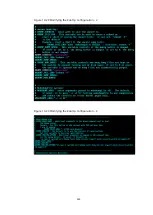
Figure 10-14 Triggering the Kdump
Summary of Contents for OS
Page 1: ...Inspur Server OS Installation Guide Document Version V2 3 Release Date January 19 2022 ...
Page 16: ...7 Figure 4 1 Server Mgmt ...
Page 17: ...8 Figure 4 2 Configuration Address Source Figure 4 3 BMC IP Setting ...
Page 32: ...23 Figure 4 29 Selecting the OS 4 Check I accept the license terms and click Next ...
Page 37: ...28 Figure 4 35 User Login Screen 10 Enter the desktop and the installation is completed ...
Page 46: ...37 Figure 4 44 Confirming the Installation 9 Wait for the installation to complete ...
Page 49: ...40 Figure 4 47 System UI Management Screen Figure 4 48 Authentication Required Screen ...
Page 57: ...48 Figure 4 57 Selecting Restart Management Agents Figure 4 58 Confirming the Restart ...
Page 68: ...59 Figure 5 12 Selecting INSPUR 8204 4 GB Figure 5 13 INSPUR 8204 4 GB Configuration Screen ...
Page 75: ...66 Figure 5 21 Setting System Date Figure 5 22 Setting System Time ...
Page 85: ...76 Figure 5 36 Language Selection Screen 5 The INSTALLATION SUMMARY screen appears ...
Page 102: ...93 Figure 5 58 Authentication Required Screen Figure 5 59 System Customization Screen ...
Page 109: ...100 Figure 5 67 Selecting Restart Management Agents Figure 5 68 Confirming the Restart ...
Page 121: ...112 Figure 6 16 Setup Wizard Screen 3 Select the language you like to use and click Continue ...
Page 122: ...113 Figure 6 17 Selecting the Language 4 Set DATE TIME KEYBOARD and LANGUAGE SUPPORT ...
Page 128: ...119 Figure 6 23 User Settings Figure 6 24 Setting the Root Password ...
Page 130: ...121 Figure 6 26 Reboot Figure 6 27 Reboot Screen ...
Page 139: ...130 Figure 6 35 Confirming the Installation 9 Wait for the installation to complete ...
Page 142: ...133 Figure 6 38 System UI Management Screen Figure 6 39 Authentication Required Screen ...
Page 150: ...141 Figure 6 48 Selecting Restart Management Agents Figure 6 49 Confirming the Restart ...
Page 165: ...156 Figure 7 18 Setting System Date Figure 7 19 Setting System Time ...
Page 174: ...165 Figure 7 31 User Login Screen Figure 7 32 Desktop ...
Page 182: ...173 Figure 7 39 Extension and Module Selection Figure 7 39 Add On Product Installation ...
Page 188: ...179 Figure 7 46 Installation Settings Figure 7 47 Performing Installation ...
Page 196: ...187 Figure 7 56 Confirming the Installation ...
Page 199: ...190 Figure 7 59 System UI Management Screen Figure 7 60 Authentication Required Screen ...
Page 207: ...198 Figure 7 69 Selecting Restart Management Agents Figure 7 70 Confirming the Restart ...
Page 214: ...205 Figure 8 8 Installation Step 1 Figure 8 9 Installation Step 2 ...
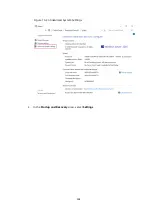
Page 247: ...238 Figure 10 35 Advanced System Settings 3 In the Startup and Recovery area select Settings ...
Page 258: ...249 Figure 10 52 BIOS Serial Port Setting 1 Figure 10 53 BIOS Serial Port Setting 2 ...


