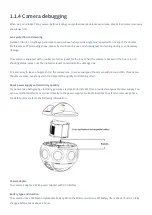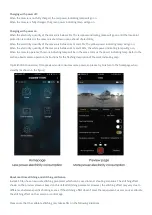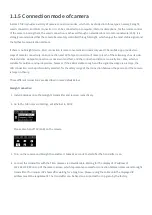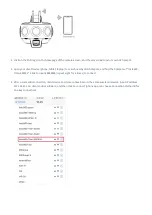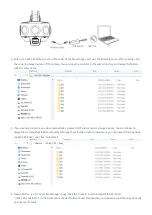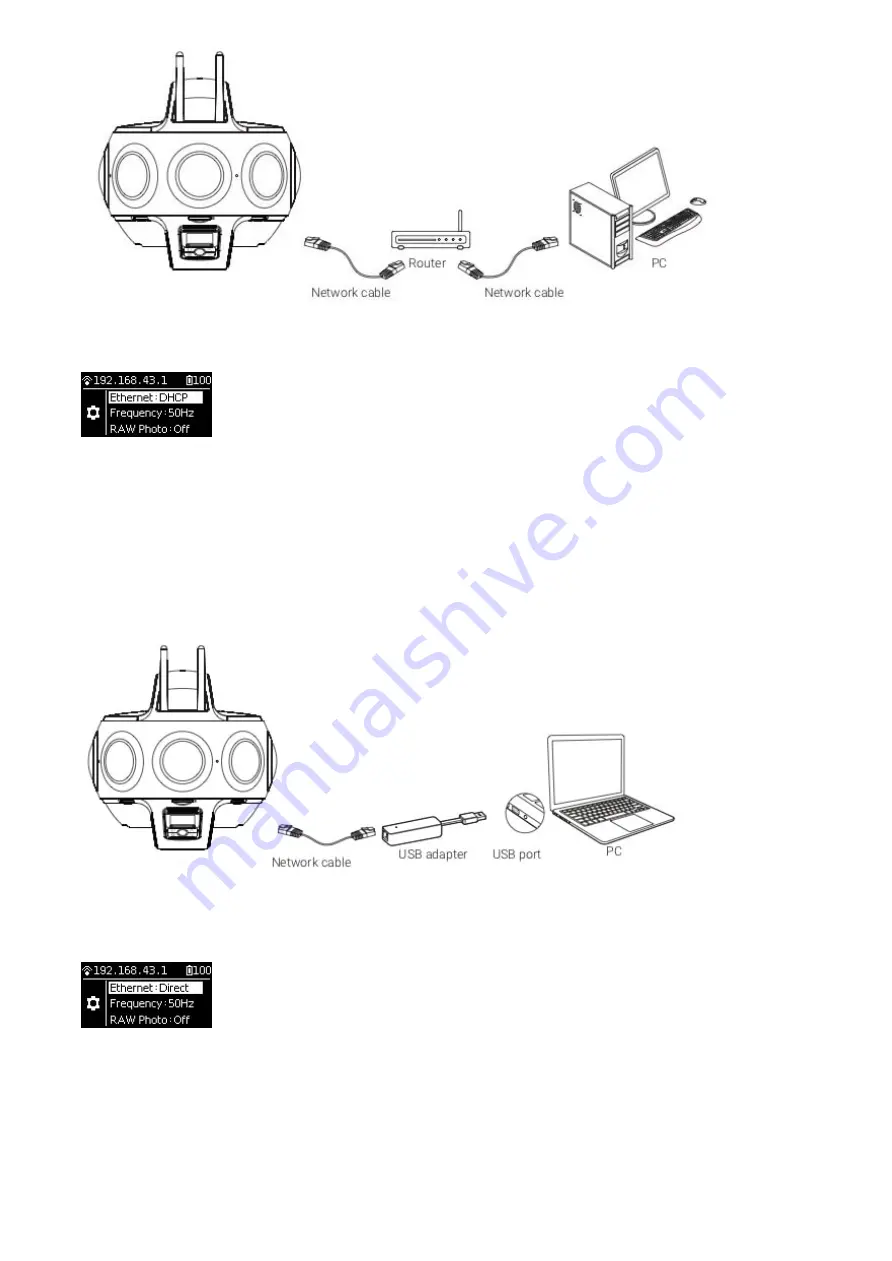
1. Enter the settings menu of Titan, set Ethernet to DHCP mode.
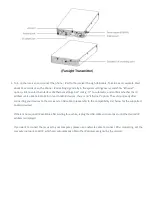
2. Connect Titan and a computer to a router through LAN cable. Set the router's allocation mode to DHCP.
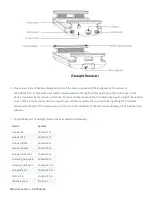
3. Make sure the camera and computer are inside the same LAN, open the controlling client so ware on the computer,
and input the IP address displayed on top of the camera screen.
Wired connection -- Direct connection mode
1. Enter the camera settings menu of Titan, set Ethernet to Direct mode.
2. Connect Titan to a computer with LAN cable. If there is no LAN port on your computer, please use the USB ethernet
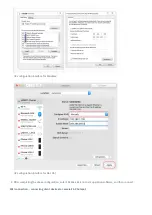
network adapter to connect. In this mode, the IP address of Titan is fixed as 192.168.1.188, which requires to set up
static IP for the PC network segment of 192.168.1. And it is recommended to set as 192.168.1.100, with the subnet
mask of 255.255.255.0.
Summary of Contents for Titan
Page 1: ...Titan Titan User Manual English ...
Page 10: ...1 1 2 Introduction to official accessories ...
Page 26: ......
Page 31: ...http shop nodalninja com carbon fiber poles ...
Page 33: ......
Page 36: ......
Page 45: ......
Page 58: ...Property ...
Page 72: ...Methods for creating HDR images by using Photoshop ...
Page 73: ......
Page 81: ......
Page 82: ...Open camera raw filter for color grading ...
Page 83: ...Once again we apply polar coordinate effect to return to the rectangular of 2 1 ...
Page 88: ......
Page 134: ...Clip material on timeline ...
Page 138: ......
Page 146: ......
Page 152: ......
Page 162: ...Wipe off drones using seal tools The method is the same with PS ...
Page 175: ...Modify minimum Trakers Frame to be around 50 Maximum tracker Count to be around 500 ...
Page 189: ......
Page 201: ... 2 Click Start ...
Page 202: ... 3 A er stitching calibration select the option you need If there s no problem click Done ...
Page 203: ......
Page 212: ...4 2 3 Beginner Live streaming while storing Check according to your own needs ...
Page 227: ......
Page 230: ...Please check the operating video https v qq com x page l0522wvhdov html start 29 ...


