Chapter 6
6–2
BlastMate III Operator Manual
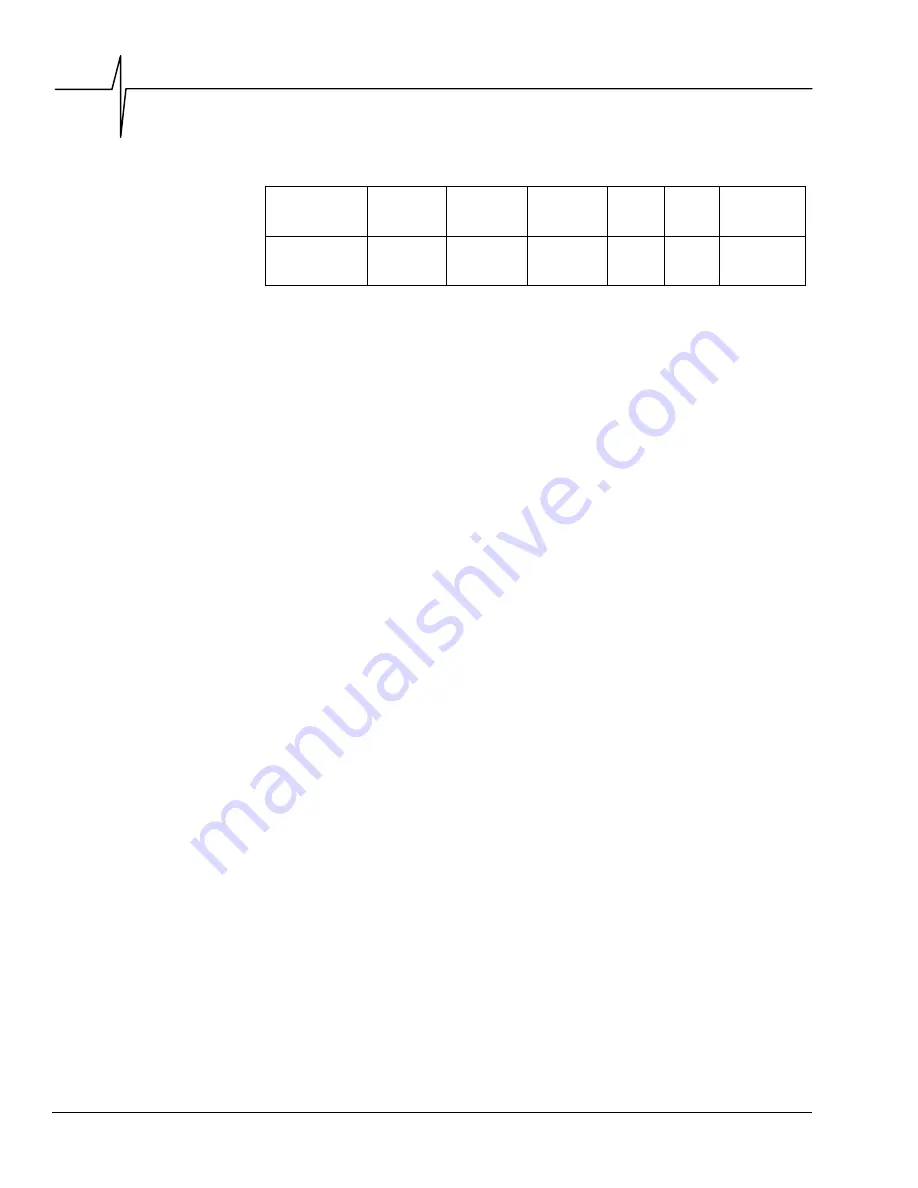
If required, other AC adapters may be used but must meet the following restrictive specifications.
Minimum Voltage
Required by the
Monitors
Maximum
Output
Maximum No
Load Voltage
(VDC)
Maximum
Power
(VA)
Safety
Rating
(equal to)
Length
of Cord
Plug Style and
Size
11 VDC
less than 13.8
VDC for loads
over 500 mA
18.8 12
maximum
6
recommended
CSA/UL 3
m
(10 ft.)
2.1 mm Coaxial
center post
positive
6.2. Annual Calibration Requirements
Geophone sensors located inside the standard transducer and the microphone require annual
calibration to ensure continued accurate monitoring results. Calibration may be performed by an
authorized Instantel service facility or by Instantel. Contact your dealer to arrange to have your
BlastMate III and its sensors calibrated.
6.3. Cleaning the BlastMate III
Vacuum dust, dirt, and sand from the BlastMate III. Use isopropyl alcohol to remove stains. Do
not use paint thinners or ketone solvents. These may damage the BlastMate III. To avoid
scratching the protective cover and display, do not scrub the surfaces with abrasive material
including cleaning pads.
6.4. Loading Paper into the Printer
To load paper into the printer, turn the BlastMate III on and open the printer door. Remove the
Paper Feed Roller, discard the old roll, and insert the new paper roll. Slide the Paper Feed Roller
back into the slot in the printer compartment. Check that the paper rolls off the bottom of the roll.
Fold the paper to create a point in the center of the paper end. This helps when feeding the paper
into the printer and the Printer Takeup Roller. Release the Printer Roller by moving the Paper
Load Lever to the upright position. Align the paper in the printer while drawing it out. Push the
Paper Load Lever down to clamp onto the aligned paper. Feed the paper into the slot located on
the Paper Takeup Roller and press the
Paper Takeup
key to advance the roller and take up the
paper slack. You can also feed the paper through the printer door tear off slot. Feed the paper
through the slot. Adjust the Tear Off Plate by loosening the two knobs, adjust the plate’s position
and tighten the knobs. Your BlastMate III is ready to print.
Note:
You must center the paper coming from the printer roller to the Paper Takeup Roller.
Failure to do so may cause the printer to jam during operation.
Summary of Contents for Blastmate III
Page 1: ......
Page 6: ...iv BlastMate III Operator Manual Notes ...
Page 20: ...Chapter 2 2 6 BlastMate III Operator Manual Notes ...
Page 50: ......
Page 74: ...Chapter 6 6 6 BlastMate III Operator Manual Notes ...
Page 77: ...Appendix BlastMate III Operator Manual A 1 Appendix ...
Page 78: ...Appendix A 2 BlastMate III Operator Manual ...
Page 84: ...Appendix A 8 BlastMate III Operator Manual Notes ...
Page 90: ...Index I 6 BlastMate III Operator Manual Notes ...


