SECTION 5
-
Installation
Page 10
5.12
Accessory option
-
pre
-
formed pipes
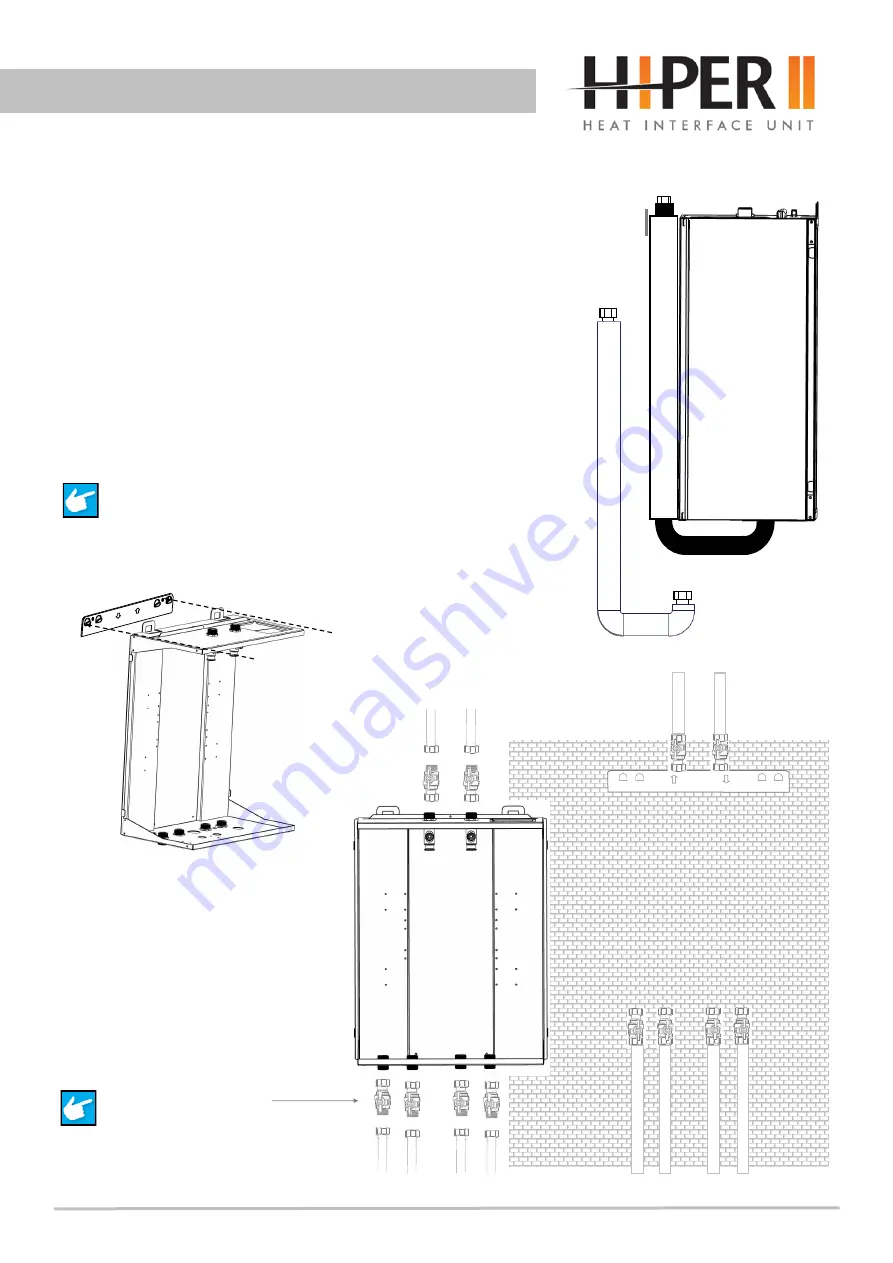
Also available are time saving pipes which are formed to run behind the HIU
and make all the connections from above.
The isolation valve kit that can be used for this are
3/4”
MxM union nuts, and
seal with fibre washers, and can be fitted either below or above the HIU.
First attach the brackets using 2 x fixing screws to the back of the HIU in the
matching fixing holes provided.
Fit the wall bracket as in 5.6 and per 5.1
Fit the stand off brackets as per 5.10
The isolation can be connected either;
•
Below the HIU
•
Above the HIU
Hang the HIU as in diagram 5.6, using the outer wall bracket hooks.
All connections from above
Set of 4 preformed insulated pipes
5.13
Accessory option
-
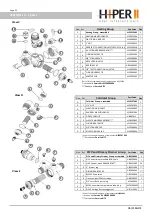
first fix JIG
HI2ACJIG
Isolation valves pack
HIAC03BVPACK
Flushing Bypass Kit C fitted at this point in first fix installation!
Minimum 22mm pipe.
Clip and insulate pipes
06/21 E&OE
o
o
JIG is removed leaving pipes, isolation
valves and wall bracket in place ready for
the HIU installation at a later date,
Repeat as required, the JIG is an
installation tool.
1.
Fix the wall bracket
2.
Hang the JIG.
3.
Make the isolation and pipework connec-
tions.
4. Remove the JIG, and move on to the next
installation site.
Wall bracket and valves and pipes are in posi-
tion ready to receive the HIU at a later date.


