Hardware Installations and Upgrades
16
Intel® Entry Server Chassis SC5299-E DP/WS/BRP User Guide
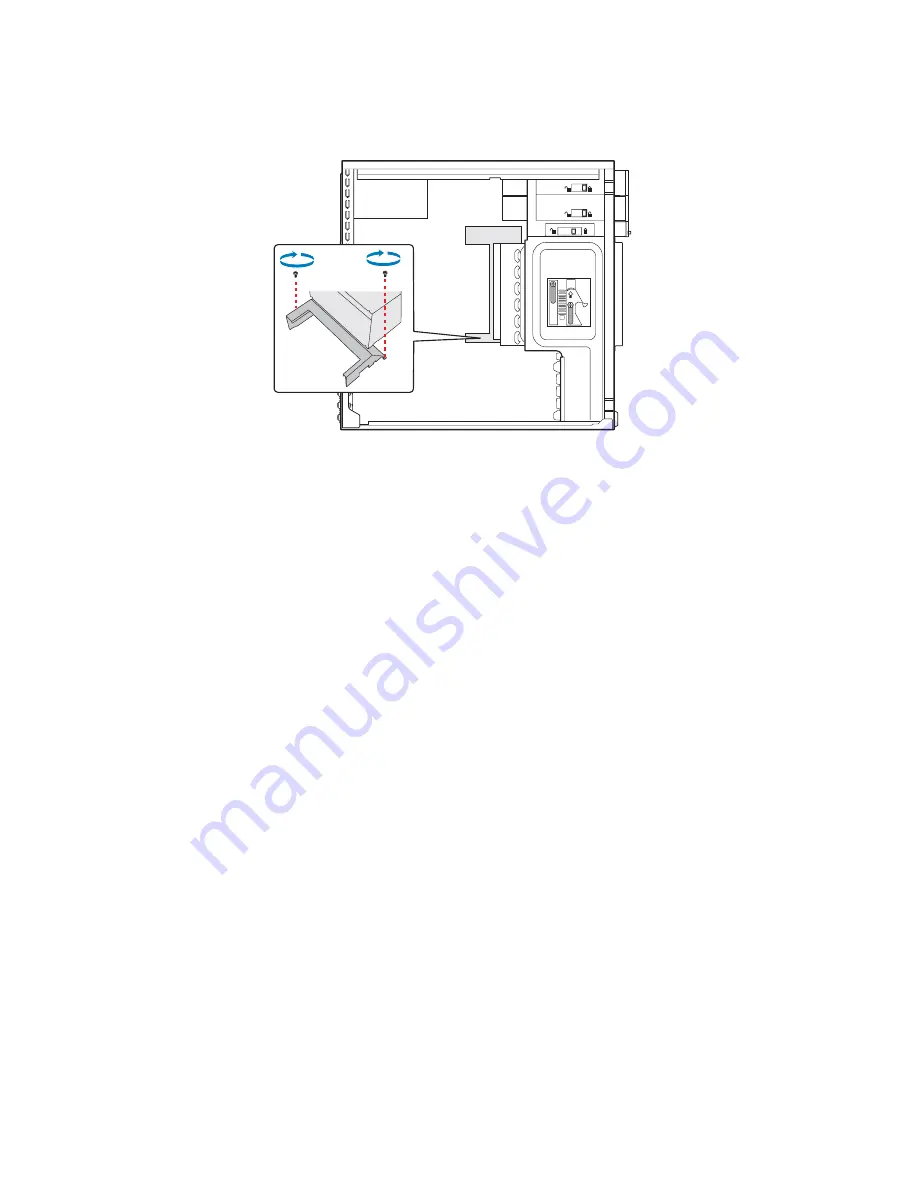
Figure 14. Installing Processor Air Duct
2. Install the left side cover. For instructions, see
“Installing the Left Side Cover”
.
3. Plug all peripheral devices and the AC power cable into the server. Power up the
server.
Installing or Removing a Server Board
Note: The type of Intel
®
Server Board you can install in your chassis will depend upon the
model of chassis you purchased. For a breakout of server board/chassis model
compatibility, see
Table 1, “Breakdown of Intel® Entry Server Chassis SC5299-E
Configurations”
.
To install or remove a server board, do the following:
1. Observe the safety and ESD precautions listed in
Appendix A, “Safety Information”
.
2. Power down the server and unplug all peripheral devices and the AC power cable.
3. Remove the left side cover. For instructions, see
“Removing the Left Side Cover”
.
4. Remove the front bezel assembly. For instructions, see
“Removing the Front Bezel
Assembly”
.
TP01137
Summary of Contents for SC5299-E BRP
Page 8: ...Preface viii Intel Entry Server Chassis SC5299 E DP WS BRP User Guide...
Page 16: ...xvi Intel Entry Server Chassis SC5299 E DP WS BRP User Guide...
Page 18: ...xviii Intel Entry Server Chassis SC5299 E DP WS BRP User Guide...
Page 108: ...Technical Reference 90 Intel Entry Server Chassis SC5299 E DP WS BRP User Guide...
Page 133: ...Safety Information Intel Entry Server Chassis SC5299 E DP WS BRP User Guide 115 ITE ITE 5V...
Page 134: ...Safety Information 116 Intel Entry Server Chassis SC5299 E DP WS BRP User Guide...
Page 136: ...Safety Information 118 Intel Entry Server Chassis SC5299 E DP WS BRP User Guide...
Page 152: ...Getting Help 134 Intel Entry Server Chassis SC5299 E DP WS BRP User Guide...
Page 160: ...Warranty 142 Intel Entry Server Chassis SC5299 E DP WS BRP User Guide...


