2 8
//
2 0 2 1 p r i m e r u s e r m a n u a l
setting the sag //
1. Remove fork and shock air caps and be sure you have a
shock pump and a small ruler or measuring device handy.
2. Go ahead and hop on the bike. Be sure to place
all your weight on the seat with the dropper in the
up position and both hands on the grips.
3. Give the bike 5-6 moderate bounces and
sit back down on the saddle.
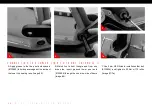
4. Now have your friend slide both the rear shock and the front fork
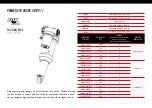
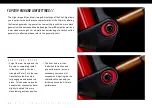
o-rings down against the seal lip of the damper body (Image #1).
5. Step off the bike nice and easy. Be sure to not compress
the suspension after the o-rings have been set.
P r o T i p
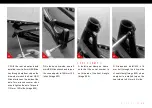
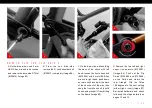
Here is where having a friend helps. Have them straddle the front
wheel and pull the handlebars in a upward direction as to not allow the
suspension to compress as you get off (Image #4).
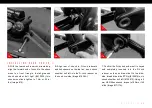
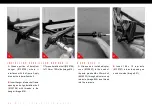
6. Using your measuring device, measure the gap between
the suspension seal lip and the o-ring. Using the chart
on the following page will tell you if you need more air
pressure or less air pressure (Images #2, #3).
7. Adjust air pressure with your shock pump accordingly (Image #5).
8. Revisit steps 2-6 until your desired sag
measurement has been reached.
9. Install valve caps.
20%
While suspension
is compressed on
fork or rear shock,
slide o-ring down
against the seal lip
of damper body.
Release compression.
Measure gap from
o-ring to seal lip.
4
2
1
3
5
cm
1
2
3
4
5
6
7
8
9
10
30%


