99
7. Set the spanning mode for the current logical drive. Highlight Span from the bottom
window of the logica drive configuration screen and press
ENTER
. The choices are:
CanSpan Array spanning is enabled for the current logical drive. The logical drive can
occupy space in more than one array.
NoSpan Array spanning is disabled for the current logical drive. The logical drive can
occupy space in only one array.
For two arrays to be spannable, they must have the same stripe width (they must contain
the same number of physical drives) and they must be consecutively numbered. If Array
2 contains four disk drives, it can be spanned only with Array 1 and/or Array 3, and
only if Arrays 1 and 3 also contain four disk drives. If the two criteria for spanning are
met, MegaRAID automatically allows spanning.
If the criteria are not met, the Span setting makes no difference for the current logical
drive. Highlight a spanning option and press
ENTER
.
The spanning options are:
Configuring RAID 10, RAID 30, or RAID 50 Logical Drives.
Configure RAID 10 by spanning two to eight contiguous RAID 1 logical drives. The
RAID 1 logical drives must have the same stripe size.
Configure RAID 30 by spanning two contiguous RAID 3 logical drives. The RAID 3
logical drives must have the same stripe size.
Configure RAID 50 by spanning two contiguous RAID 5 logical drives. The RAID 5
logical drives must have the same stripe size.
8. Set the logical drive size. Move the cursor to Size from the bottom window of the
logical drive configuration screen and press
ENTER
. By default, the logical drive size is
set to all available space in the array(s) being associated with the current logical drive,
thus accounting for the Span setting and for partially used array space. For example, if
the previous logical drive used only a part of the space in an array, the current logical
drive size is set to the remaining space by default.
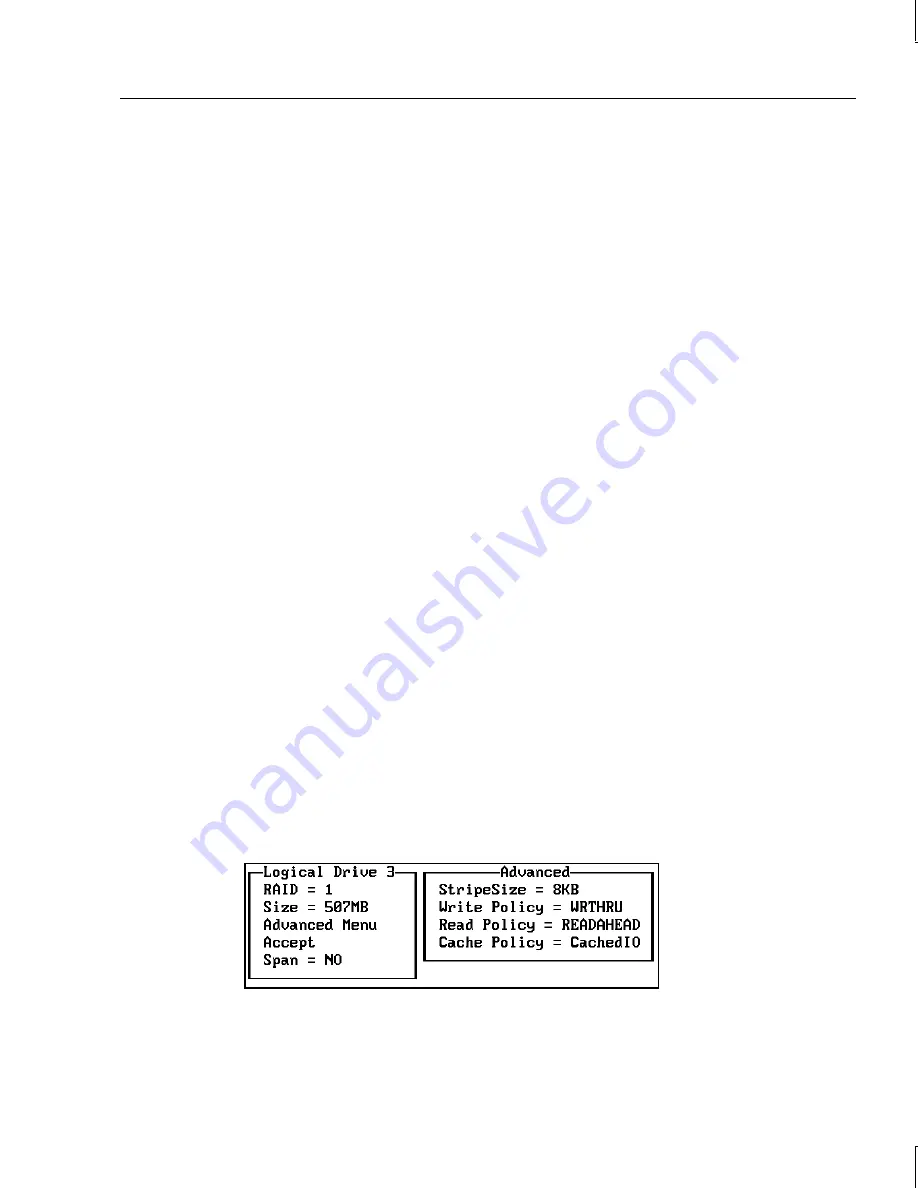
9. Select Advanced from the bottom window of the logical drive configuration screen to set
the remaining options.
NOTE
For a description of the options, refer to the table in “Using Easy Configuration.”
10. After setting the options, press
ESC
to exit the Advanced Menu.
Summary of Contents for InterRAID-12
Page 1: ...InterRAID Hardware User s Guide January 1997 DHA018210 ...
Page 4: ......
Page 121: ...106 ...
Page 157: ...142 ...
Page 163: ...148 ...
Page 171: ...156 ...


